

Step 1: Cut out a piece of paper double the length of your invitation allow a little extra space on the sides to allow room for invitation and for seam allowance.
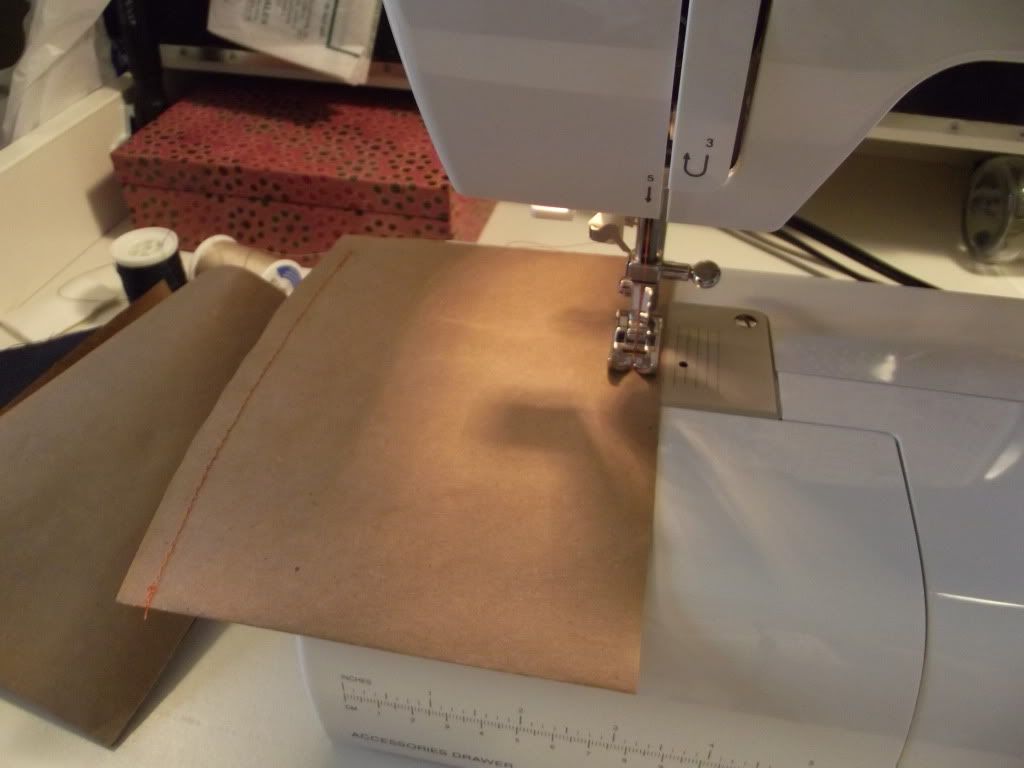
Step 2: Stitch the sides closed. I did a standard straight stitch, but you can do any stitch. Don't be shy - get as crazy as your creative little heart desires!
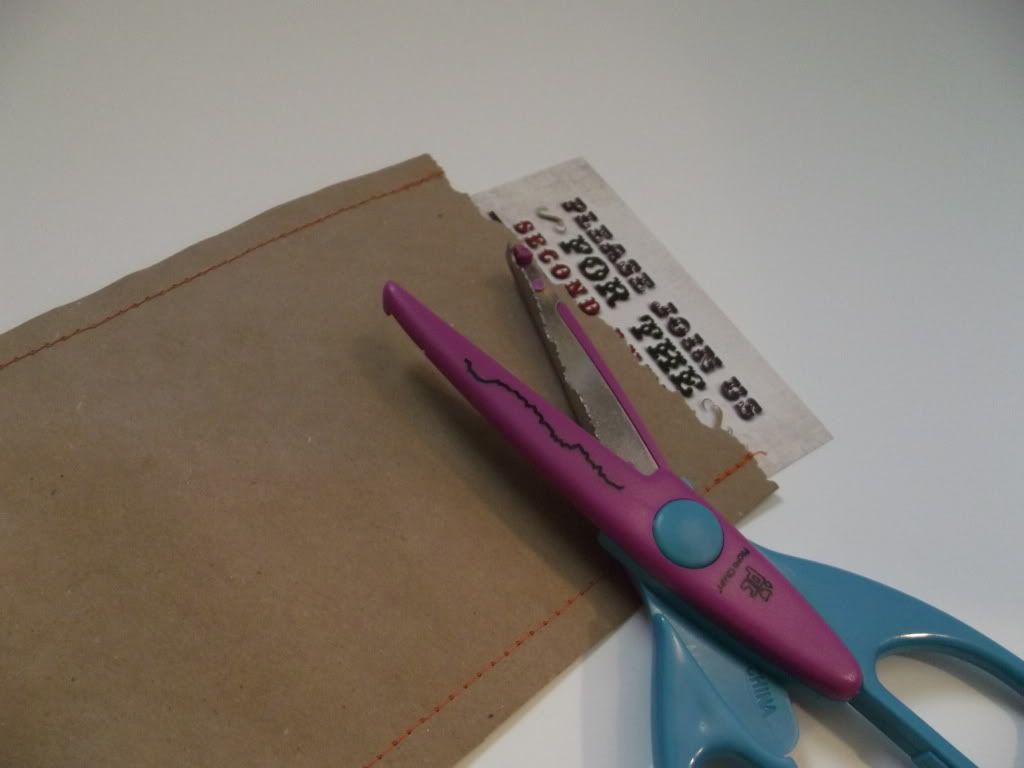
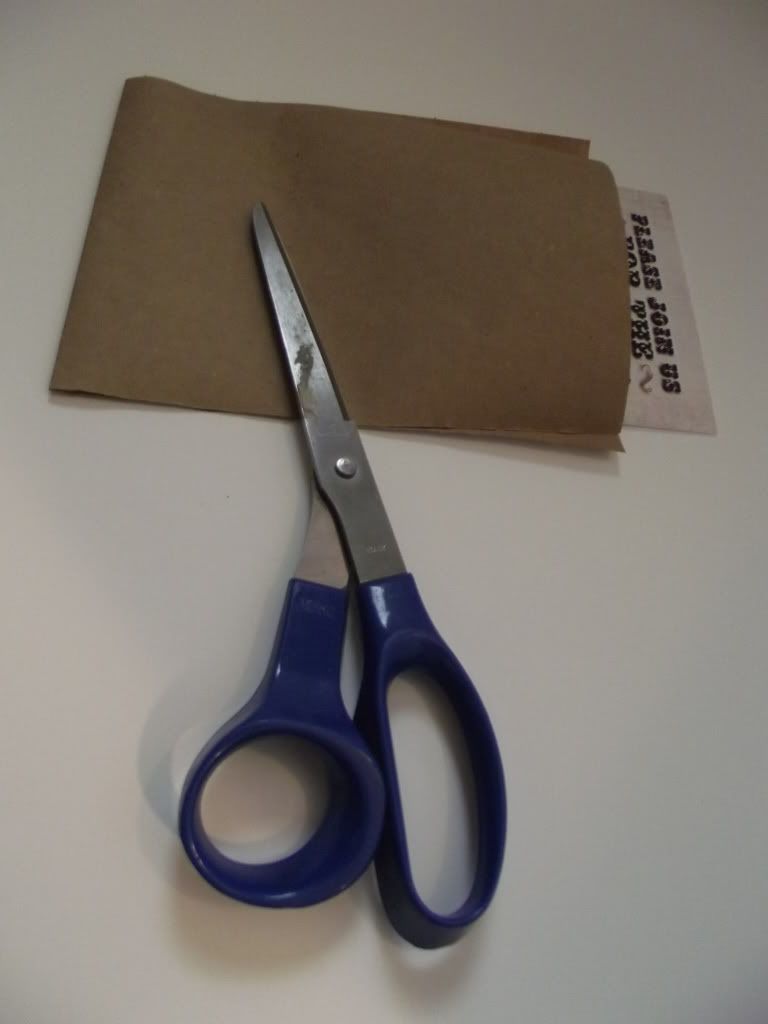
Step 3: Cut off the top. I started off using these textured scissors to give it a rough-torn look, however in the next step you will find that it's really not necessary. I decided to keep this step in the mix in case you don't feel comfortable doing #4.
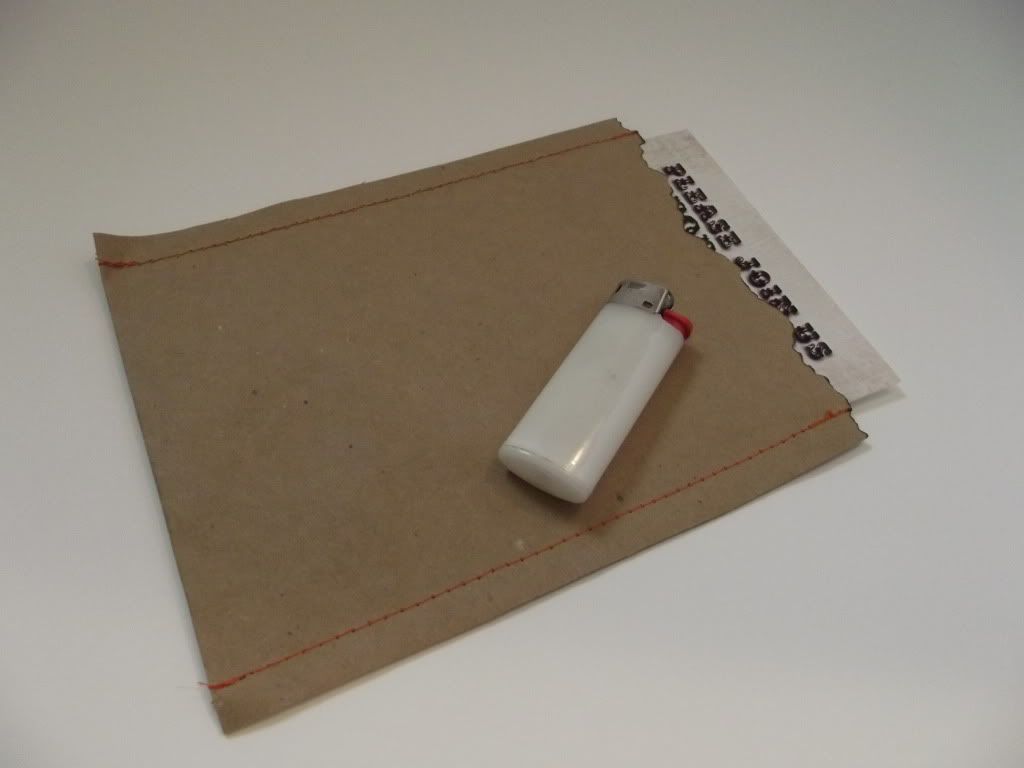
Step 4: Warning this is a stinky step! Grab your lighter and singe the top-opening section of the invitation sleeve. Blow out the flame quickly, it only needs a second to singe down. Be-careful. If you don't feel 100% safe doing this, grab a spray bottle - for the unlikely event that you need to spray out the fire. If you don't use texturing scissors, the flame will have the same effect on the paper.
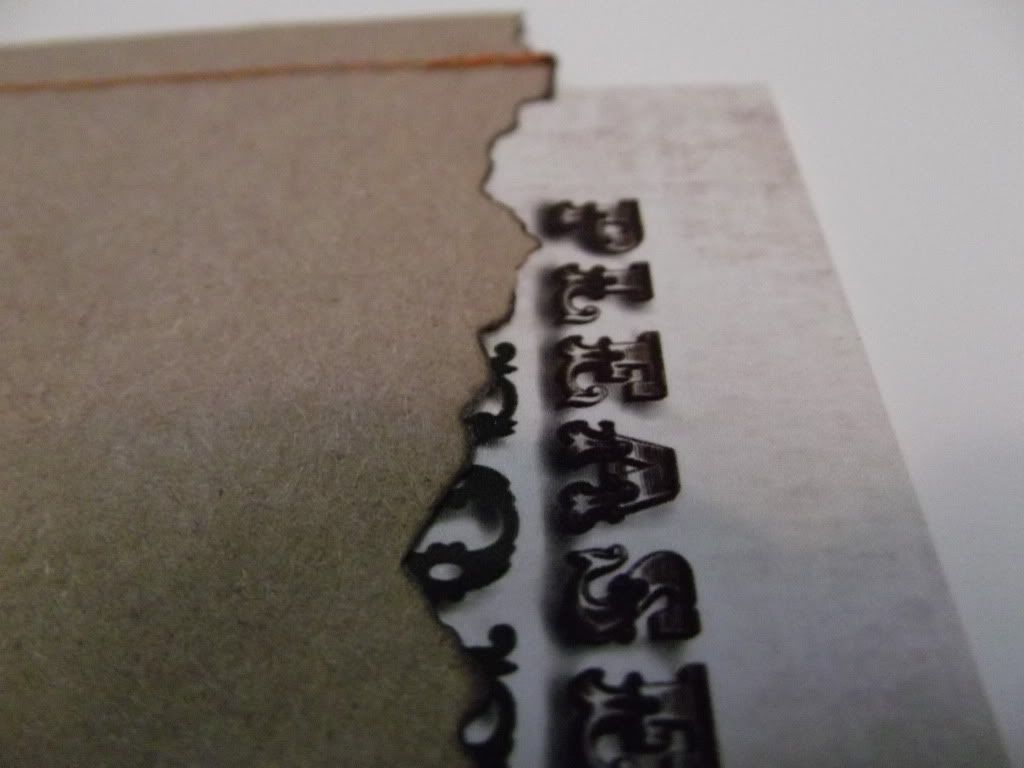 |
| Here is a close up of what step 4's effect does to your paper. |
 |
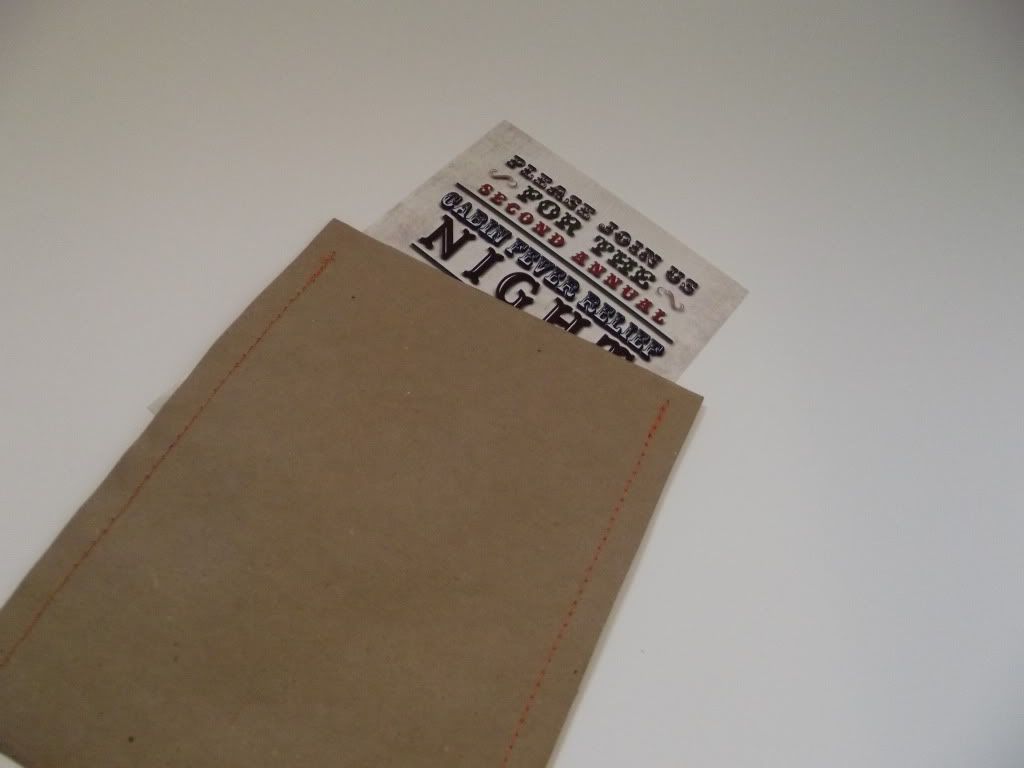
| The finished product. |
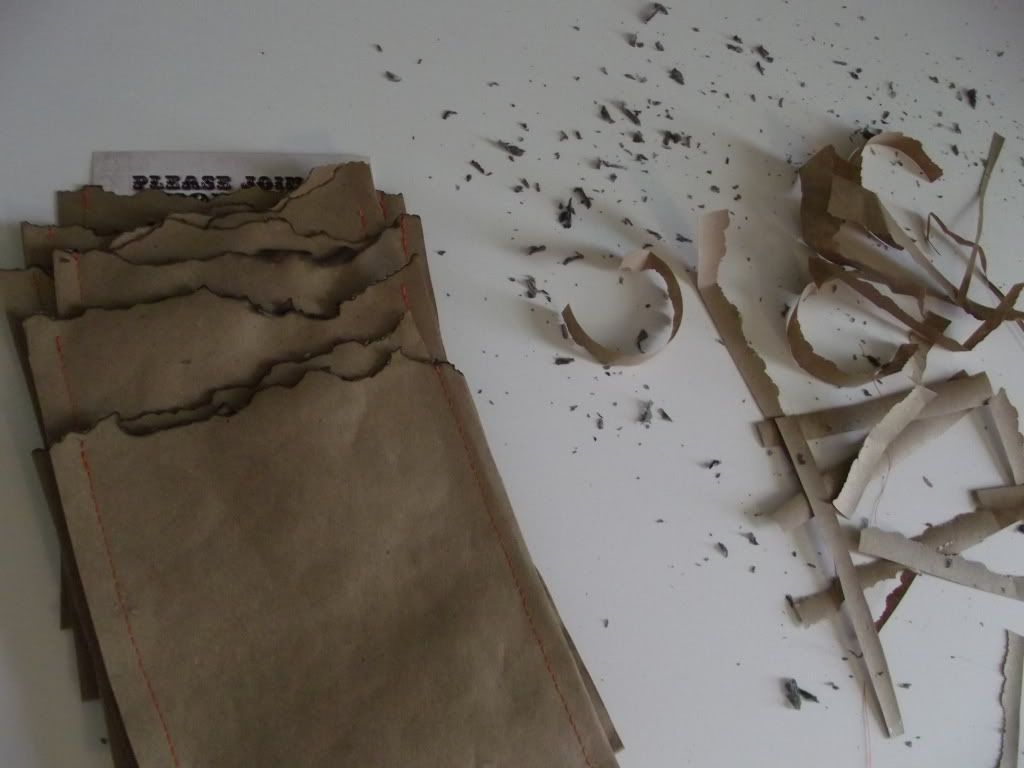 |
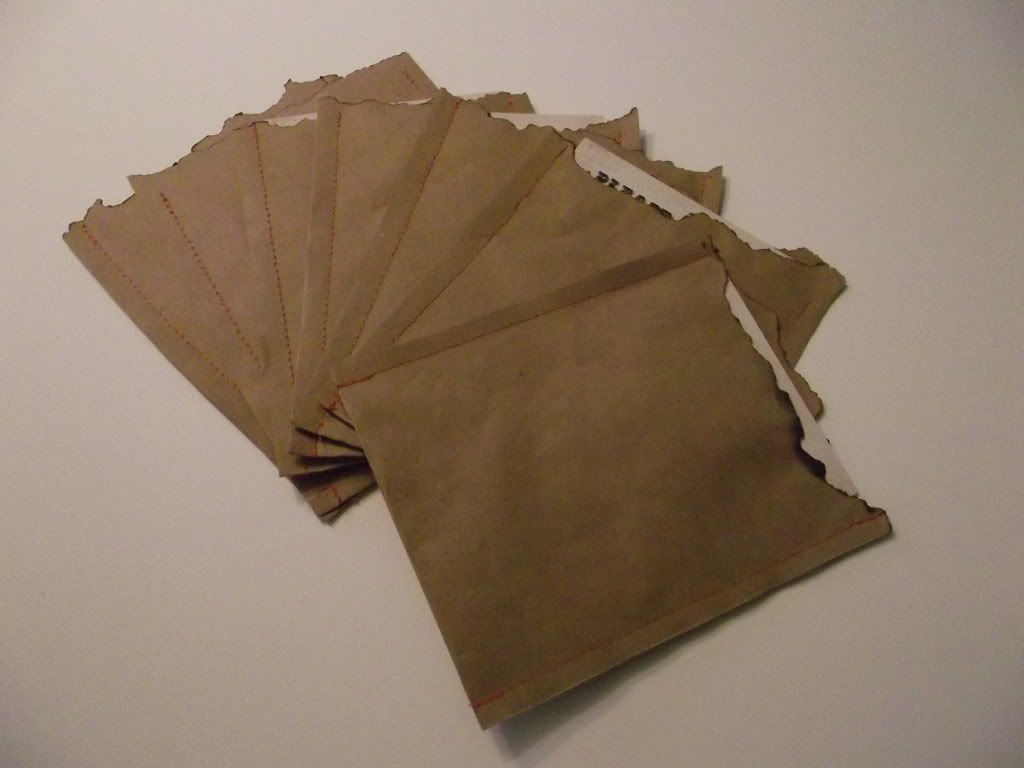
| The aftermath - paper shavings and ashes. |
Click on above images to enlarge.
No comments:
Post a Comment