Showing posts with label Ordinary is boring. Show all posts

1/14/2012

DIY - Wine Bottle Koozie

I love creating something 
NEW from something OLD!  
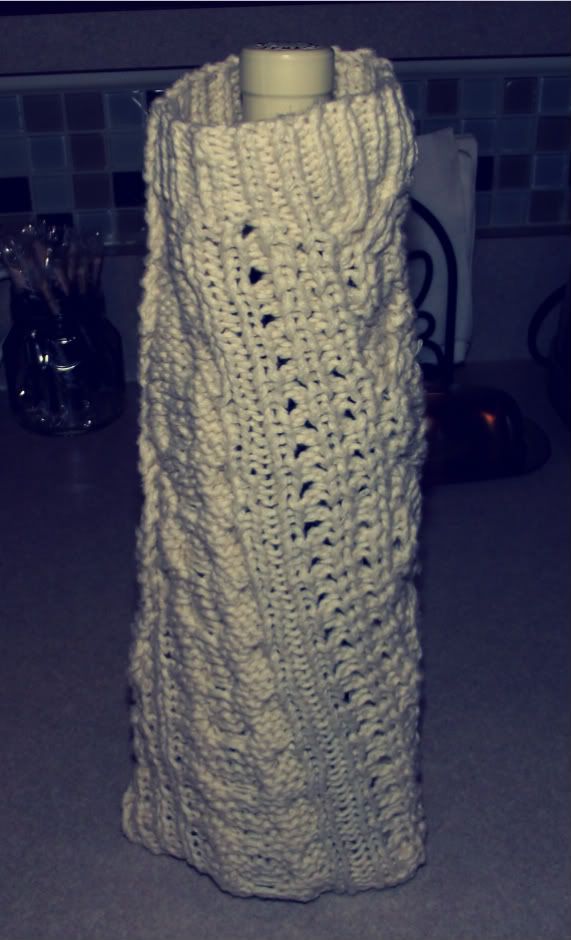
The other day I was wearing a sweater and my husband told me it looked "frumpy".  I didn't mind the sweater, but I appreciated his honesty, so I started thinking about what I could make with it because I liked the overall look.  In five minutes,....I had myself a wine bottle Koozie.  Fact: nobody needs a wine koozie, but you know I'm a firm believer that "ordinary is boring", so I pulled one of my Francis Coppola Wine bottles off the rack and wrapped it in this nice, cozy sweater.  It's also a great hostess gift idea - if you're taking a bottle to a party!  
See below for the easy steps:
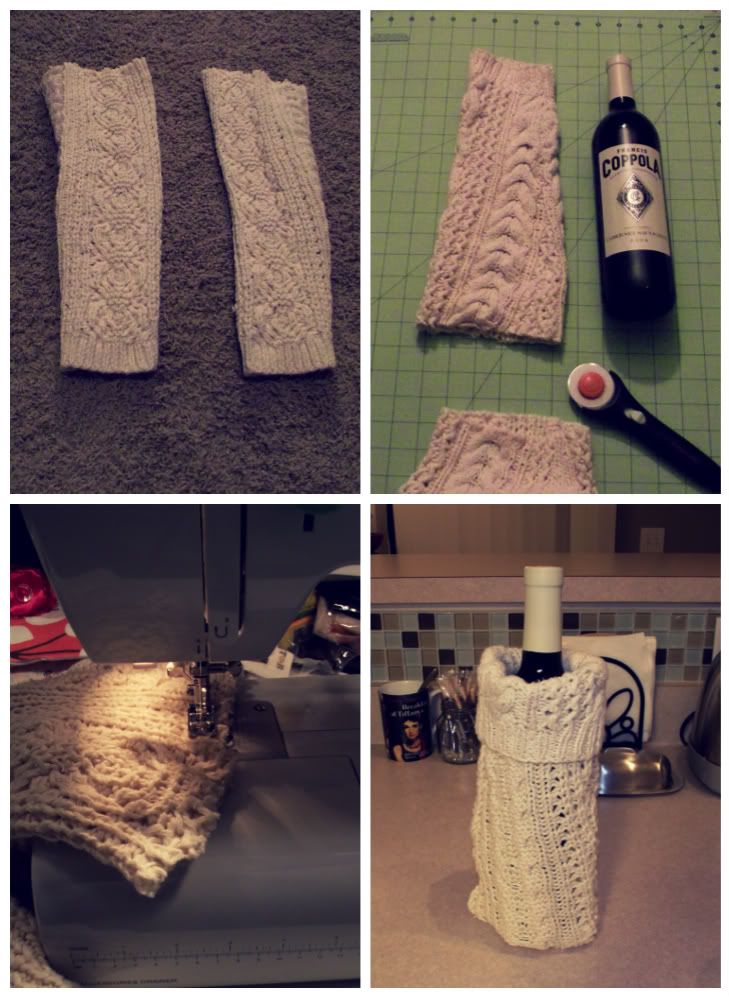
1.  Turn sweater wrong side out & remove sleeves at the armpit.
2.  Line sweater up next to bottle for length dimensions & trim.
3.  Stitch the raw edge end of sweater.
4.  Slip your bottle of wine in sweater & pat yourself on the back.

5.  Pop a cork, pour yourself a glass, sit back, relax, & sip away!

3/05/2011

Sew & Tell - My Soap is Dope!

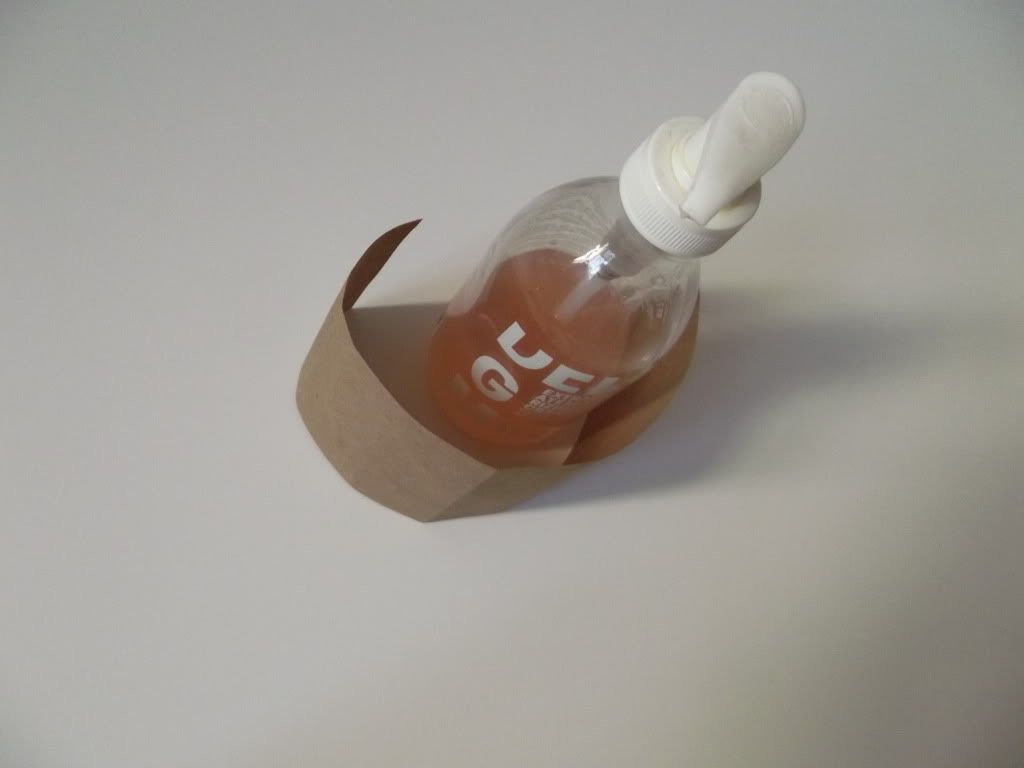
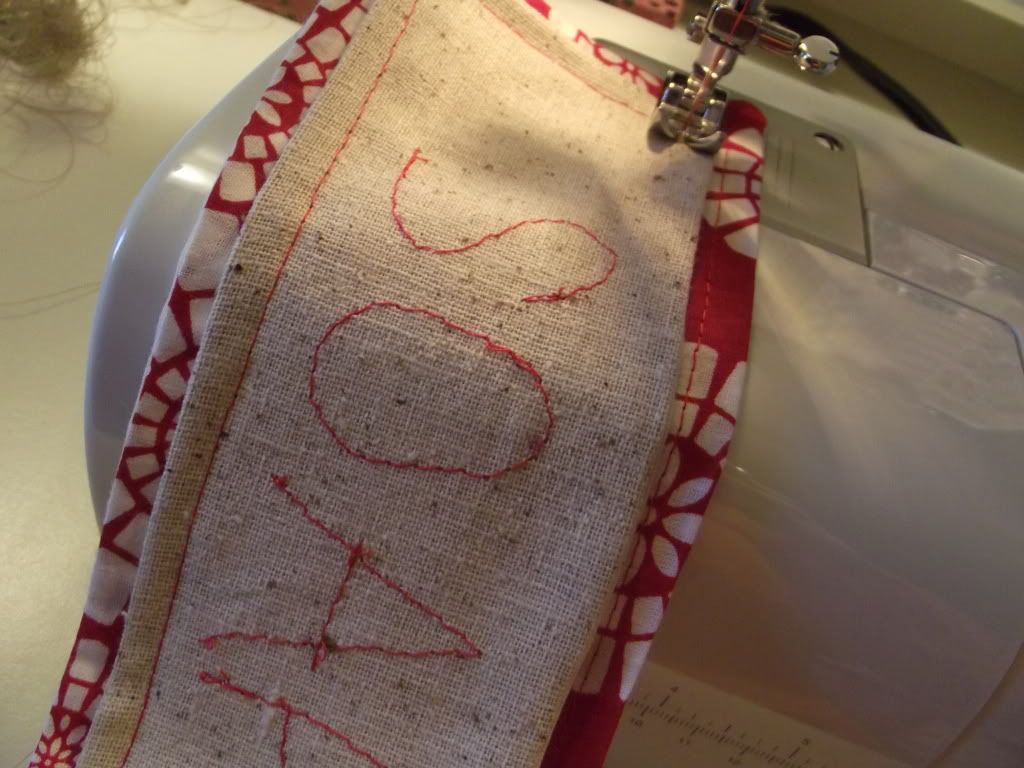
This is my soap dispenser before. Naked. I decided to pull some scrap fabric and make a cover for it.
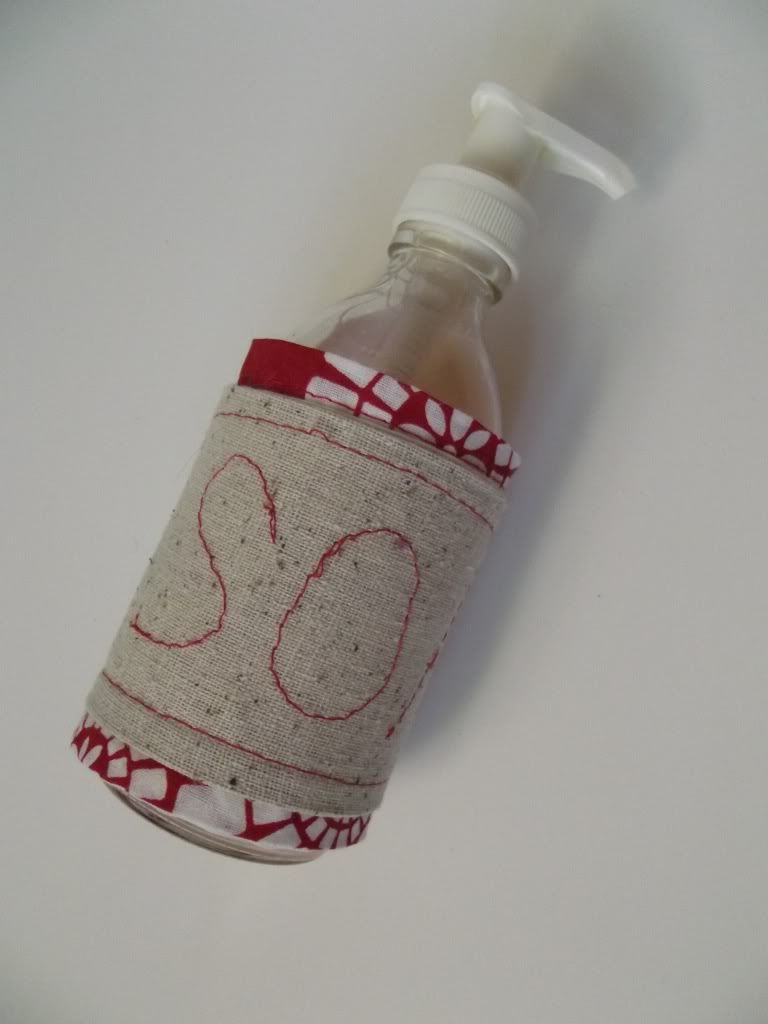
I'm fully aware that this is slightly reminiscent of a child's kindergarten craft project - & I think that's why I like it.  As you know,....I think ordinary is boring.  So this little cover takes it from Bad to Rad.
My soap dispenser after.  Dressed to the 9's.

2/27/2011

It's Sew Saturday...

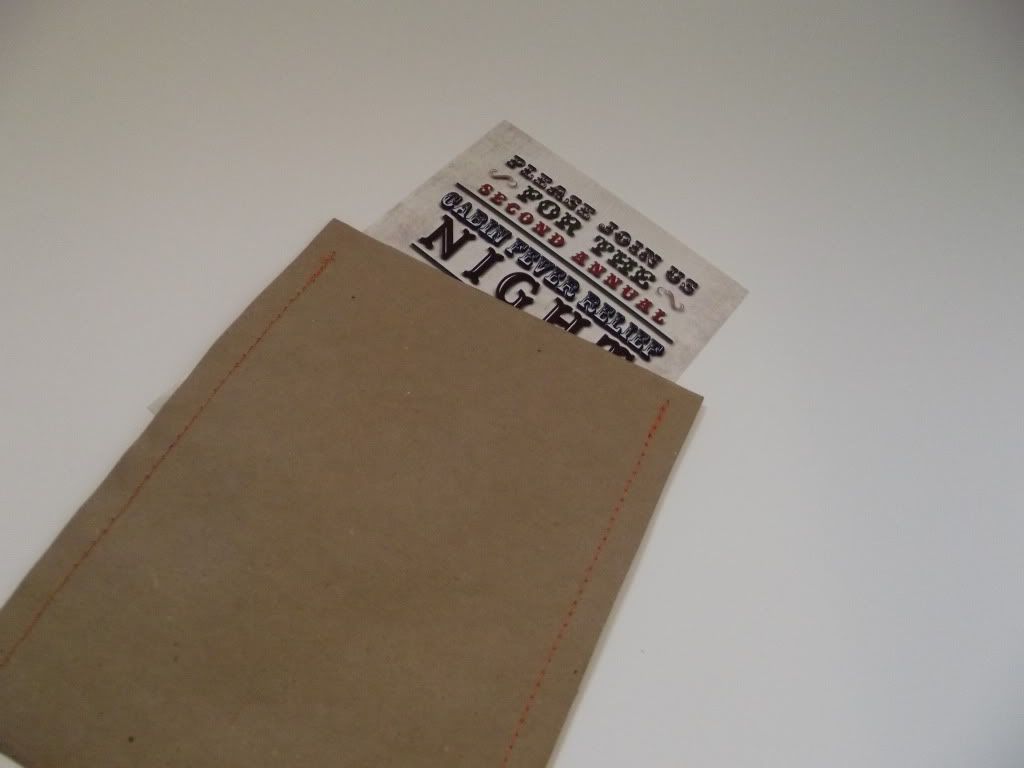
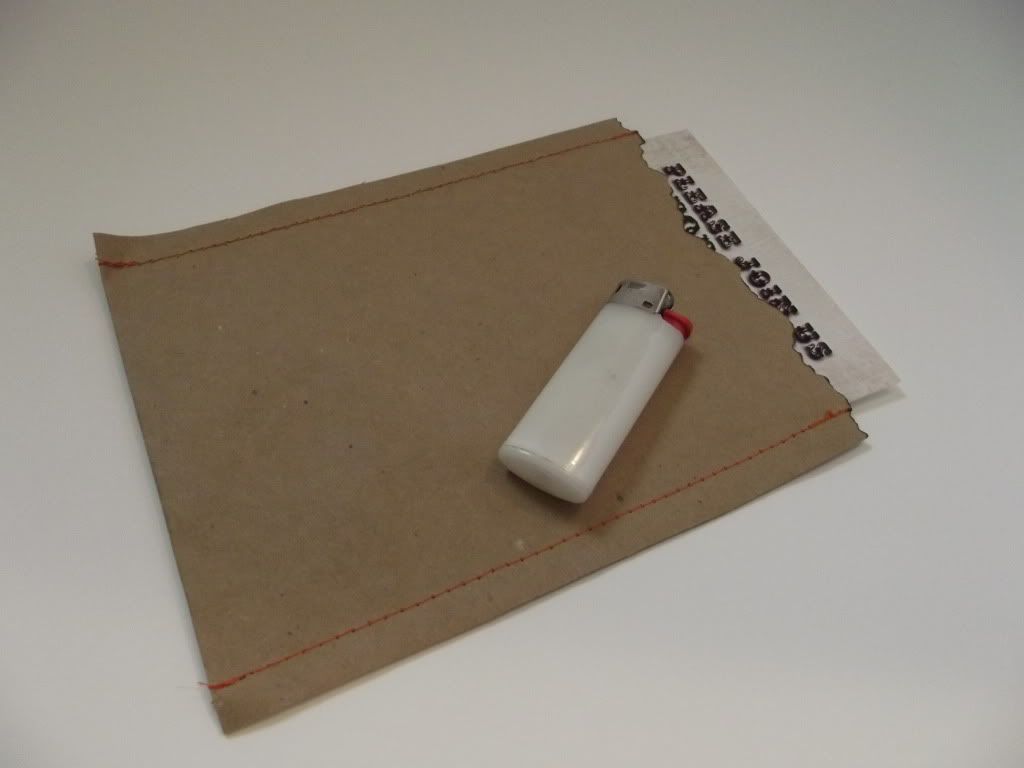
...and what makes today different than all the other Sew Saturdays? Well, today I'm not sewing on fabric. ...I'm making a little switch-a-roo to paper.   "PAPER"? - You say? Yes, paper.  Why?  Because ordinary is boring, so I decided to whip up - or rather stitch up some invitation sleeves for our neighborhood party. ...And I thought I'd share the easy four-step instructions for this very inexpensive project.  Let's get started!
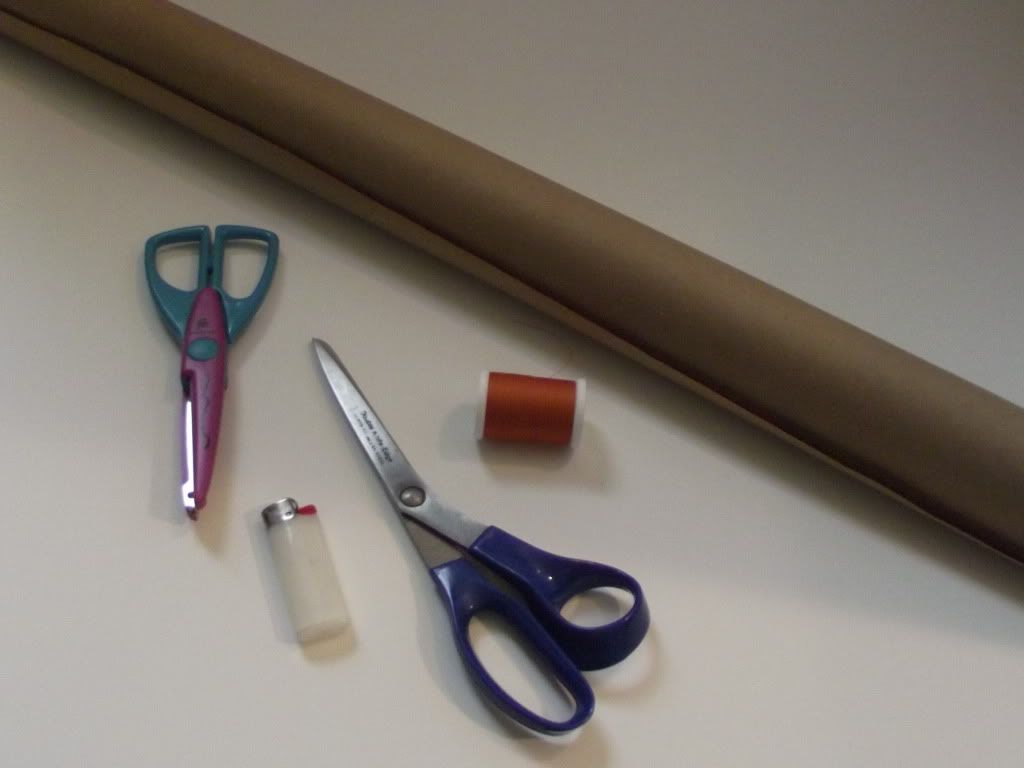
Supplies needed: You will need thread, scissors, textured scissors (optional), paper bag, and a lighter.

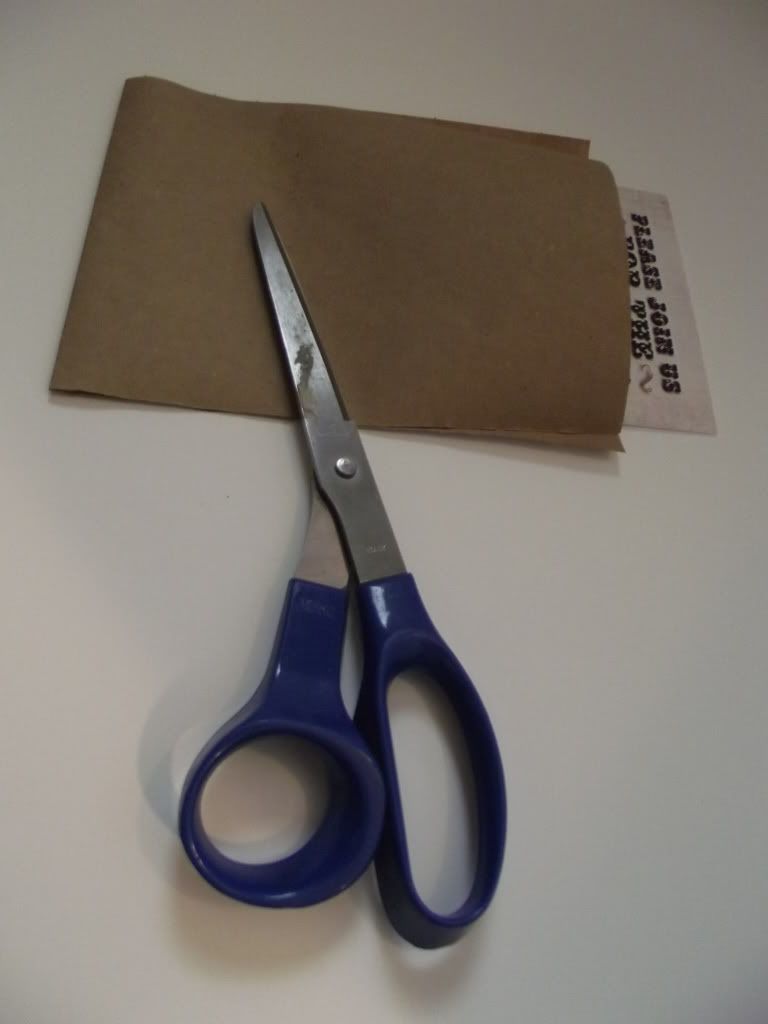
Step 1: Cut out a piece of paper double the length of your invitation allow a little extra space on the sides to allow room for invitation and for seam allowance.

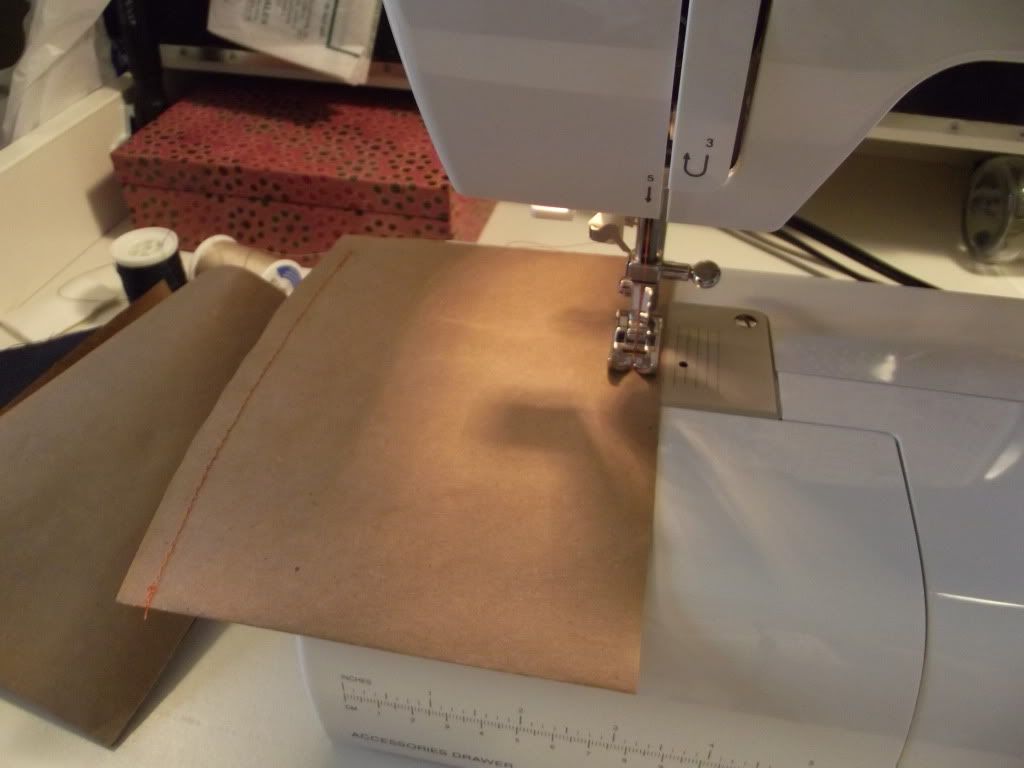
Step 2: Stitch the sides closed.  I did a standard straight stitch, but you can do any stitch.  Don't be shy - get as crazy as your creative little heart desires!

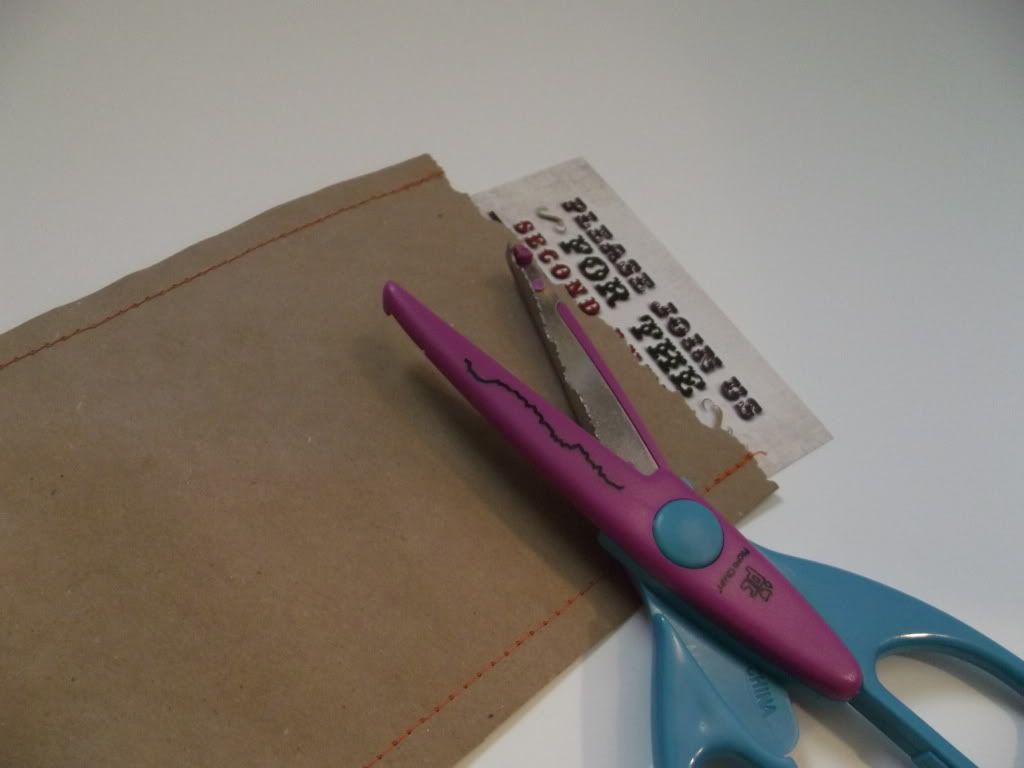
Step 3: Cut off the top.  I started off using these textured scissors to give it a rough-torn look, however in the next step you will find that it's really not necessary.  I decided to keep this step in the mix in case you don't feel comfortable doing #4.

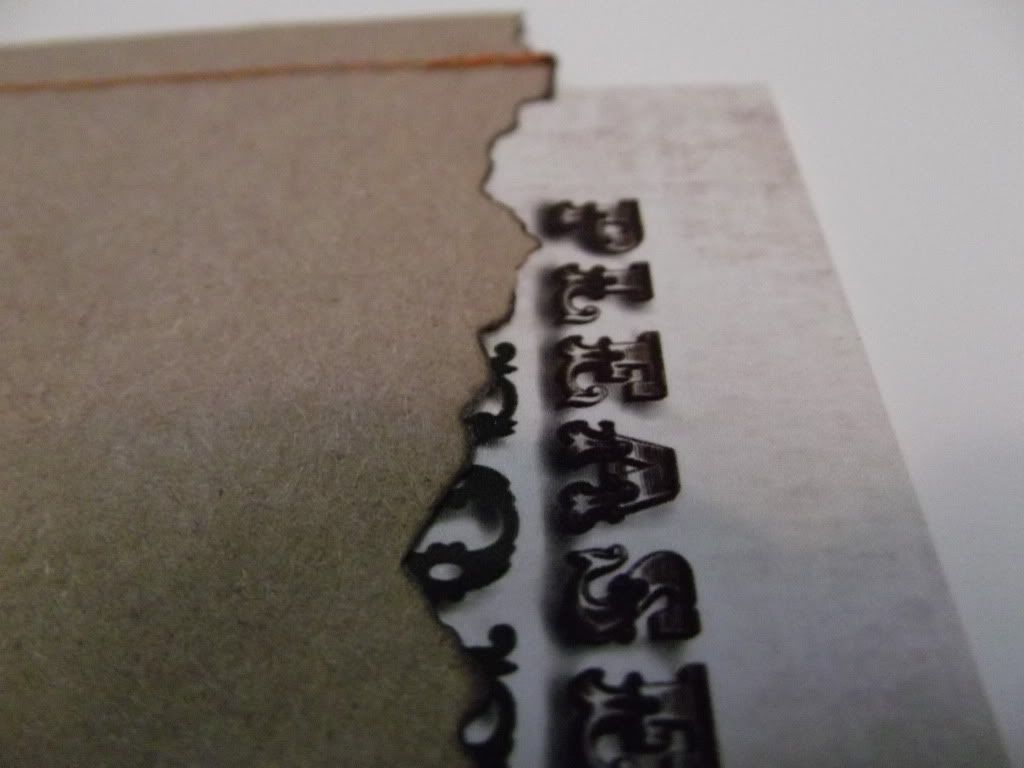
Step 4: Warning this is a stinky step! Grab your lighter and singe the top-opening section of the invitation sleeve.  Blow out the flame quickly, it only needs a second to singe down.   Be-careful.  If you don't feel 100% safe doing this, grab a spray bottle - for the unlikely event that you need to spray out the fire.  If you don't use texturing scissors, the flame will have the same effect on the paper.

Here is a close up of what step 4's effect does to your paper.
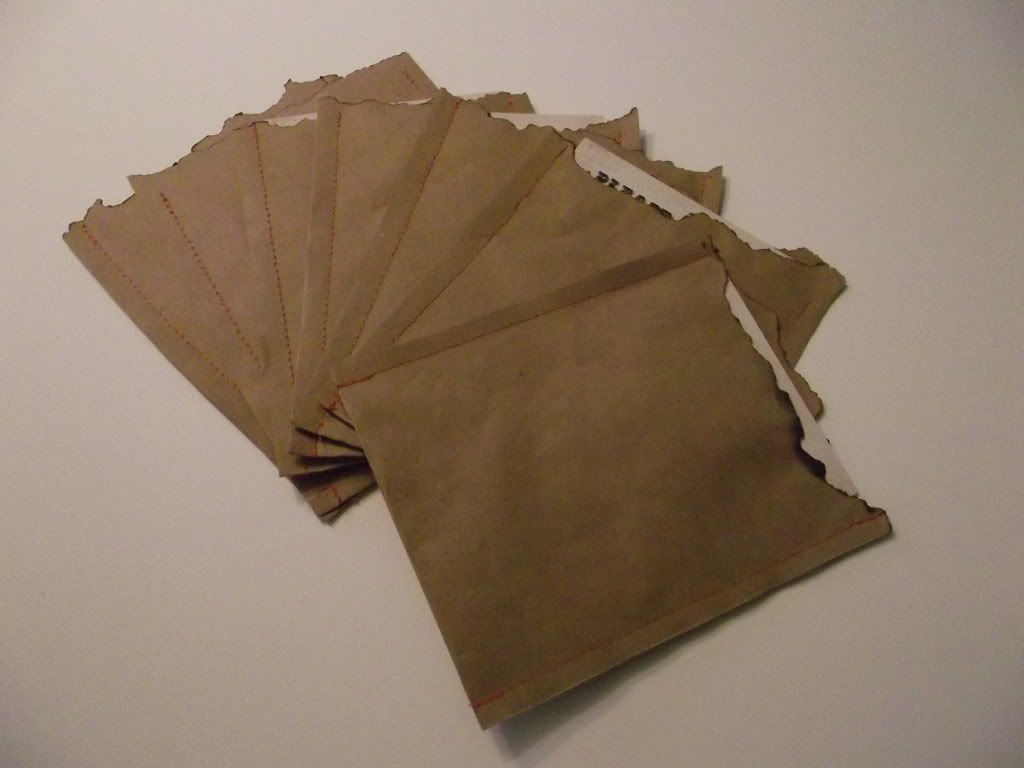
The finished product.
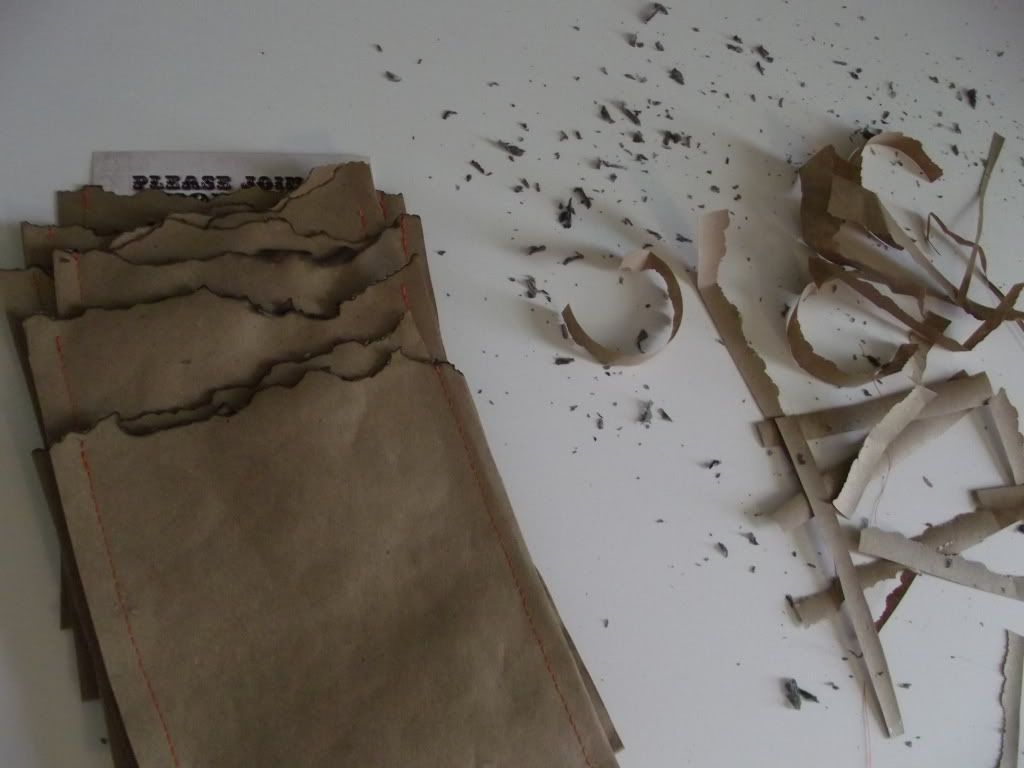
The aftermath - paper shavings and ashes.
Click on above images to enlarge.
Related Posts Plugin for WordPress, Blogger...