Showing posts with label Sew Saturday. Show all posts

1/14/2012

DIY - Wine Bottle Koozie

I love creating something 
NEW from something OLD!  
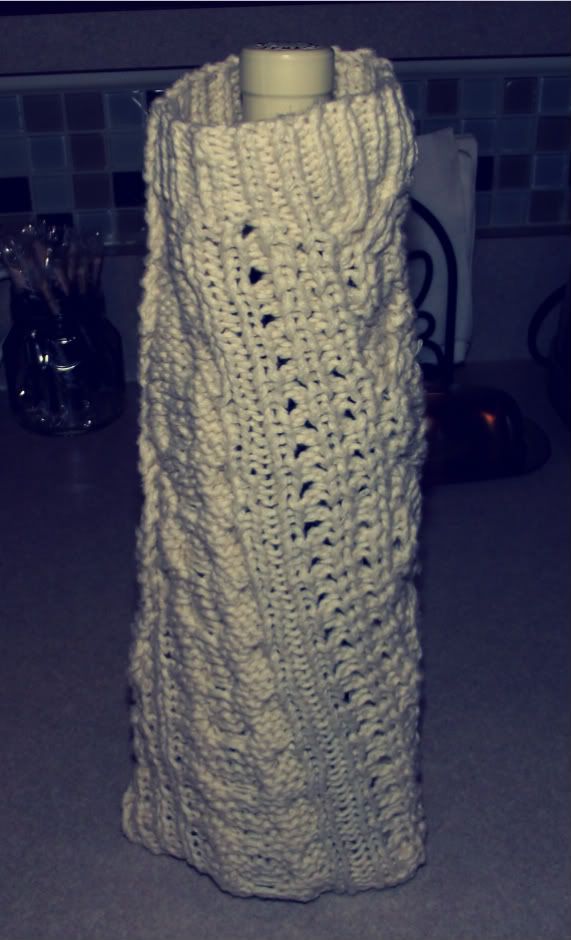
The other day I was wearing a sweater and my husband told me it looked "frumpy".  I didn't mind the sweater, but I appreciated his honesty, so I started thinking about what I could make with it because I liked the overall look.  In five minutes,....I had myself a wine bottle Koozie.  Fact: nobody needs a wine koozie, but you know I'm a firm believer that "ordinary is boring", so I pulled one of my Francis Coppola Wine bottles off the rack and wrapped it in this nice, cozy sweater.  It's also a great hostess gift idea - if you're taking a bottle to a party!  
See below for the easy steps:
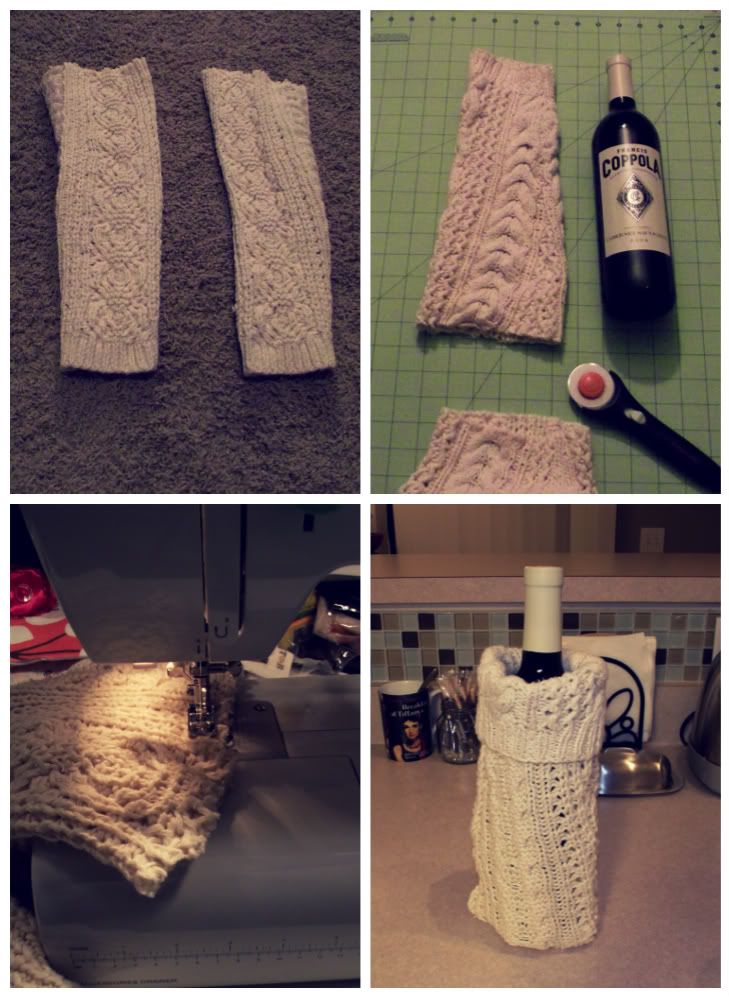
1.  Turn sweater wrong side out & remove sleeves at the armpit.
2.  Line sweater up next to bottle for length dimensions & trim.
3.  Stitch the raw edge end of sweater.
4.  Slip your bottle of wine in sweater & pat yourself on the back.

5.  Pop a cork, pour yourself a glass, sit back, relax, & sip away!

2/27/2011

It's Sew Saturday...

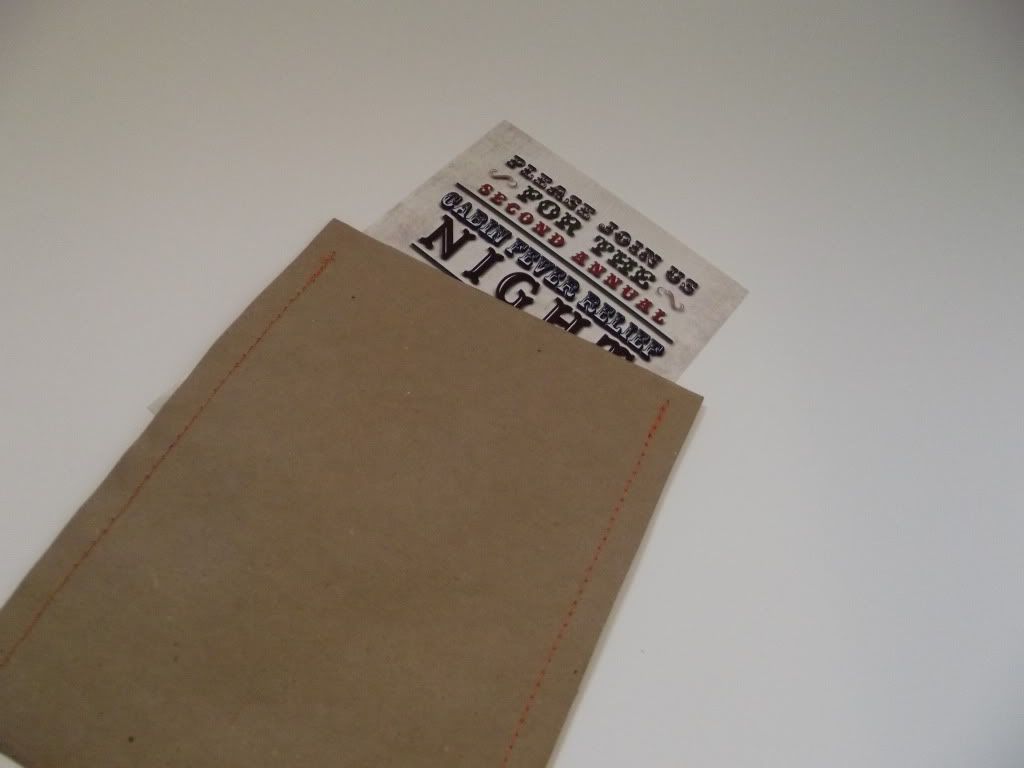
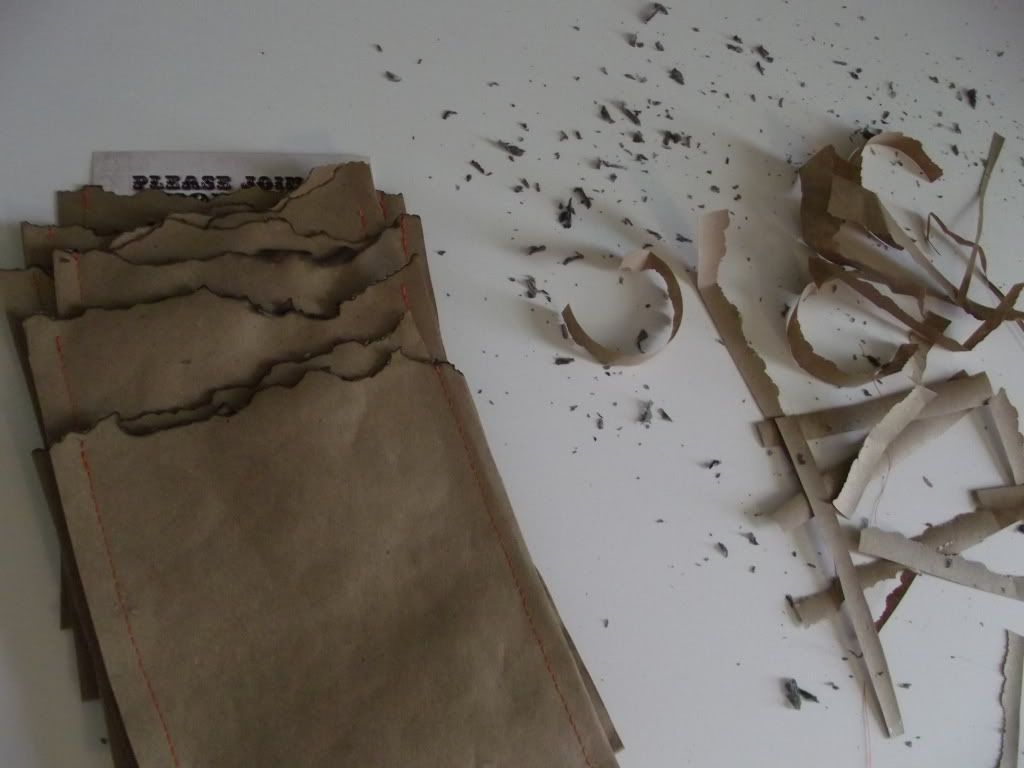
...and what makes today different than all the other Sew Saturdays? Well, today I'm not sewing on fabric. ...I'm making a little switch-a-roo to paper.   "PAPER"? - You say? Yes, paper.  Why?  Because ordinary is boring, so I decided to whip up - or rather stitch up some invitation sleeves for our neighborhood party. ...And I thought I'd share the easy four-step instructions for this very inexpensive project.  Let's get started!
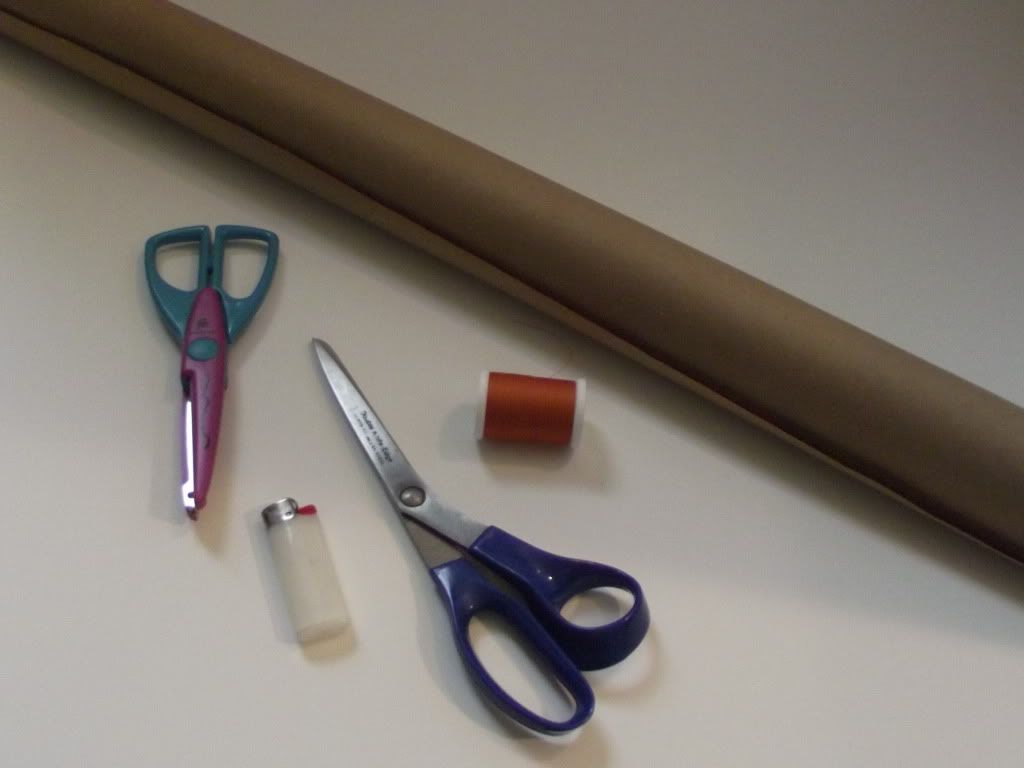
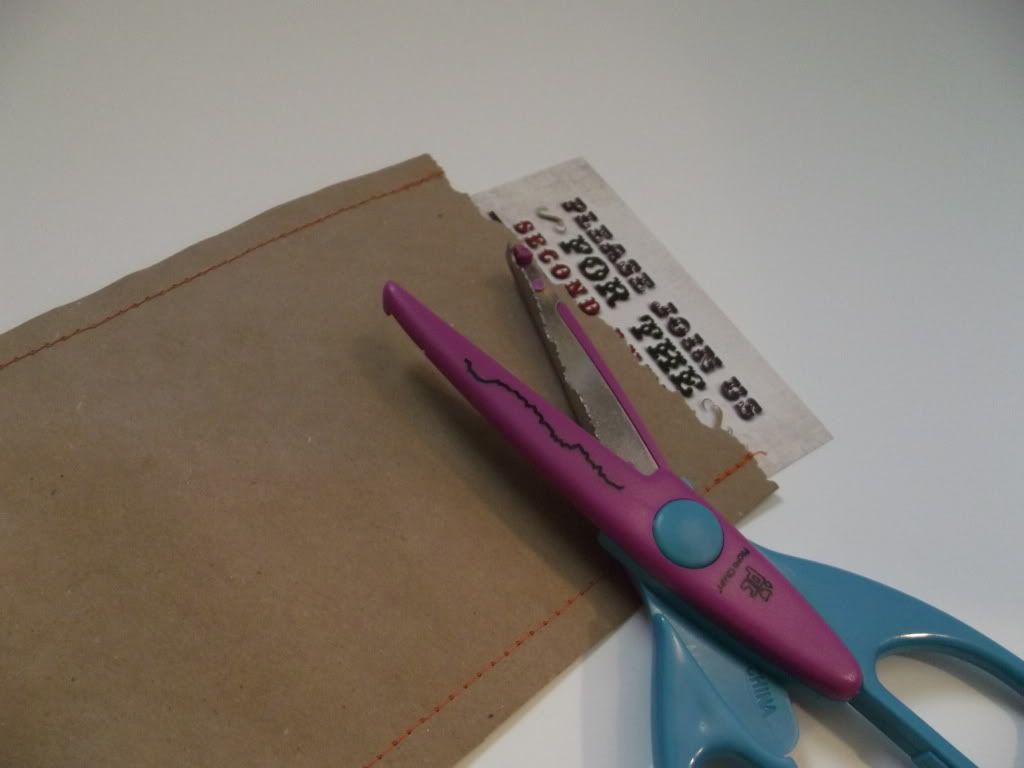
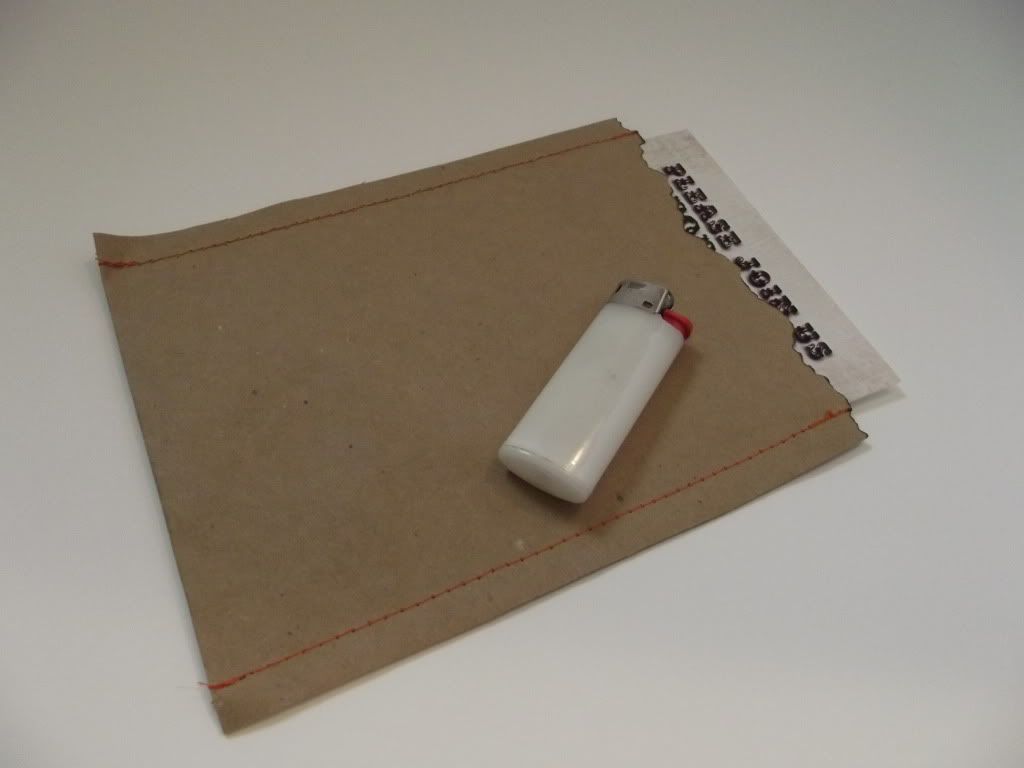
Supplies needed: You will need thread, scissors, textured scissors (optional), paper bag, and a lighter.

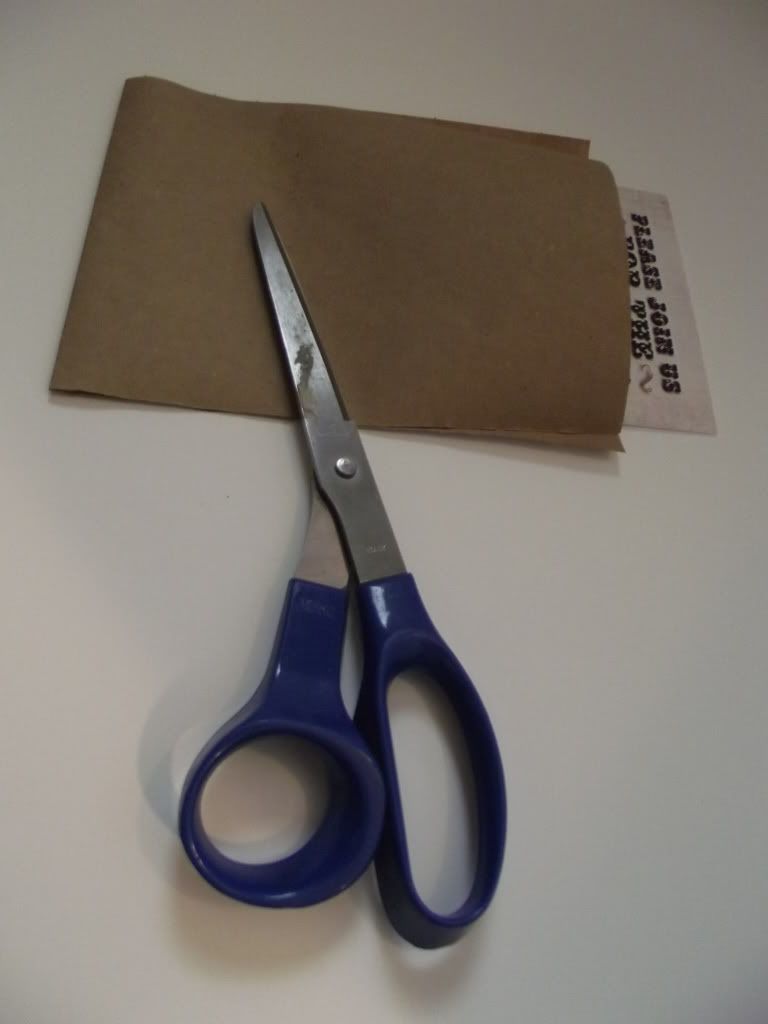
Step 1: Cut out a piece of paper double the length of your invitation allow a little extra space on the sides to allow room for invitation and for seam allowance.

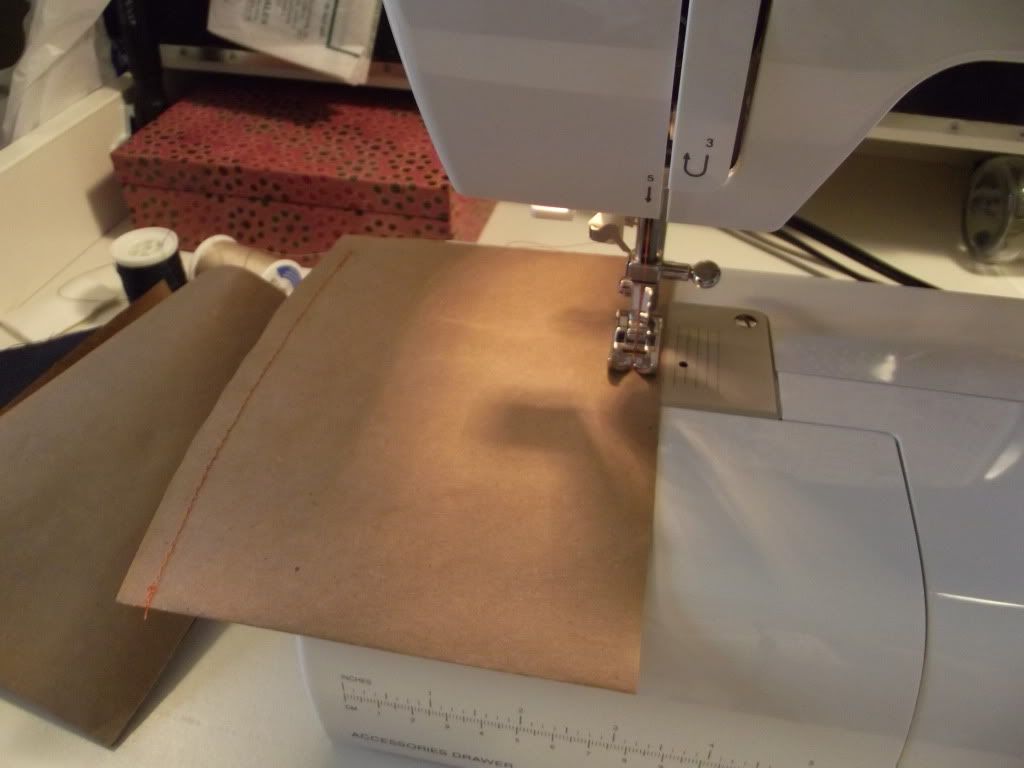
Step 2: Stitch the sides closed.  I did a standard straight stitch, but you can do any stitch.  Don't be shy - get as crazy as your creative little heart desires!

Step 3: Cut off the top.  I started off using these textured scissors to give it a rough-torn look, however in the next step you will find that it's really not necessary.  I decided to keep this step in the mix in case you don't feel comfortable doing #4.

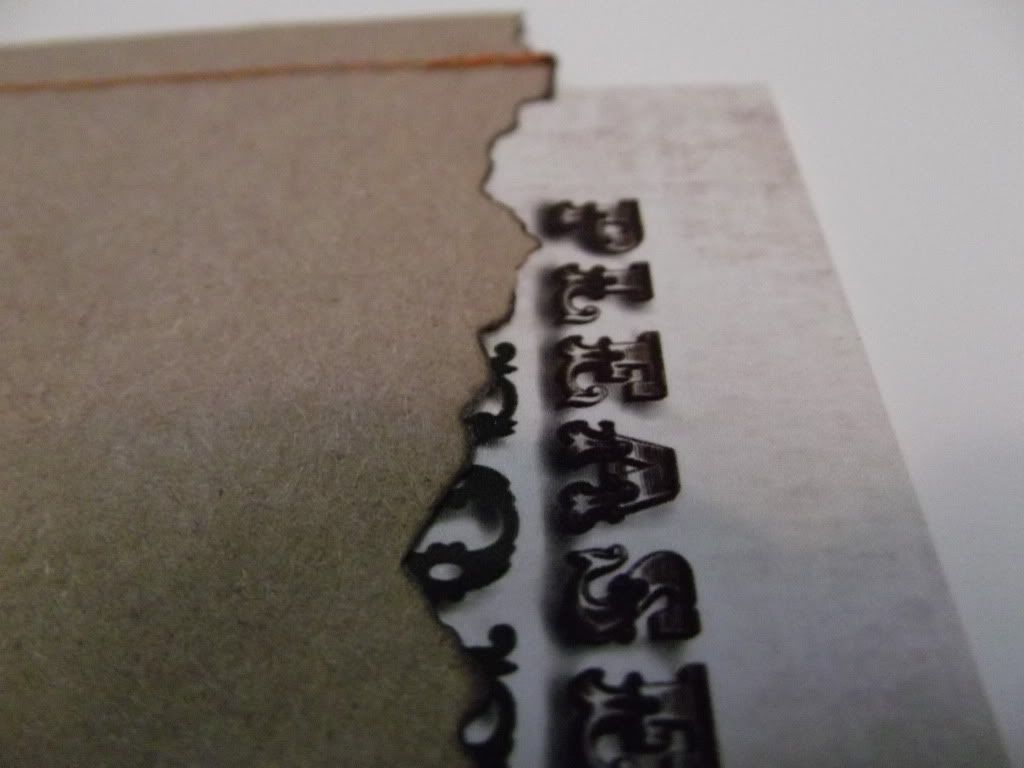
Step 4: Warning this is a stinky step! Grab your lighter and singe the top-opening section of the invitation sleeve.  Blow out the flame quickly, it only needs a second to singe down.   Be-careful.  If you don't feel 100% safe doing this, grab a spray bottle - for the unlikely event that you need to spray out the fire.  If you don't use texturing scissors, the flame will have the same effect on the paper.

Here is a close up of what step 4's effect does to your paper.
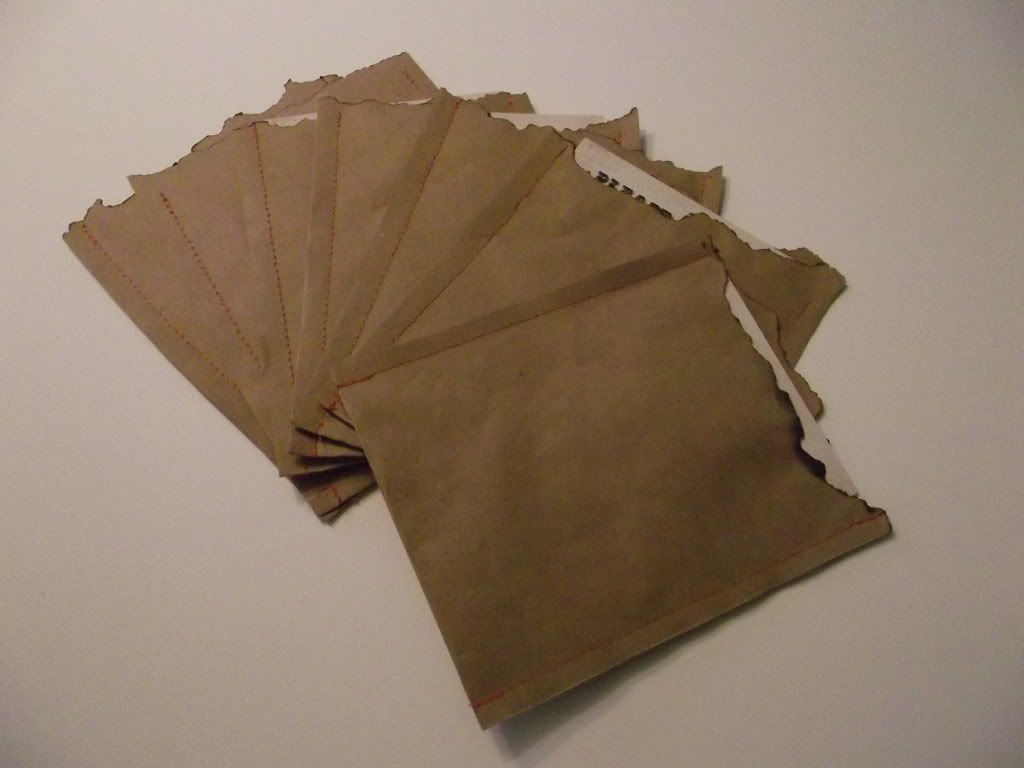
The finished product.
The aftermath - paper shavings and ashes.
Click on above images to enlarge.

1/22/2011

It's Sew Saturday...

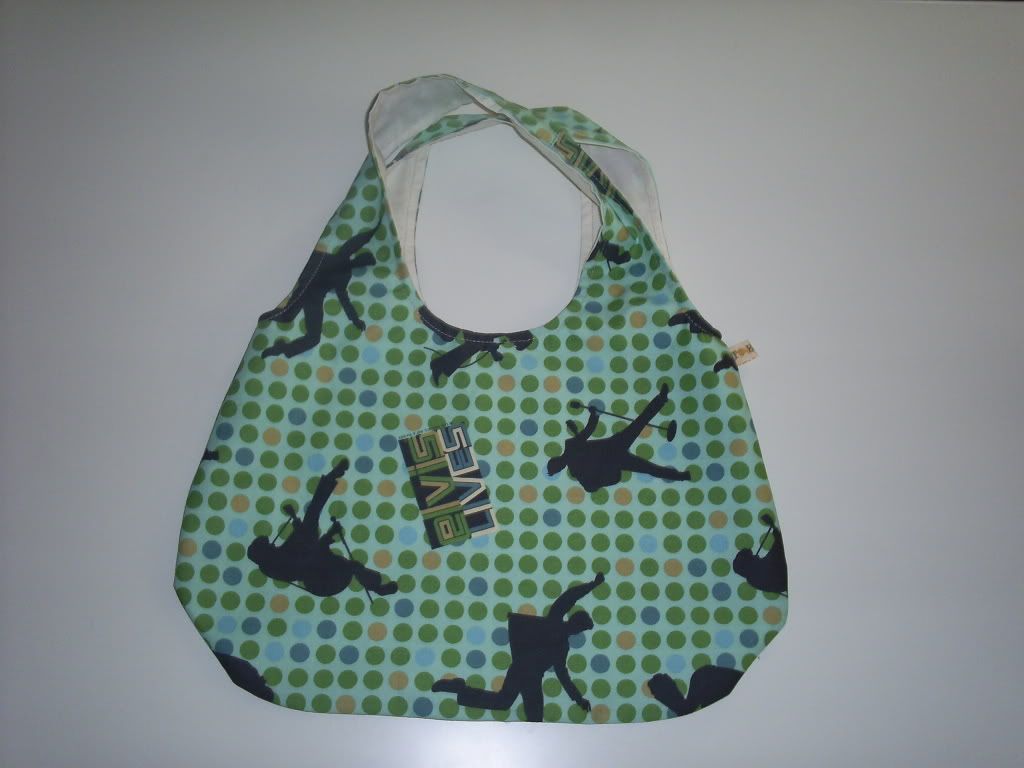
It's Sew Saturday and that is a wonderful thing!  I had some scrap fabric leftover from two Elvis bags that I've made recently.  I made the Elvis bags for other people, but since I too love Elvis, I decided that I needed to make something for myself with the fabric...so I did just that - and it's a good thing that it's for me, because it's far from perfect and definitely not worthy of gifting it to anyone.  I won't bore you with the imperfections...but here are the after shots.  It's a small bag...maybe a good size to hold some jewelry on a trip, or maybe some make-up brushes.


 Another project I made today...which I happen to love, was this little wristlet/clutch.  For the first time ever, I created my own pattern, but apparently I didn't really know what I was doing, and as a result the pleats don't line up right from front to back at the bottom.  It's not terrible, & I might be the only that would notice.  I'm just having fun sewing with zippers.  ...And now that I have 100 zippers...it's good to find some reasons to use them! 


1/09/2011

My weekend project

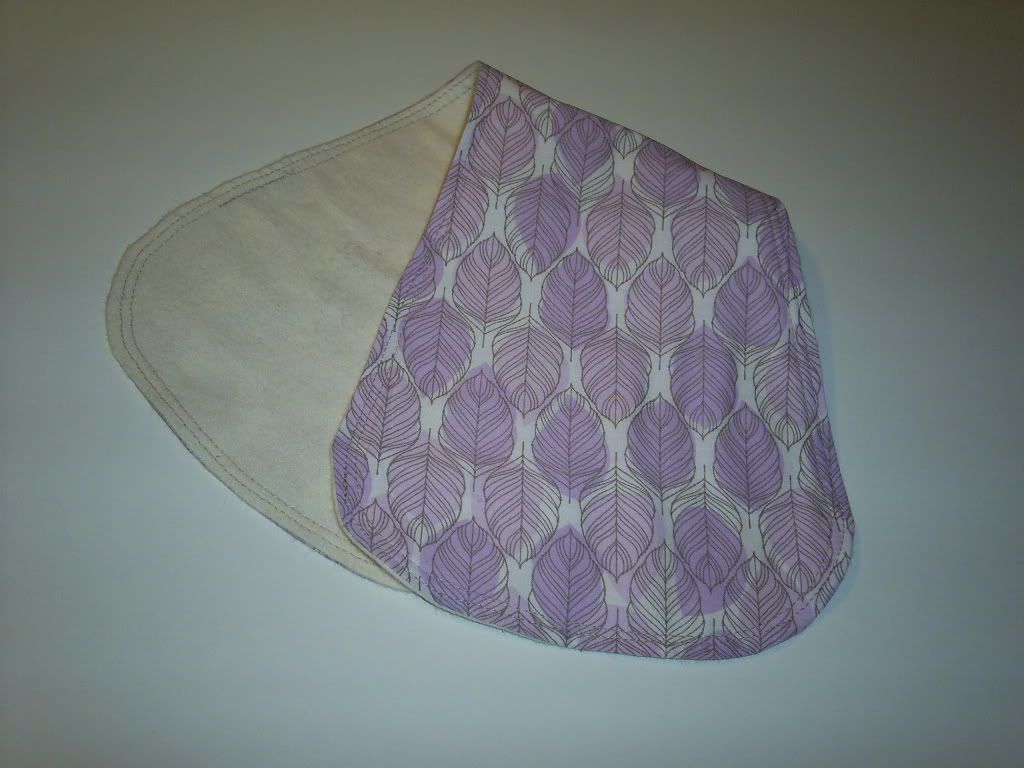
My weekend sewing begin with a project that bombed on me, so the challenge then was to carefully examine what I had and decide if there is any other potential good that could possibly come out of it.  I bought this really cute fabric and thought it would make a great burp cloth.  Not that I do a lot of burp ups nor do I have children that do, but in my journey of learning how to sew, it seemed like a simple enough project to tackle.

So here is the burp cloth "that was, but is no more":

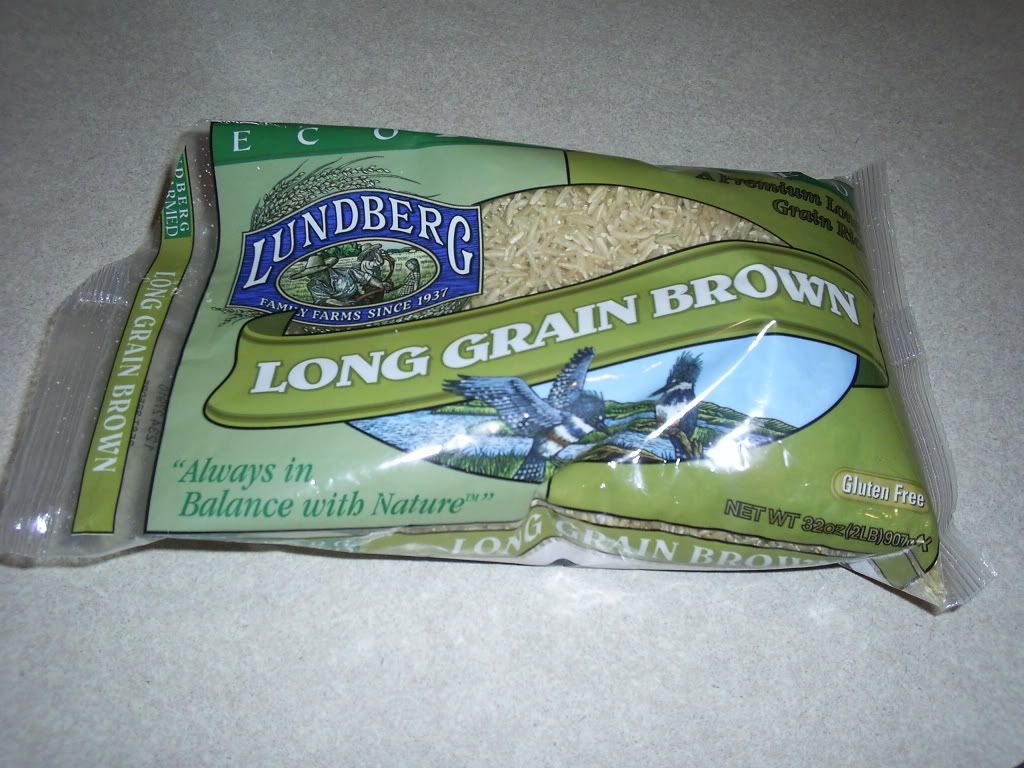
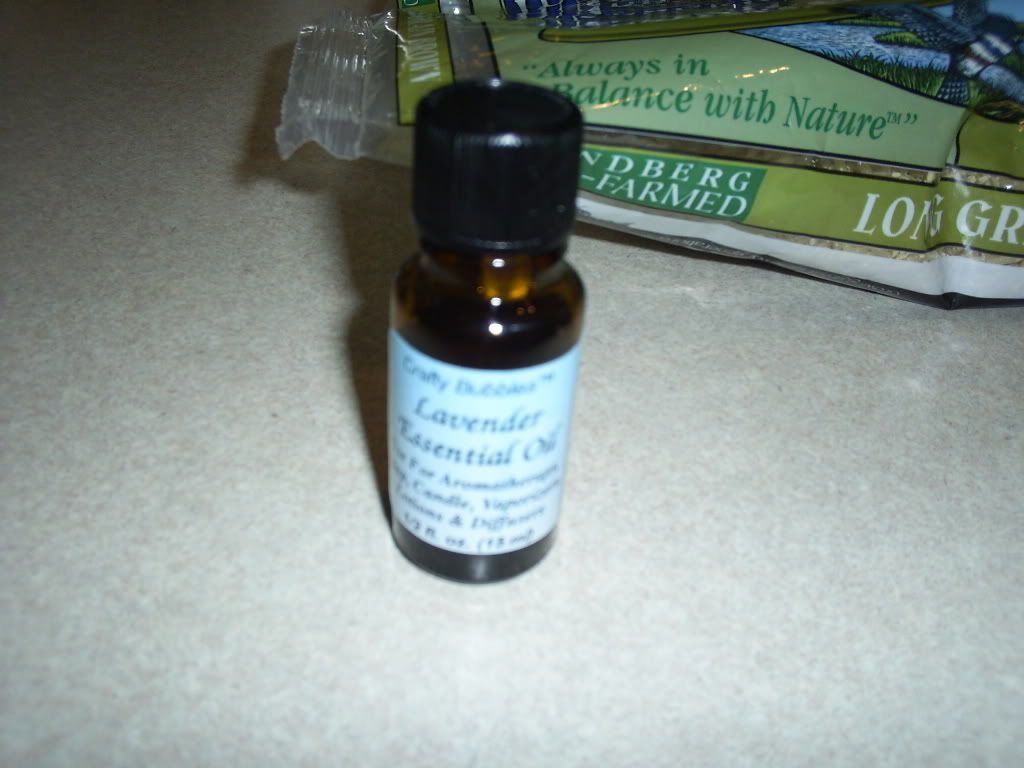
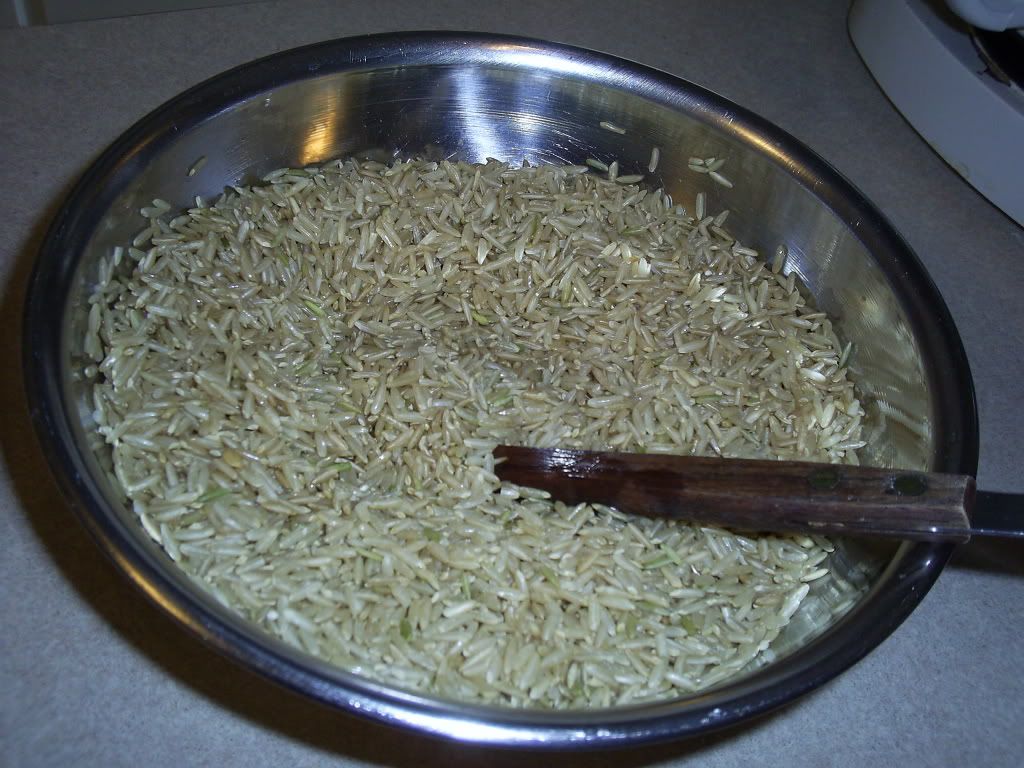
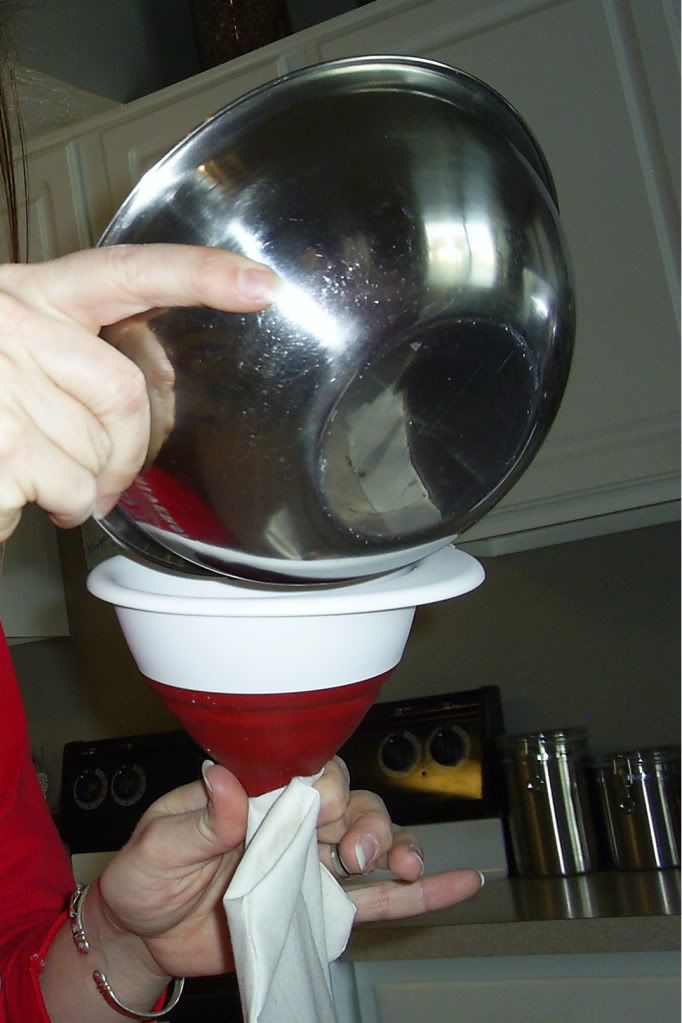
So I scratched my head, rubbed my chin...and then it came to me.  It's amazing what some fabric, rice, and essential oils can do....


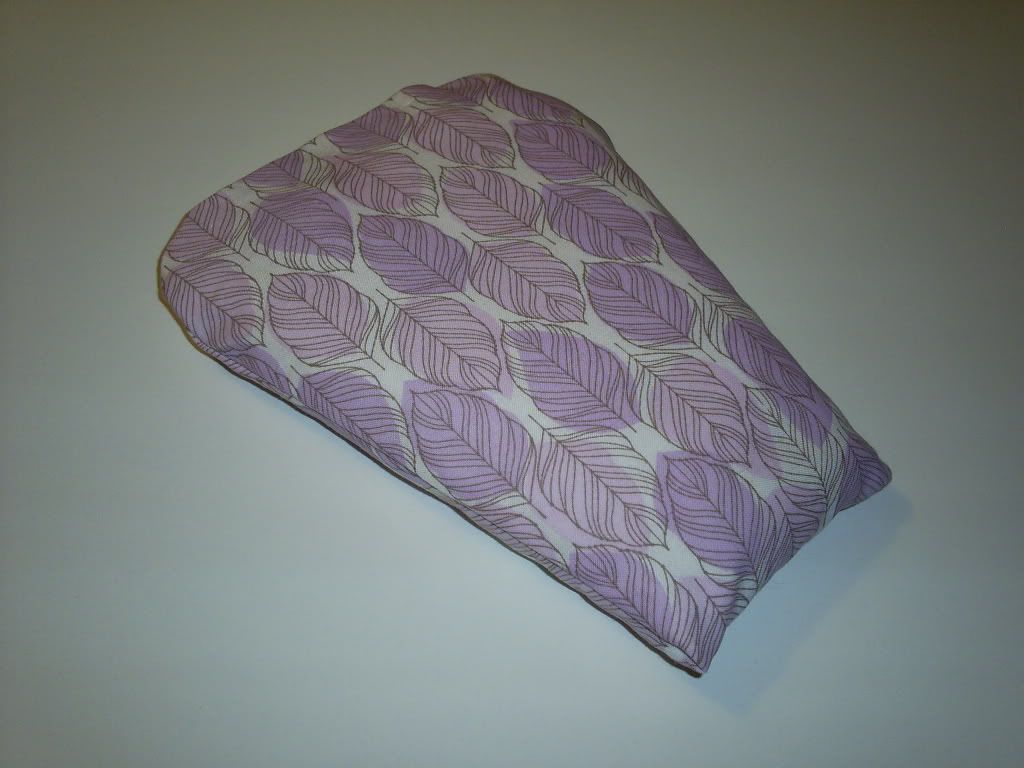
Voila.  After the examination was over, I decided I would turn it into a therapeutic heat pack.
...A strange bypass from the original burp cloth, but the result turned out fabulous.  Here we now have a lovely lavender scented heat pack to spot treat all of my aches and pains.


Just a quick toss in the microwave and this baby is toasty warm and the aroma of lavender is bellowing out.  I'm so glad I didn't give up and toss it in the trash.

...ahhhTime to R - E - L - A - X!

11/13/2010

Back in the Saddle Again.....

I have been away for the past week, so there hasn't been any activity on the O'le Bloggy, Blog, Blog....or with Silvia on the sewing machine. I'm in the midst of getting caught up on laundry at the moment and a few design projects, but I plan on carving some time out to sit down with Silvia and pick back up on a very slow going purse project that I started a little over a week ago.
So yes, I'm a little behind on stuff...but it was so worth being away this week. My brother and sister-in-law welcomed their second child this week. A baby girl! While they were at the hospital, I was hanging out at their house with my sweet nephew. It was great bonding time for the two of us and I'm so happy I got the chance to meet my new niece at the hospital. When you get an opportunity like that you can't pass it up. I can honestly say nothing else mattered. Everything else can wait. Memories were made this week that I will cherish in my heart forever. I am so blessed.
You may remember a few weeks back on Sew Saturday, I had a short post about some projects that I was working on. I couldn't post pictures right away because I was actually working on a few items for my new Niece. Now that she has been born & I have given my gift...I can post the pics.
I made a few bibs and a couple of pacifier clips.
Here are the photos:
Overall, everything turned out alright. (Perfect actually, if you don't look too close.) ...I did have one little mess up on a bib so I ended up keeping one for myself. I don't have any children, but I am now the proud owner of a baby bib. It was too messed up to give away, so I decided to keep it and now I'll be prepared if a mom ever comes to visit me and needs a bib. I also got a little crafty mid-way through the project and created a little tag. Sometimes, I amaze myself. (Sigh.)
...& here she is my beautiful niece and her sweet big brother. He loves her to pieces and so do I. I'm such a proud Aunt.

10/30/2010

It's Sew Saturday...

...and I couldn't be happier.
I am so happy that I finally have some time to sew with no distractions. I wish everyday was Sew Saturday.
Silvia (my Singer) and I are stitching up some really fun stuff. ...Stay tuned. I will post photos later.

10/26/2010

My weekend project


This is what Silvia and I made over the weekend. ...And if you've been following my blog you're probably thinking that looks strangely familiar. If you thought that then pat yourself on the back. You are correct. It is the same pattern as the bag that I made my Mom for her birthday. Only difference besides the print of course, is that this time I followed the directions a little more closely and actually cut the straps to the dimensions that the pattern called for. ...Therefore I have myself a nice little reversible shoulder bag. The one I made my mom ended up being a hand bag since I cut the straps too short. I had some leftover fabric so made a little matching cellphone case with a matching button.

Since I made this bag once before you would think that I breezed through this one, but that was not the case. :( I kept making a stupid mistake while sewing the strap. After re-reading the directions for the twentieth time it finally clicked. When you're stuck in a mistake it stinks, but sometimes the mistakes can be great lessons and I think that was the case with this one. I was mentally jammed long enough, that when I go to make this bag again...I don't see how I could fall back into the strap-trap that I was in.

I still have a lot of other patterns that I want to try and if I ever figure out zippers and buttons....then I'll have a hay day. For now, it's still the basics, but the basics are good projects to help me fine tune my skills.
Related Posts Plugin for WordPress, Blogger...