Showing posts with label Sewing. Show all posts

4/13/2011

A Blast From The Past!

(Five in stock)
This little vintage sewing machine necklace just got added to The Paisley Tab today.  In case you were wandering, Yes, sewing machines were black - back in the day.  ...And in my opinion, much cooler looking than today's machines.
(Five in stock)
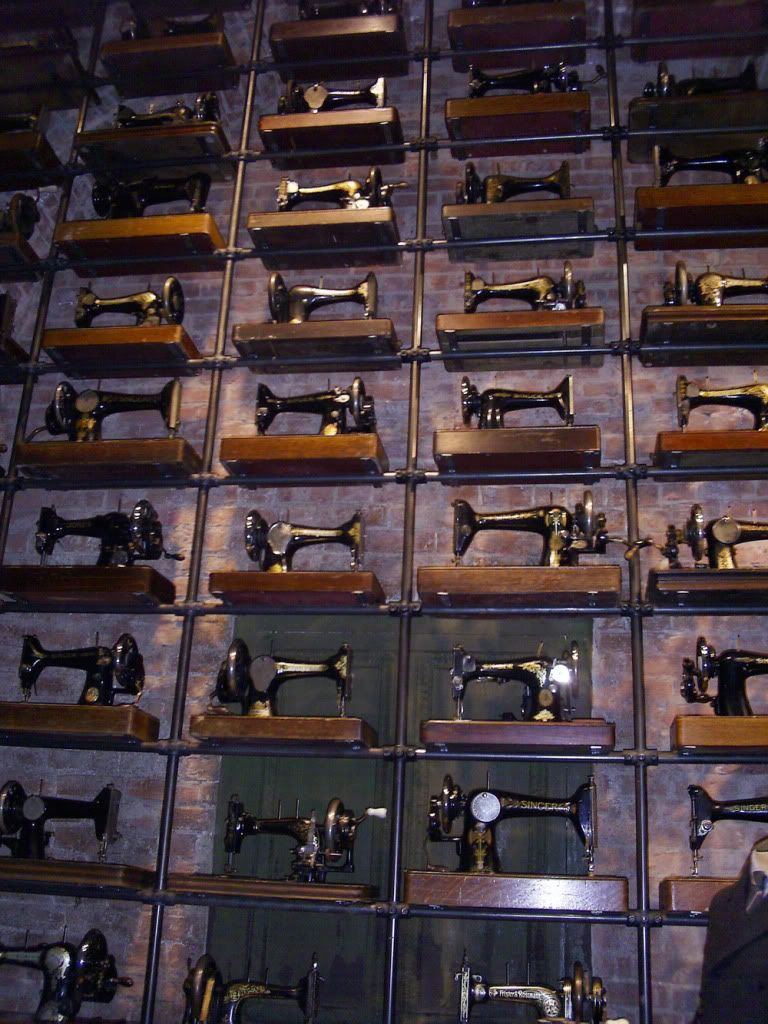
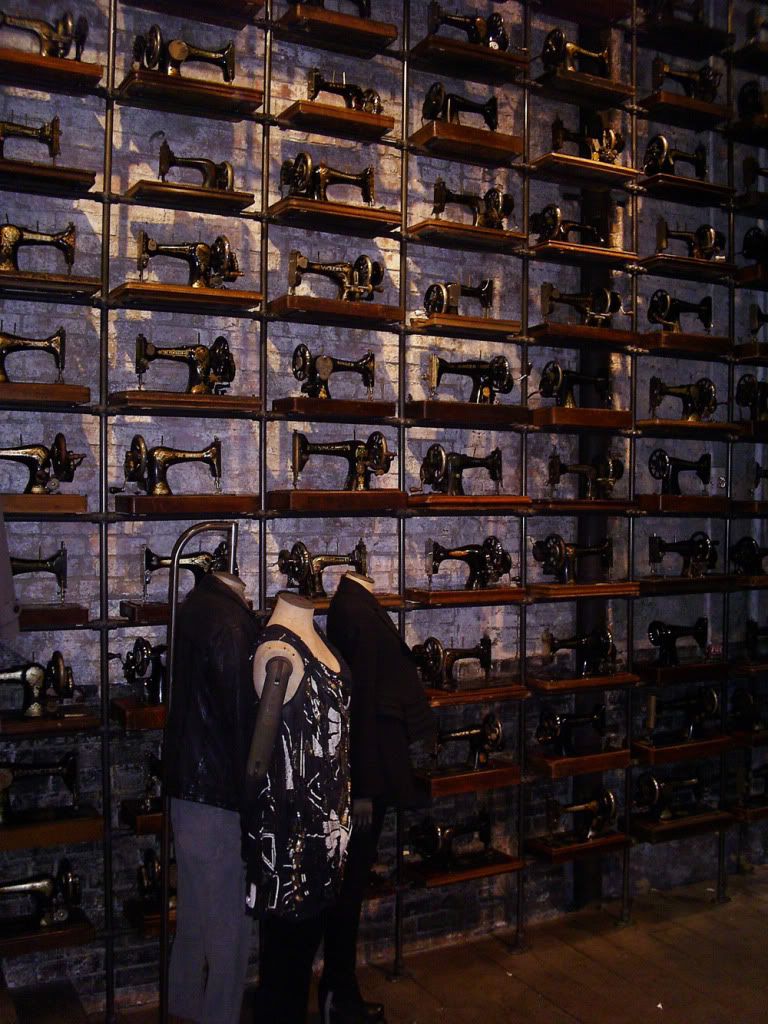
...And, since we're on the subject of vintage sewing machines, I thought I would reminisce a little bit about the cool shop I visited back in December during my trip to New York.  It is called Allsaints Spitalfield.  This store is in several European cities and now in 9 U.S. cities.  It is a really fun shopping experience and the merchandise is great.  All the store fronts and walls are covered in vintage sewing machines.  I was in Heaven!  Actually, it is pretty much the graveyard for old sewing machines.  I guess they all died and went to Allsaints Spitalfied.
To view without music, pause the player at the top left-hand side of page.

Click Below to Shop!

3/31/2011

Open For Business!


A
fter months and months of nudging and encouragement from my husband/cheerleader, he finally convinced me to start selling my lovely little treasures.  I was avoiding this day for awhile because I fell in love with everything I made...and wanted to keep the stuff -
all of it.  ....But to be practical, I can't keep everything I make, so I'm selling it.  Please visit my shop, and "friend me" on facebook and twitter.  I have never gotten into twitter...but I guess I'll start now.

3/18/2011

Sew & Tell: Houston We Have A Problem!

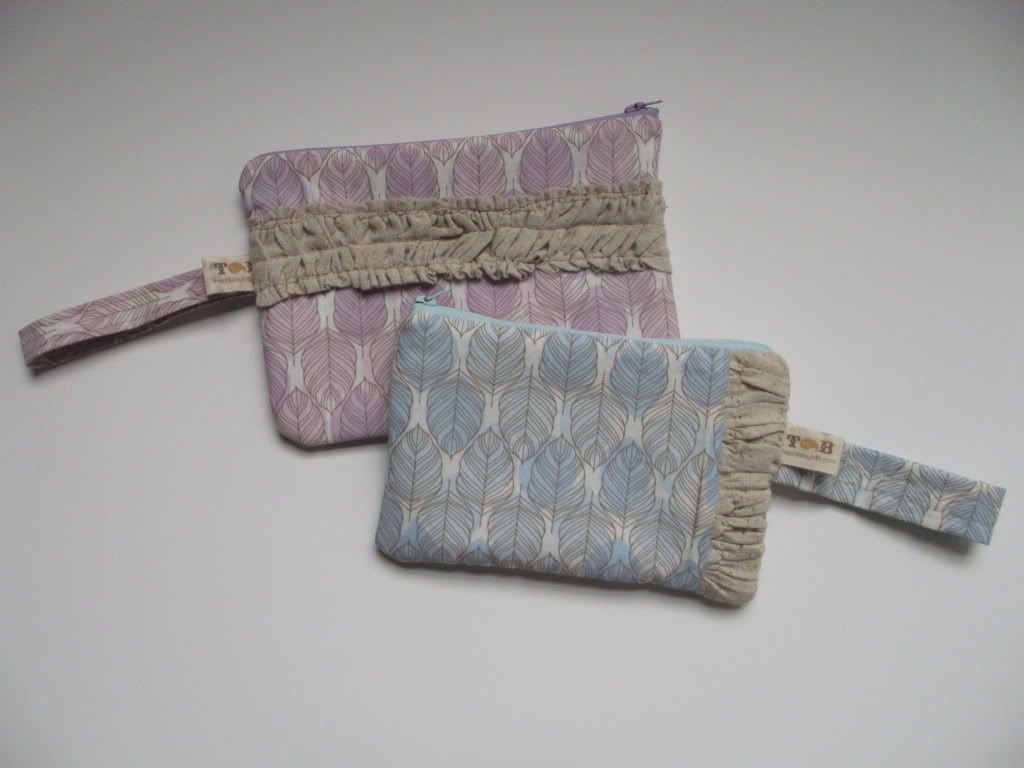
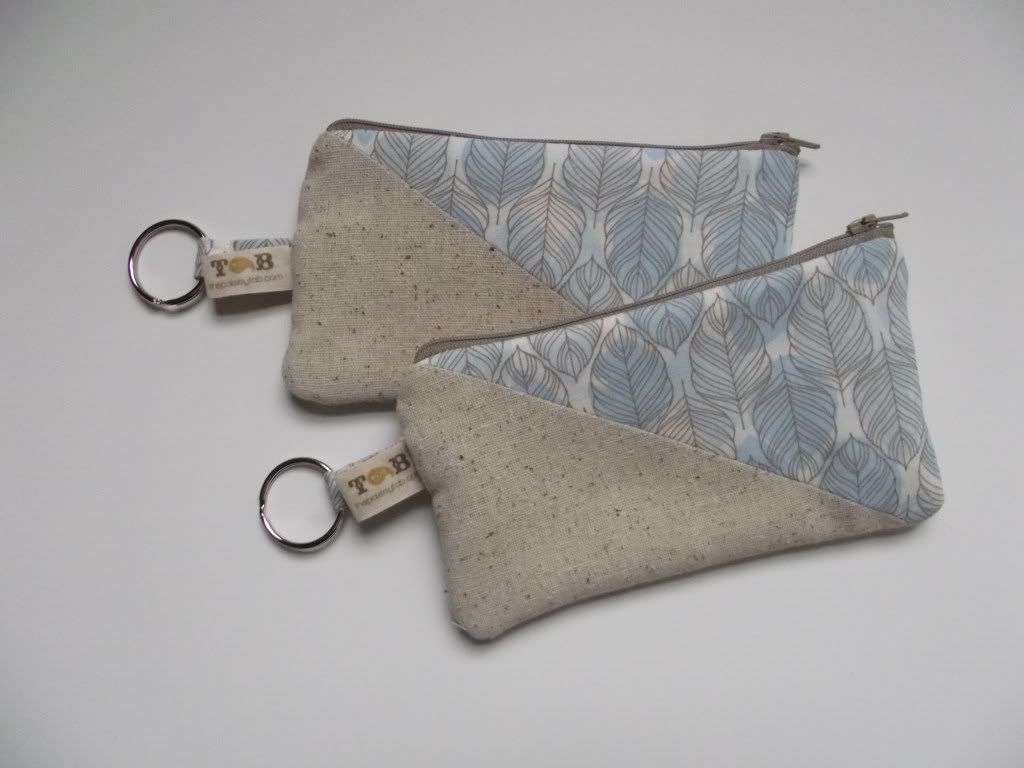
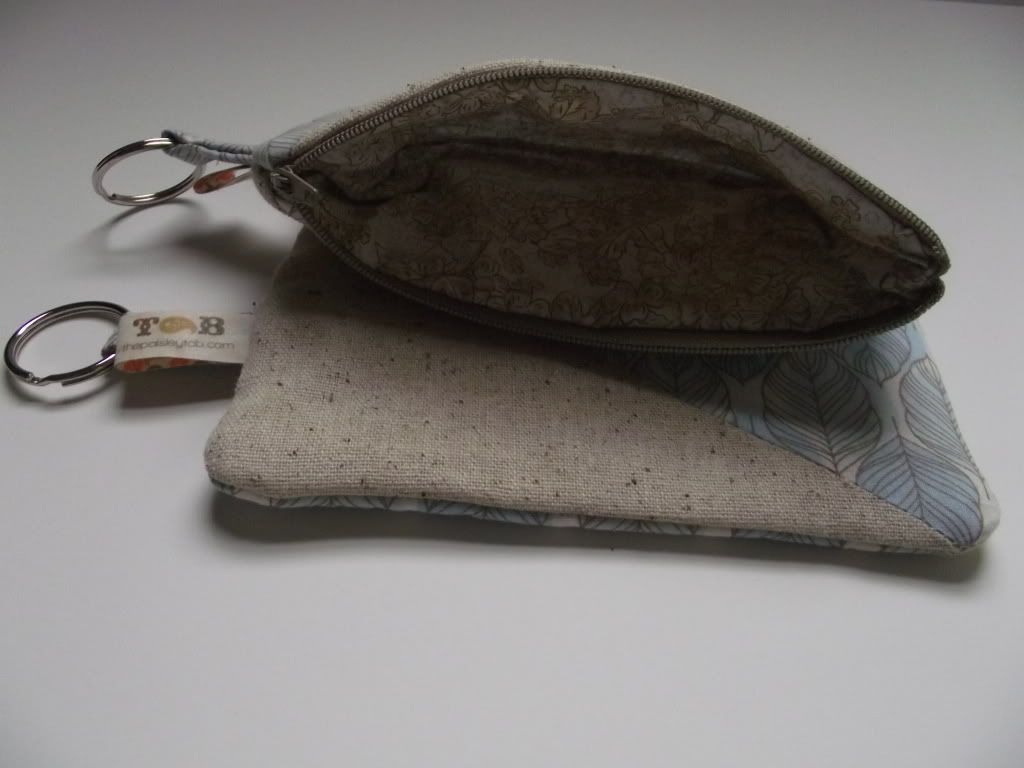
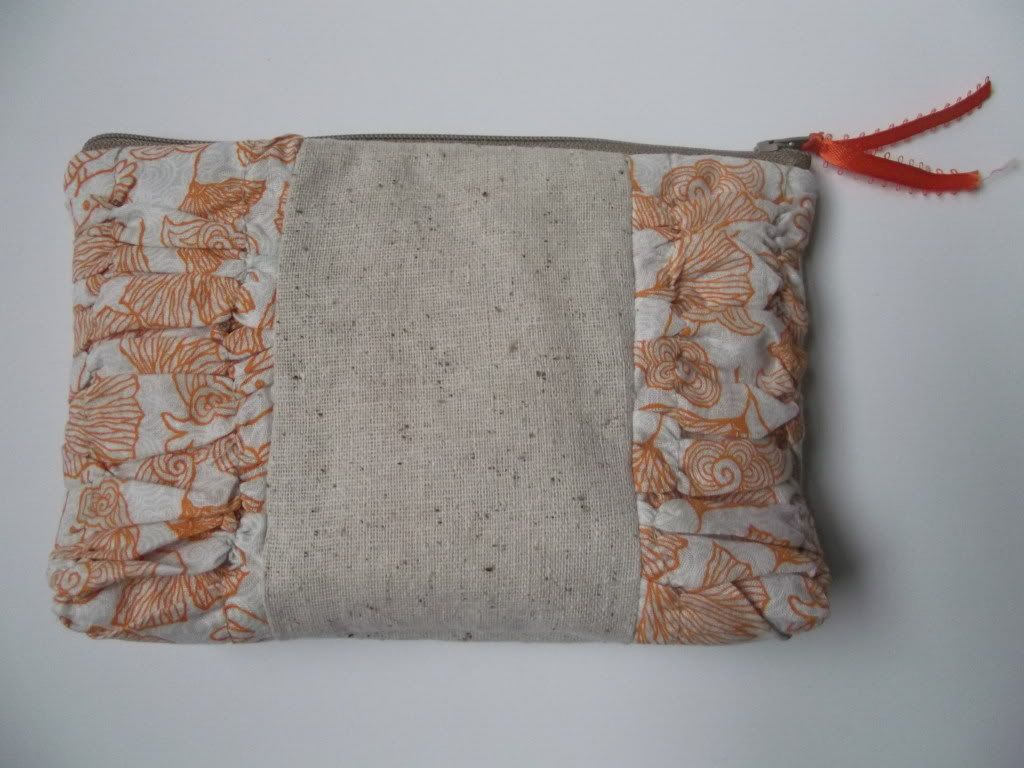
It's been a little while since I've posted a "Sew & Tell".  That's because I've been busing sewing.  ...And - I must say, my infatuation with this sport is growing deeper and deeper with every little stitch!  So much that I couldn't pull myself away from Silvia to share all my new goodies!  ...But Houston help!  I keep making stuff that I love - and I dread the idea of letting go of these fabulous little treasures.  I'll cross that bridge when I have to, but I know that with this growing "Collection" - the time will have to come at some point to set it free.  Atleast I'll always have the photos as my memory of their existence.  ...And the hope that someone else out there will grow as attached as I am becoming!  Speaking of photos....here are a few of the newbies!
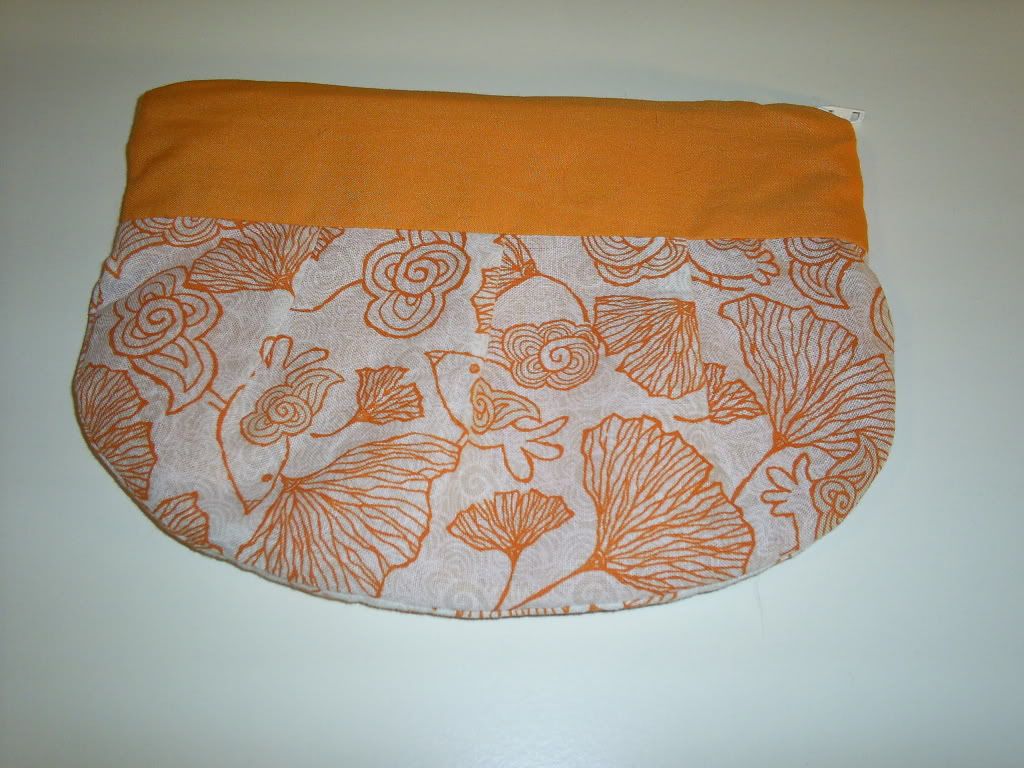
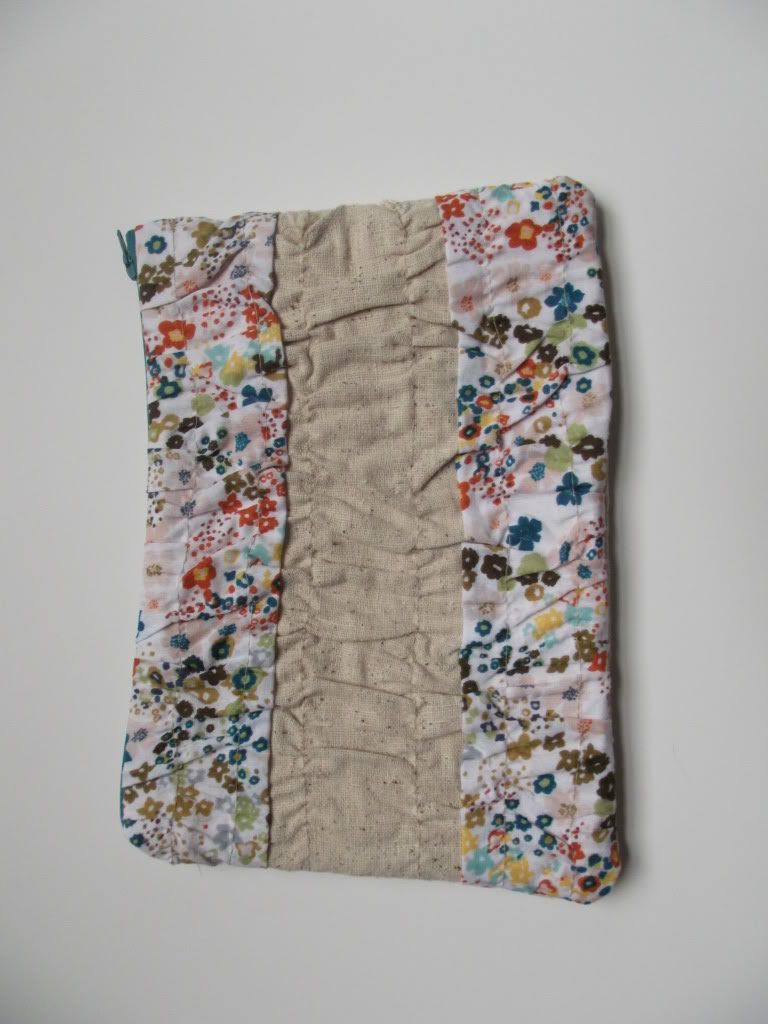
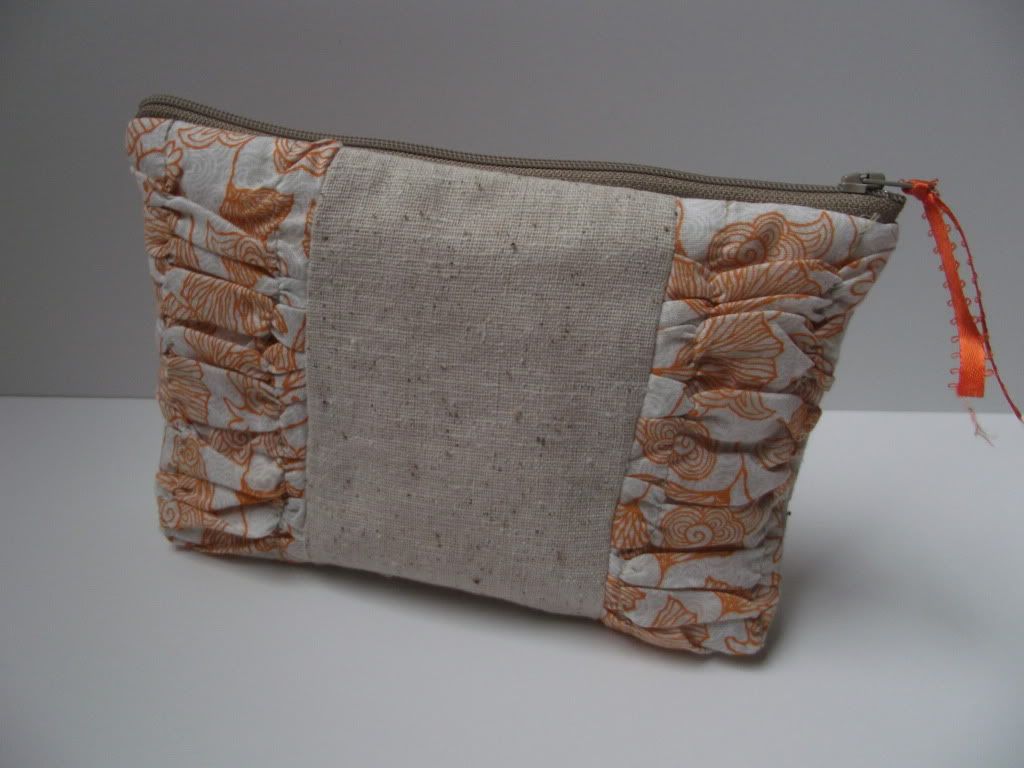
Front view
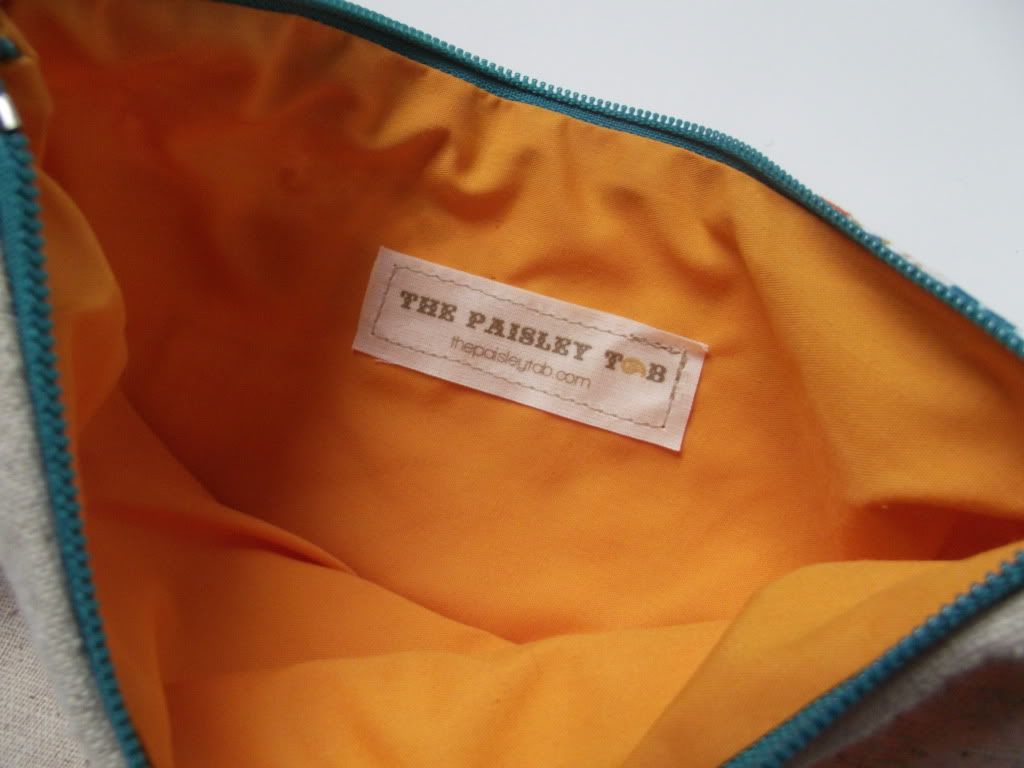
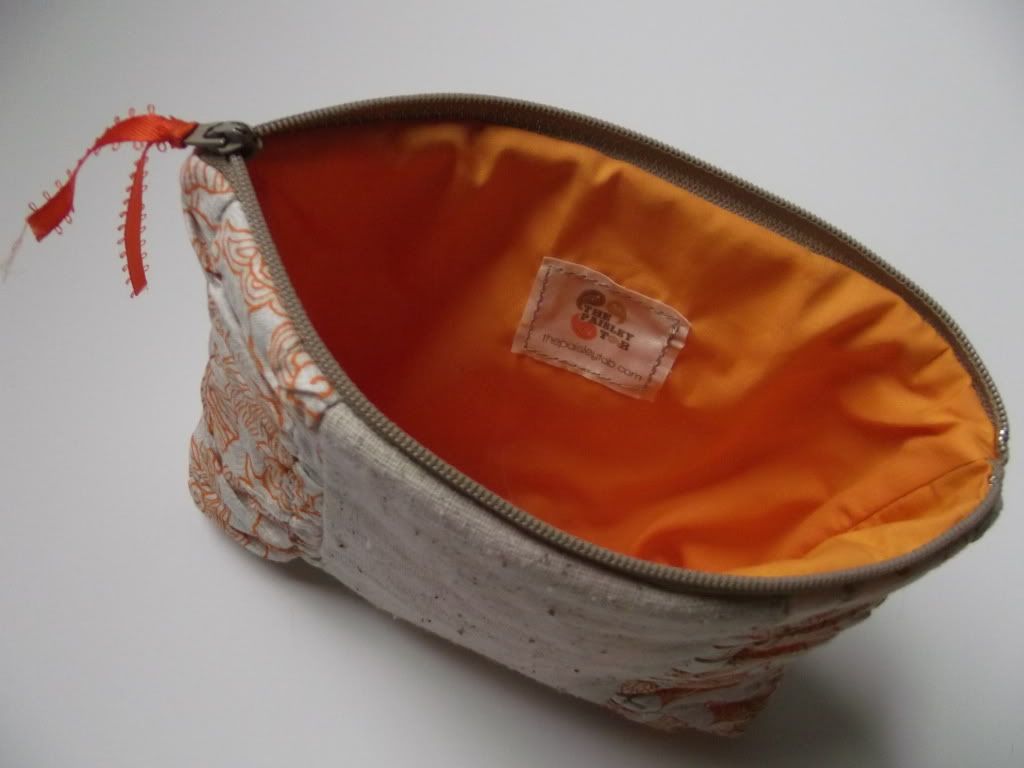
Inside view
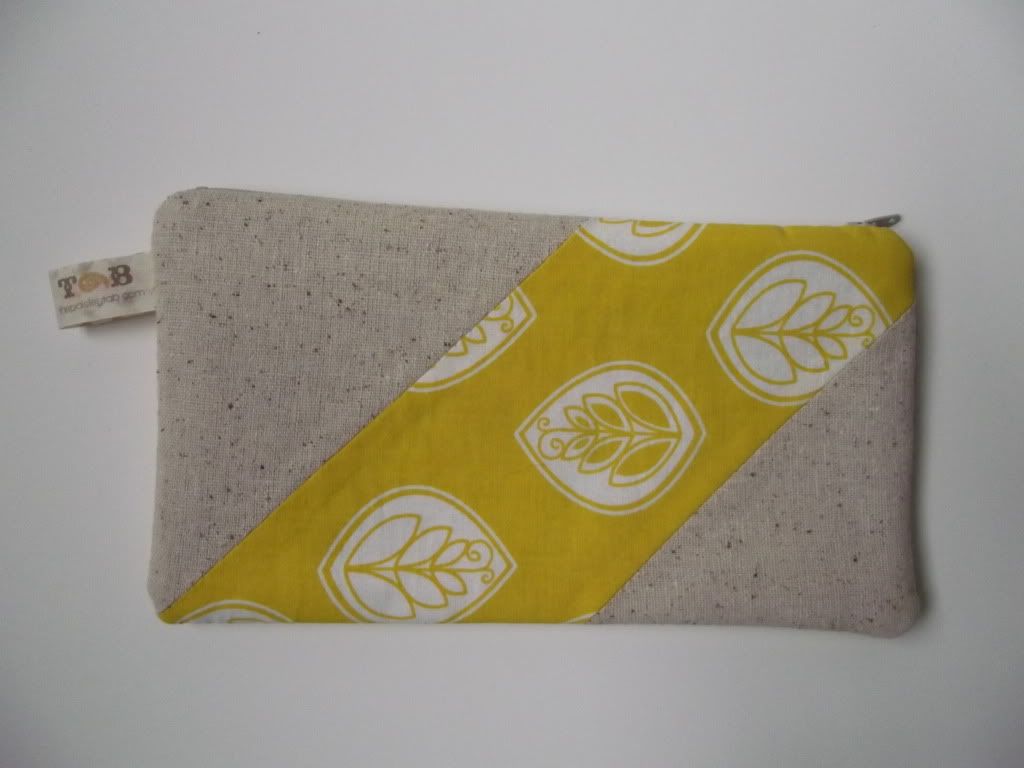
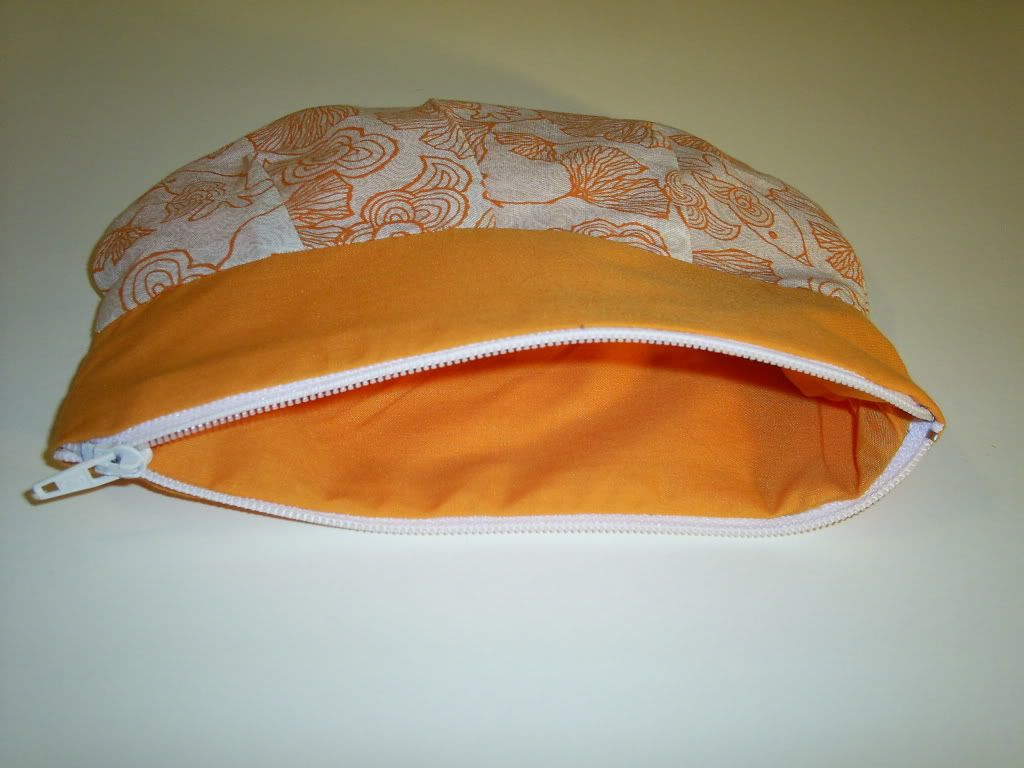
Wristlets
Coin purses
Coin purse - Inside view
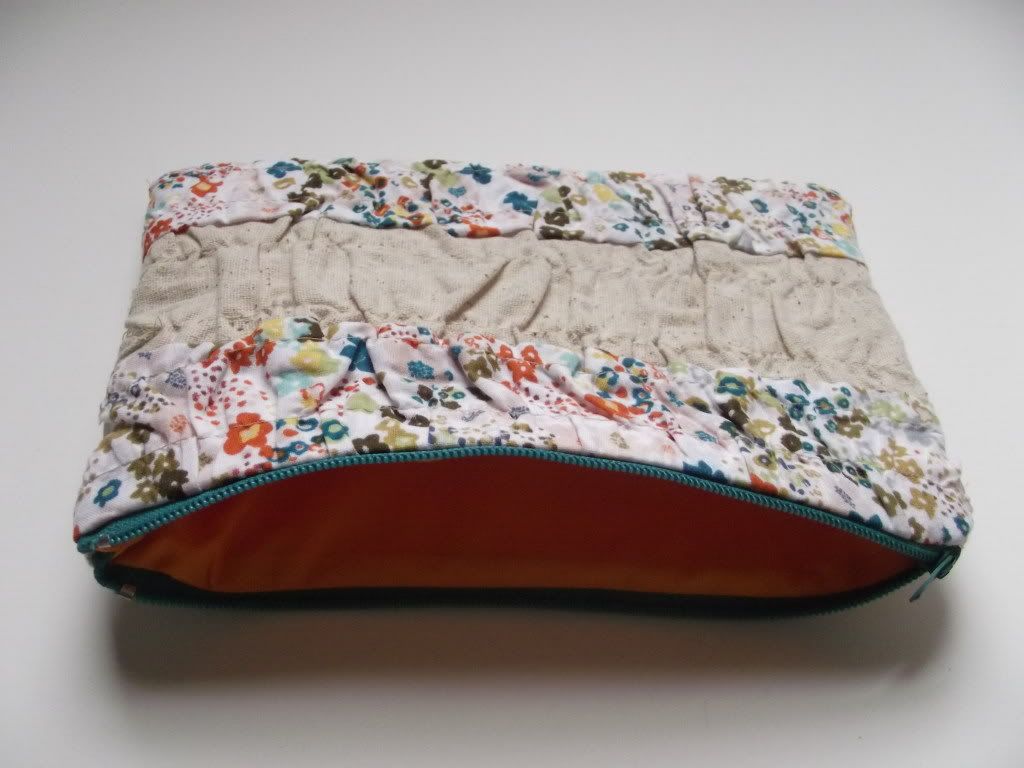
Make-up pouch
(Free Standing - woop-woop!)
Inside view
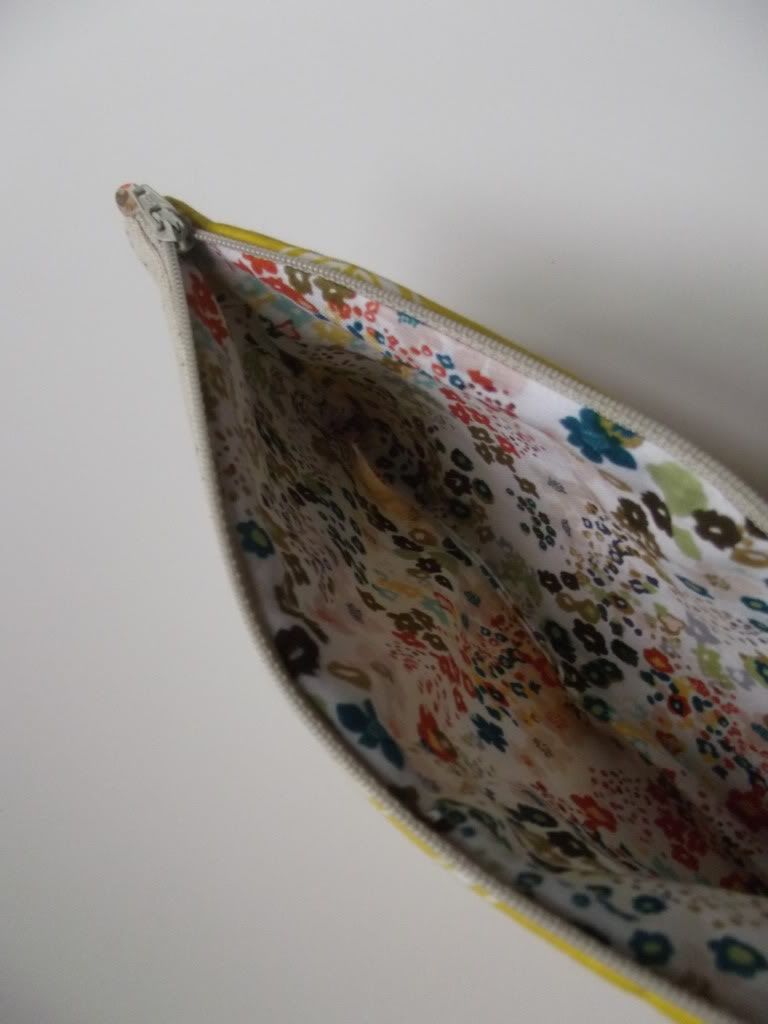
Clutch
Inside view
So there you have it - my confessional.  We're in the heart of March Madness - so there is a really strong chance that I'll get some sew-time in this weekend while my husband is planted on the couch watching basketball.  Gorgeous!

3/02/2011

Accidental Accessory

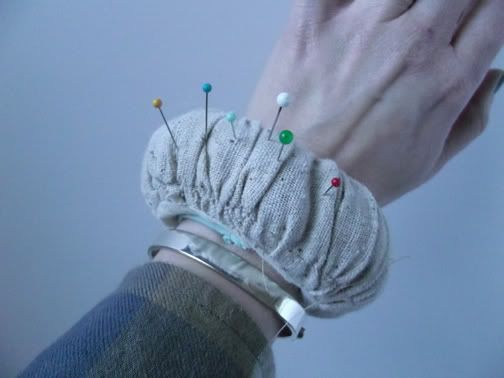
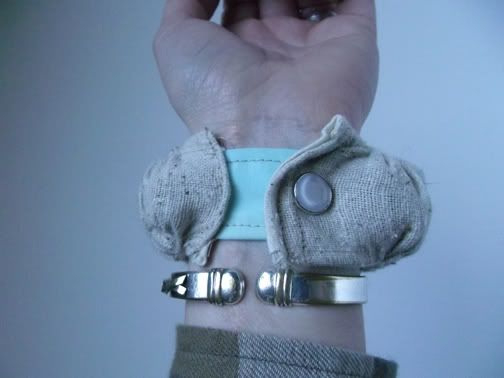
Yes....this is another accident that I miraculously turned into something productive! I was trying to make a ruffle, but it ended up being too short. Before I scrapped it - to the trash, I thought what on earth can I do with it now? ...And voila! Here you have it, a pin-cushion for my wrist! I love it so much that I want to wear it as an accessory. That is kind of a joke - but not really.  Don't worry I won't leave the house with it on! I was pretty proud of myself so I shared it with my husband. He didn't understand my joy exactly - I said "they sell these things at craft stores. People buy these".  He said "I know".  Well, regardless of what he thinks...my cup is overflowing with pride - that's all that matters.  It's the little things. (He's a boy - he'll never understand this one!) 

Gorgeous!

Photo Credit: Refinery 29
Sewing mistakes happen often with me - only twice now I've been able to (In the words of Tim Gunn) "Make it work".   Click HERE to read my other sewing mishap/transformation.

3/01/2011

Sew & Tell: Crayon Roll NĂºmero Dos

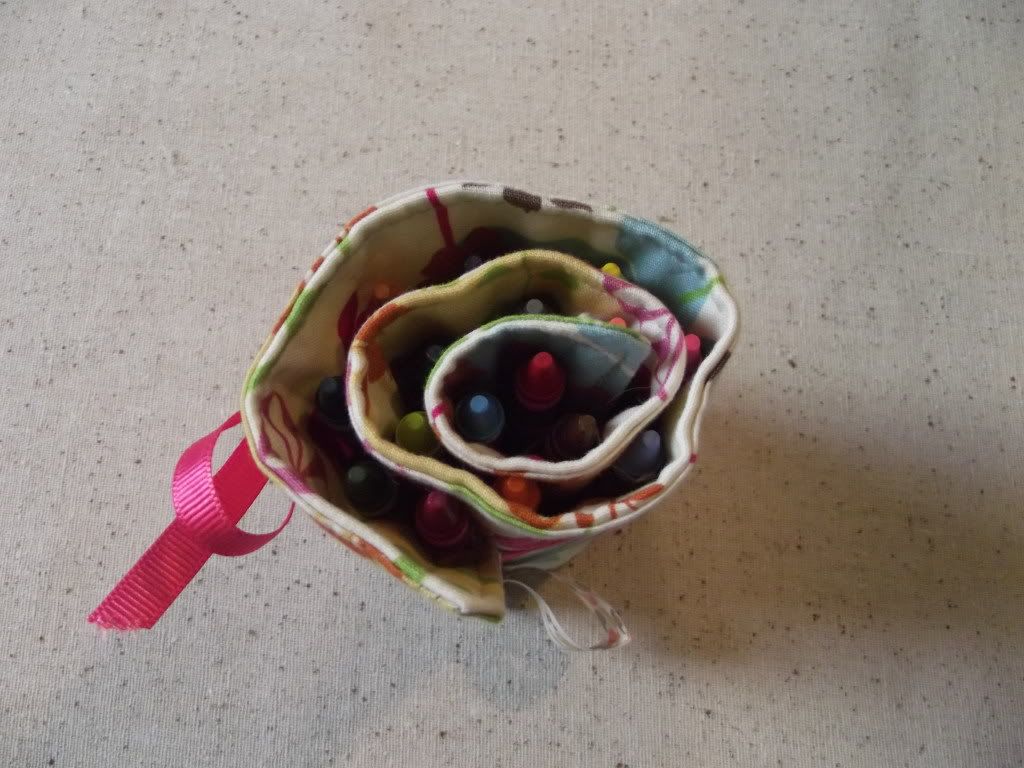
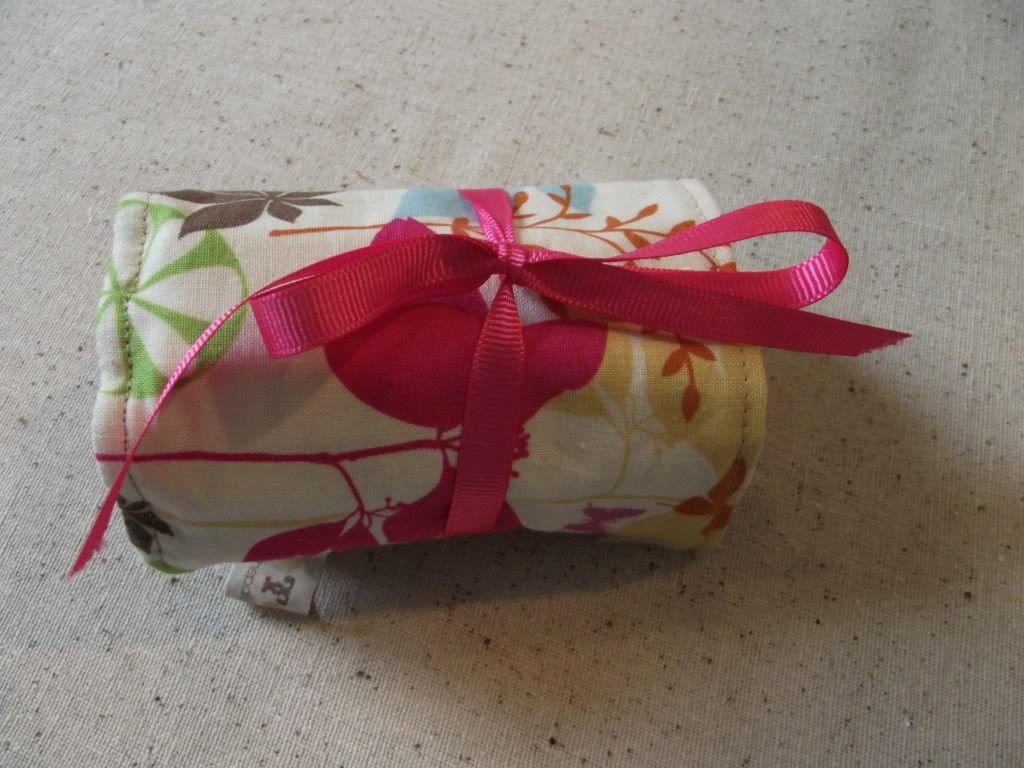
Thanks to my brother, someone saw the crayon roll that I made for my nephew recently and asked me to make one for their child. As I admitted in that post, I love having an excuse to sew and I really enjoyed making the first one, so I was happy to have the opportunity to make another..... & as you know from the other posts on this blog - I like to Sew and Tell, so here it is.


2/27/2011

It's Sew Saturday...

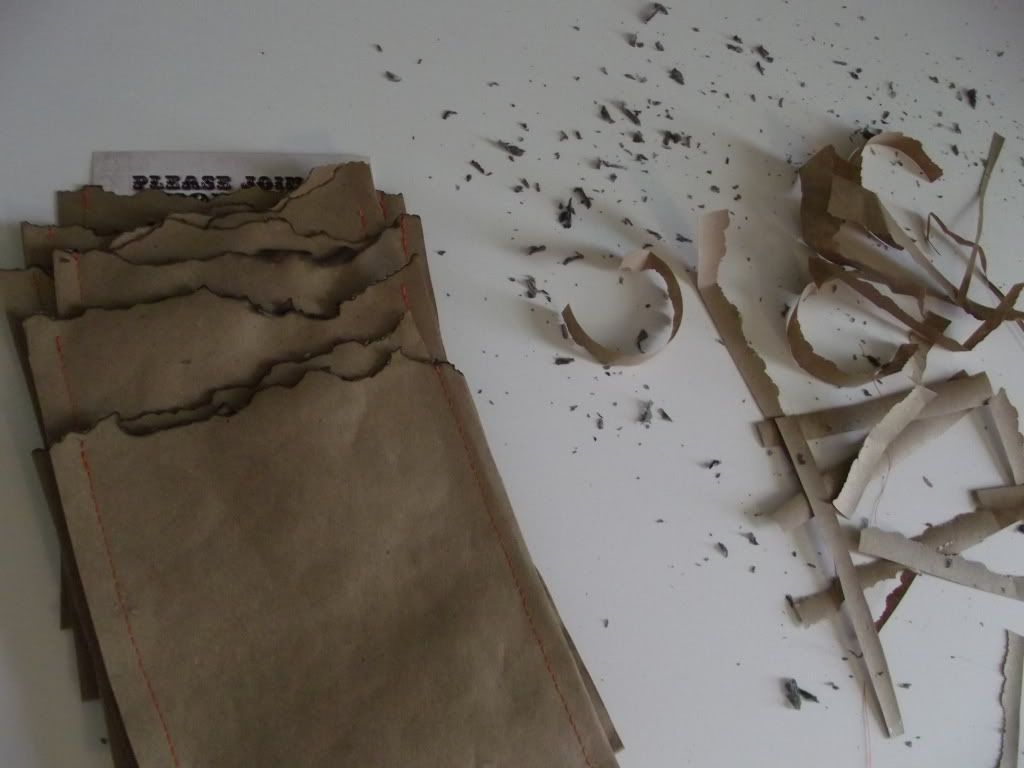
...and what makes today different than all the other Sew Saturdays? Well, today I'm not sewing on fabric. ...I'm making a little switch-a-roo to paper.   "PAPER"? - You say? Yes, paper.  Why?  Because ordinary is boring, so I decided to whip up - or rather stitch up some invitation sleeves for our neighborhood party. ...And I thought I'd share the easy four-step instructions for this very inexpensive project.  Let's get started!
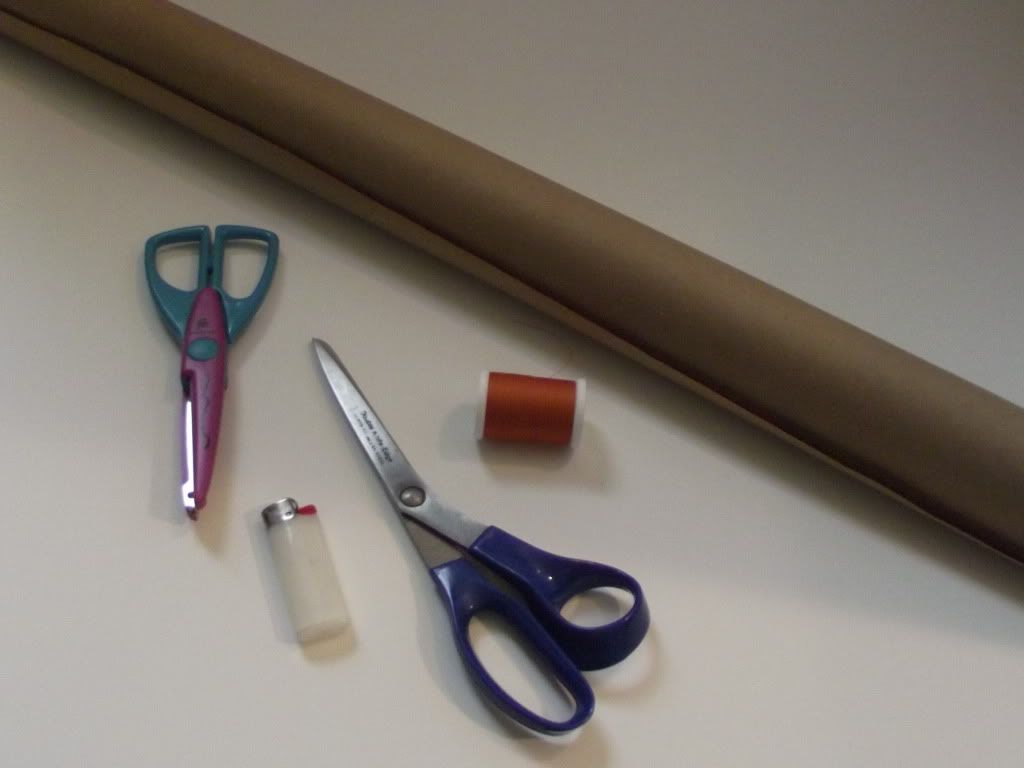
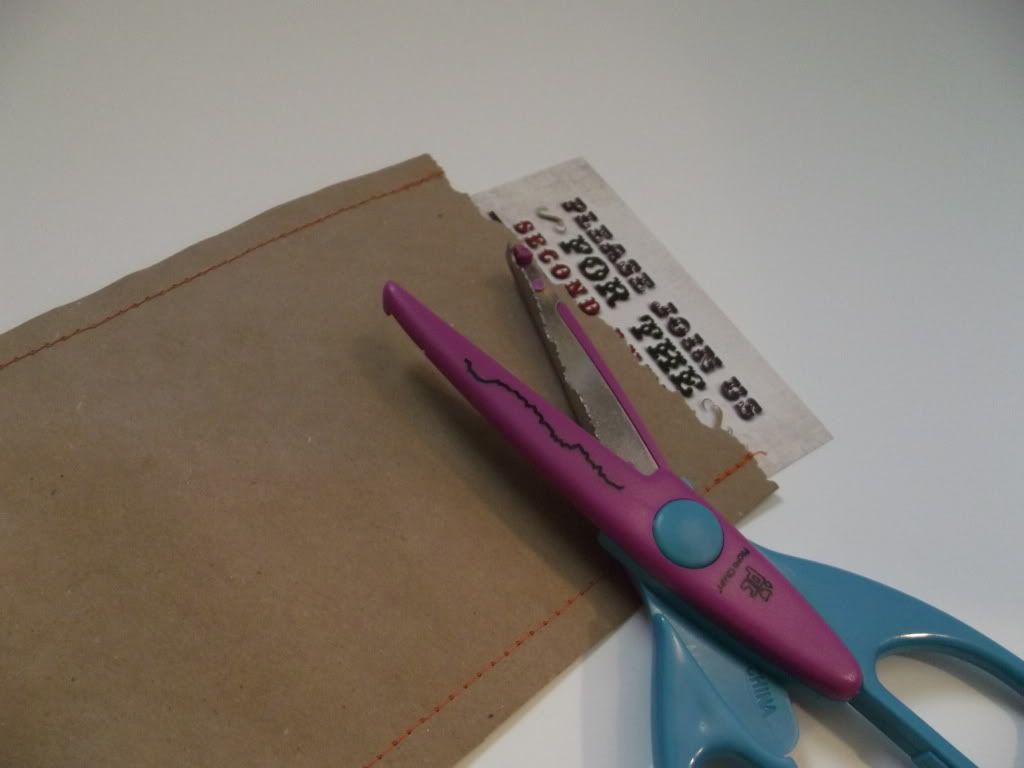
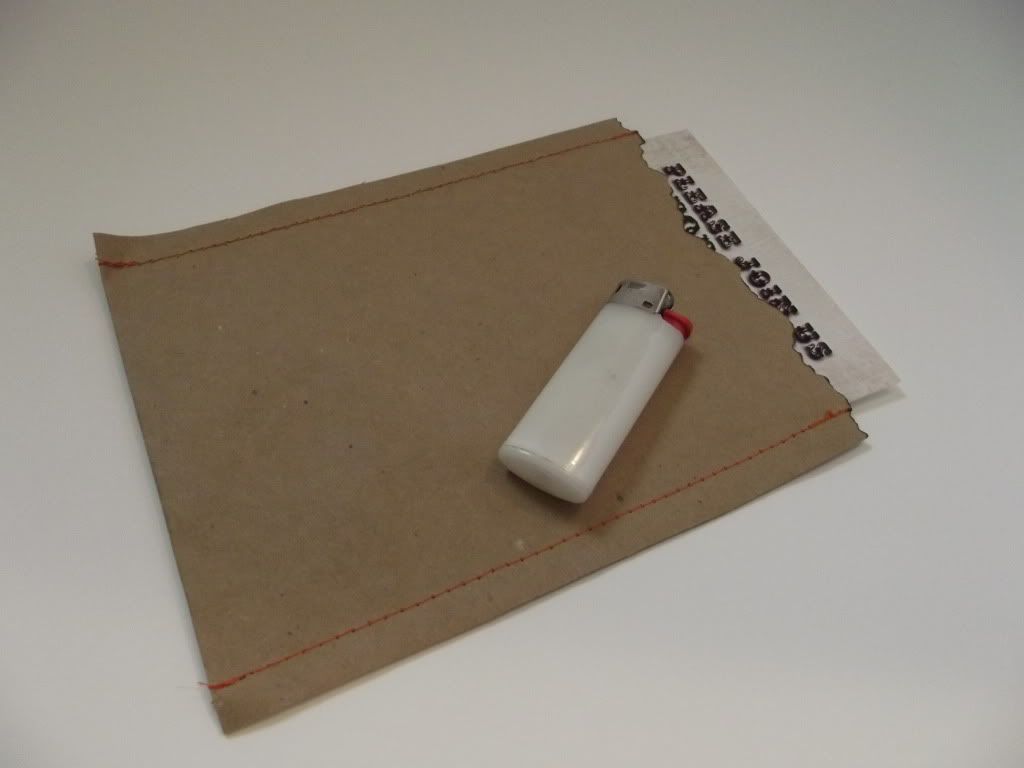
Supplies needed: You will need thread, scissors, textured scissors (optional), paper bag, and a lighter.

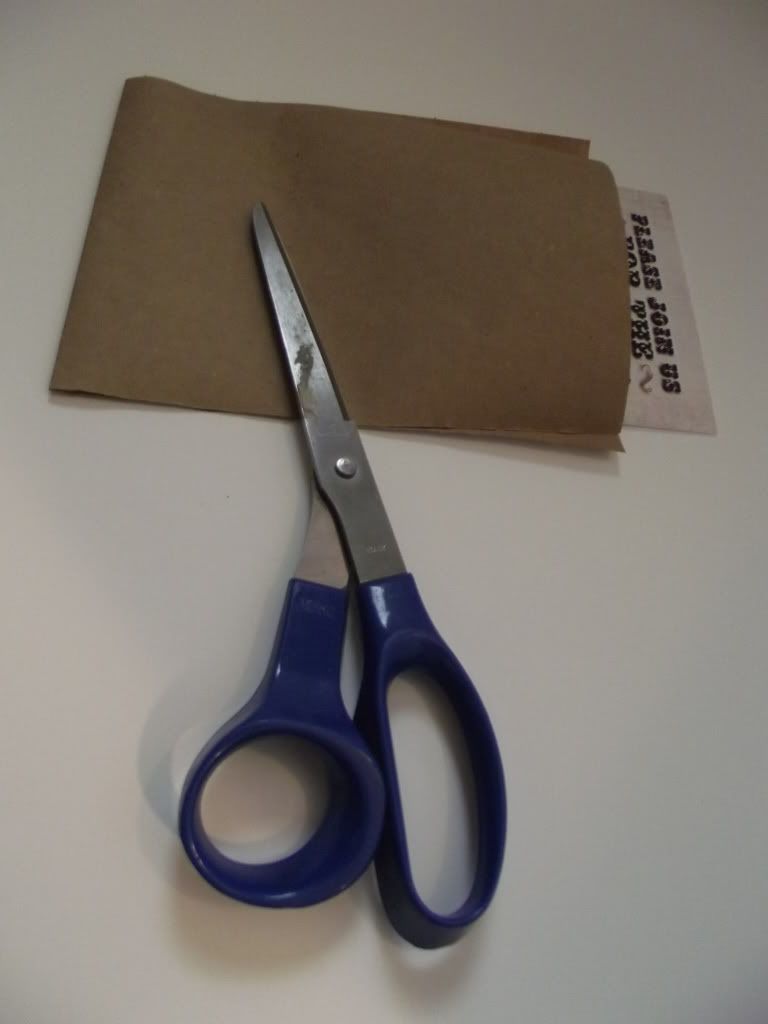
Step 1: Cut out a piece of paper double the length of your invitation allow a little extra space on the sides to allow room for invitation and for seam allowance.

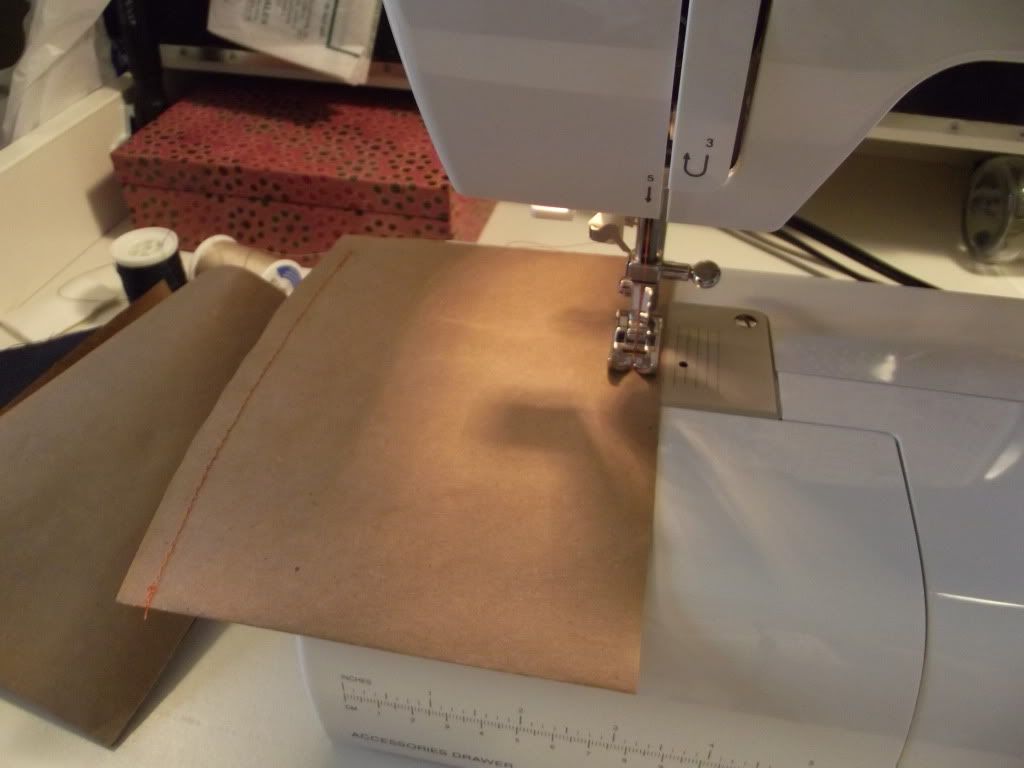
Step 2: Stitch the sides closed.  I did a standard straight stitch, but you can do any stitch.  Don't be shy - get as crazy as your creative little heart desires!

Step 3: Cut off the top.  I started off using these textured scissors to give it a rough-torn look, however in the next step you will find that it's really not necessary.  I decided to keep this step in the mix in case you don't feel comfortable doing #4.

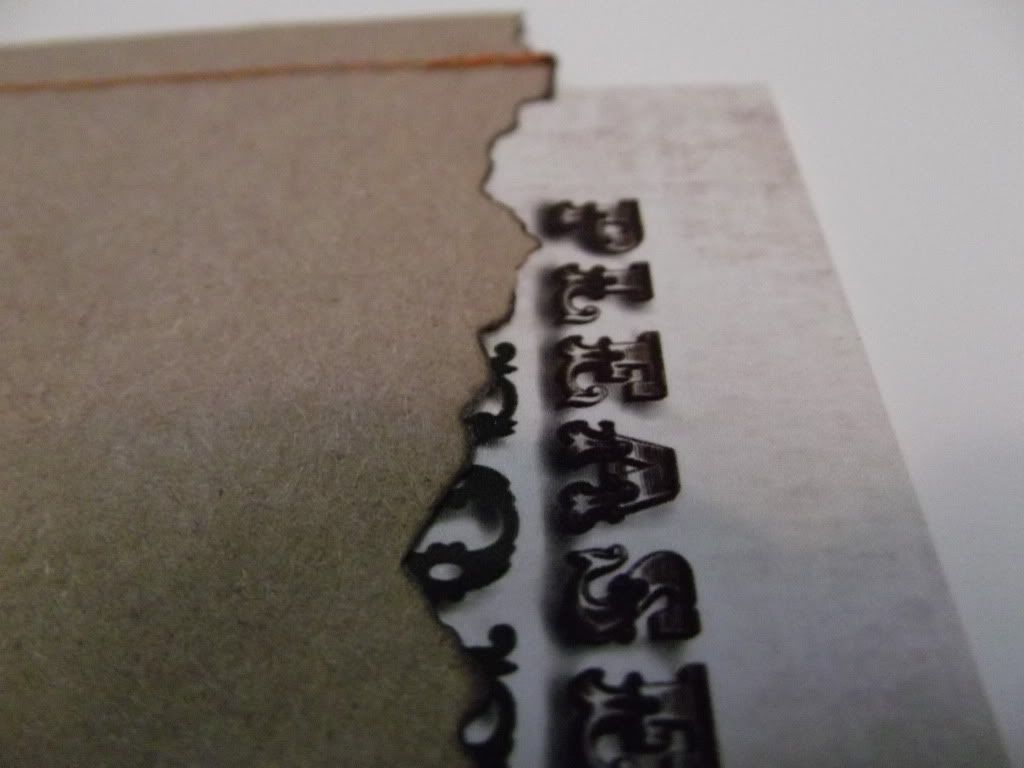
Step 4: Warning this is a stinky step! Grab your lighter and singe the top-opening section of the invitation sleeve.  Blow out the flame quickly, it only needs a second to singe down.   Be-careful.  If you don't feel 100% safe doing this, grab a spray bottle - for the unlikely event that you need to spray out the fire.  If you don't use texturing scissors, the flame will have the same effect on the paper.

Here is a close up of what step 4's effect does to your paper.
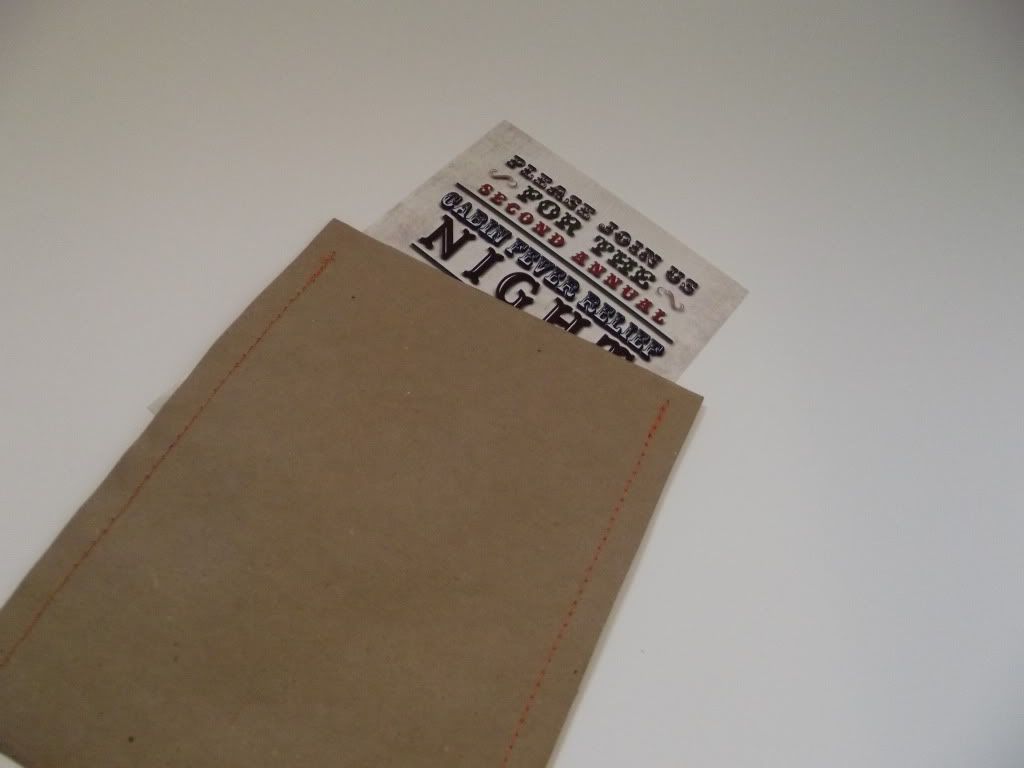
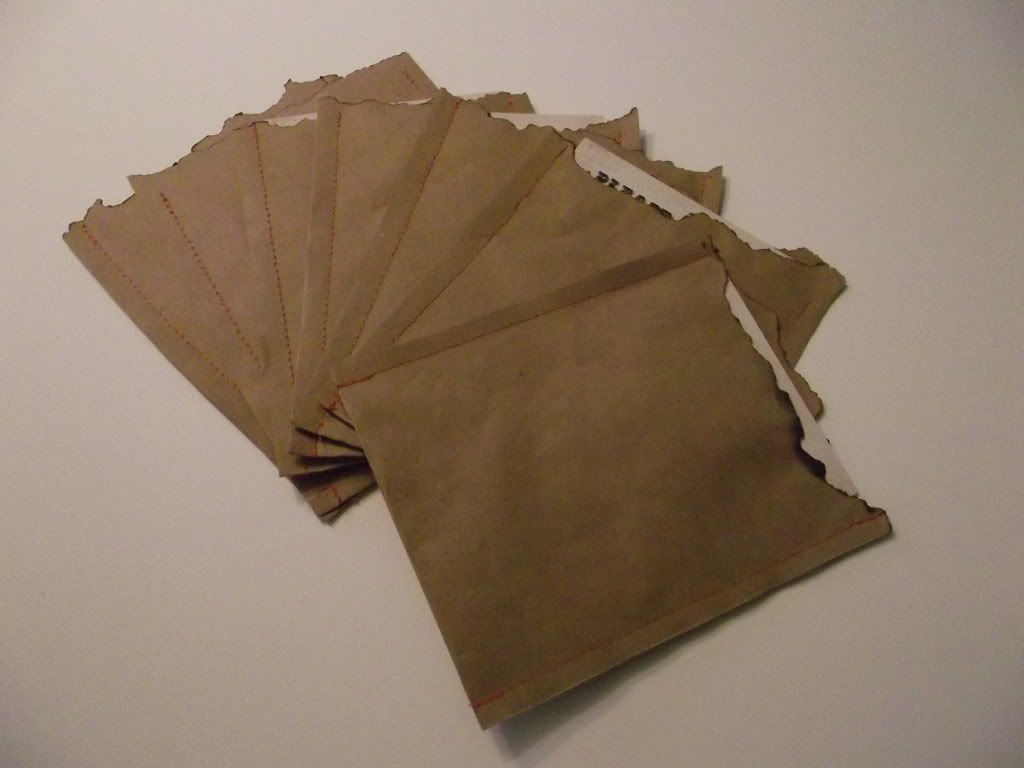
The finished product.
The aftermath - paper shavings and ashes.
Click on above images to enlarge.

1/14/2011

Zip it!

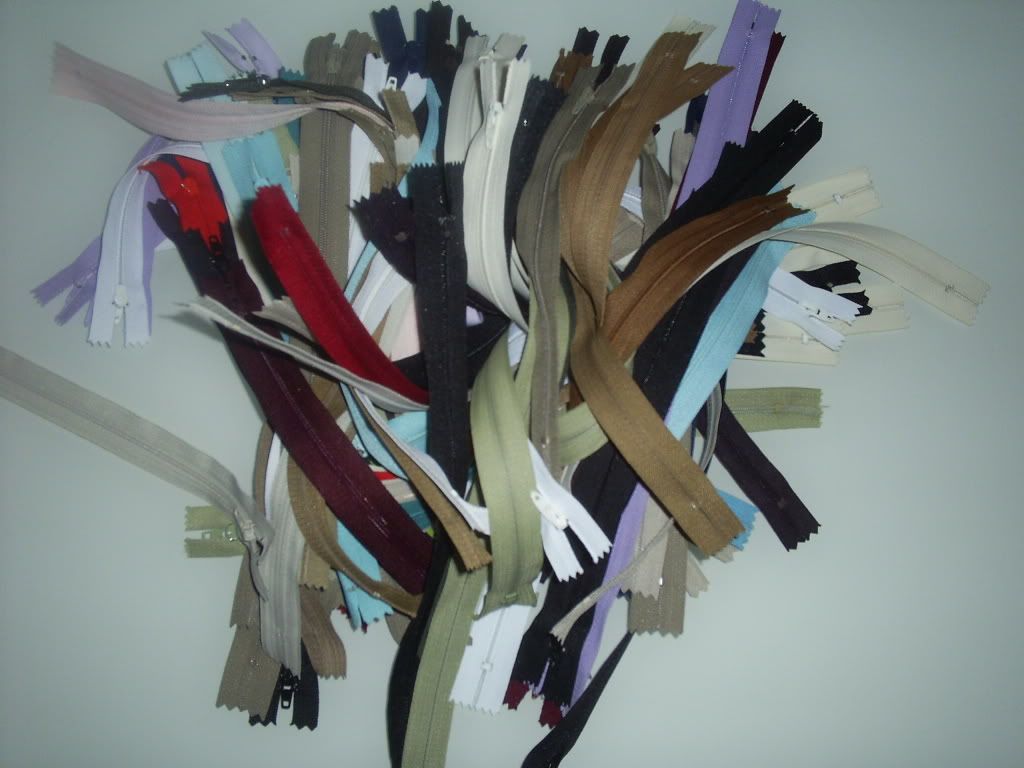
Ever wandered what 100 zippers looks like?  Of course you haven't but I can show you.

See Exhibit A (shown below)

Exhibit A

Yes, this could be dangerous.  I successfully overcame one sewing project that required a zipper...and the resulting confidence that I gained, apparently overwhelmed me and drove me to purchase 100 zippers.  Needless to say, Silvia and I have several zipper projects ahead of us in the near future.  I can hardly stand the suspense!

1/13/2011

Silvia and I Get Technical

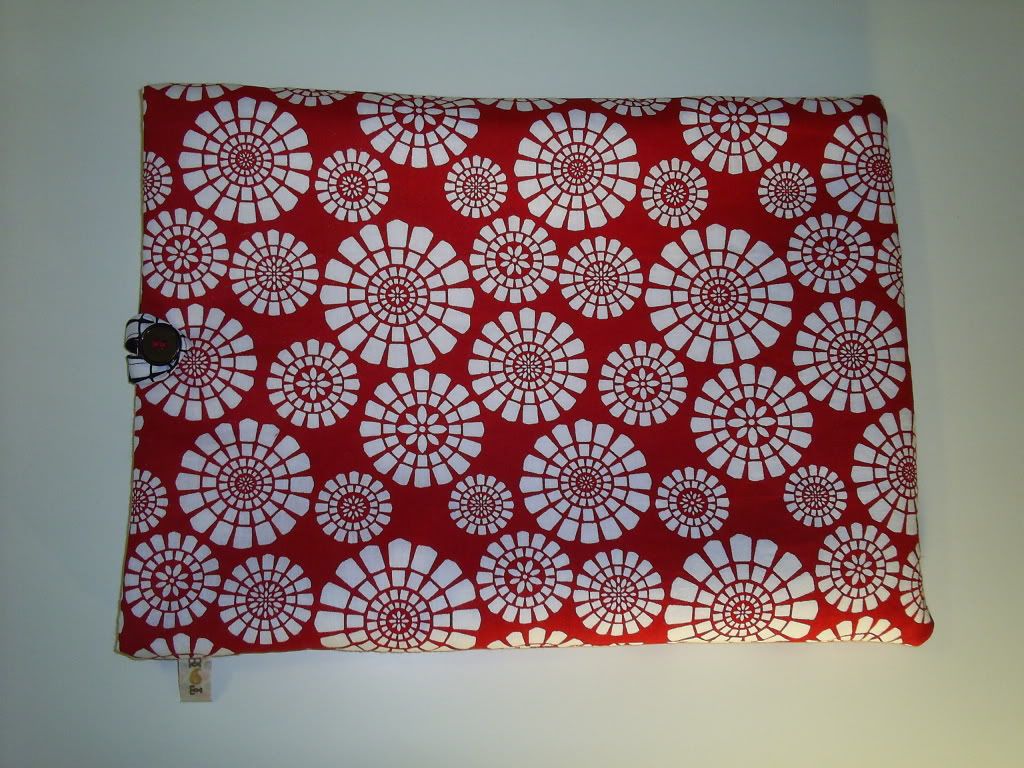
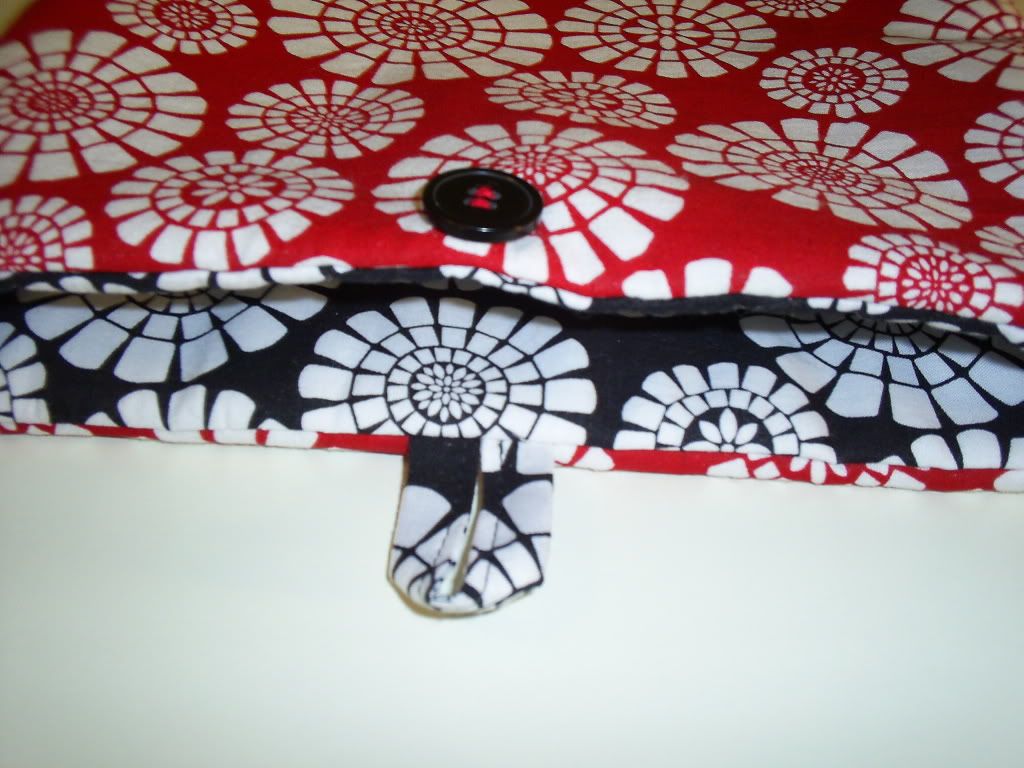
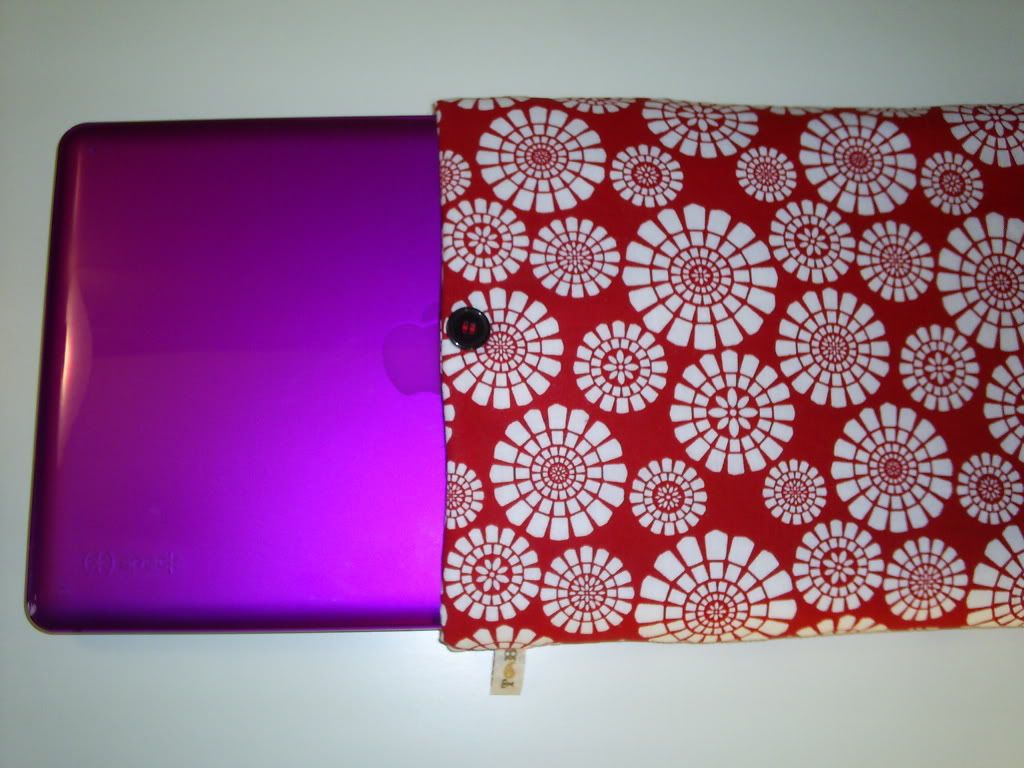
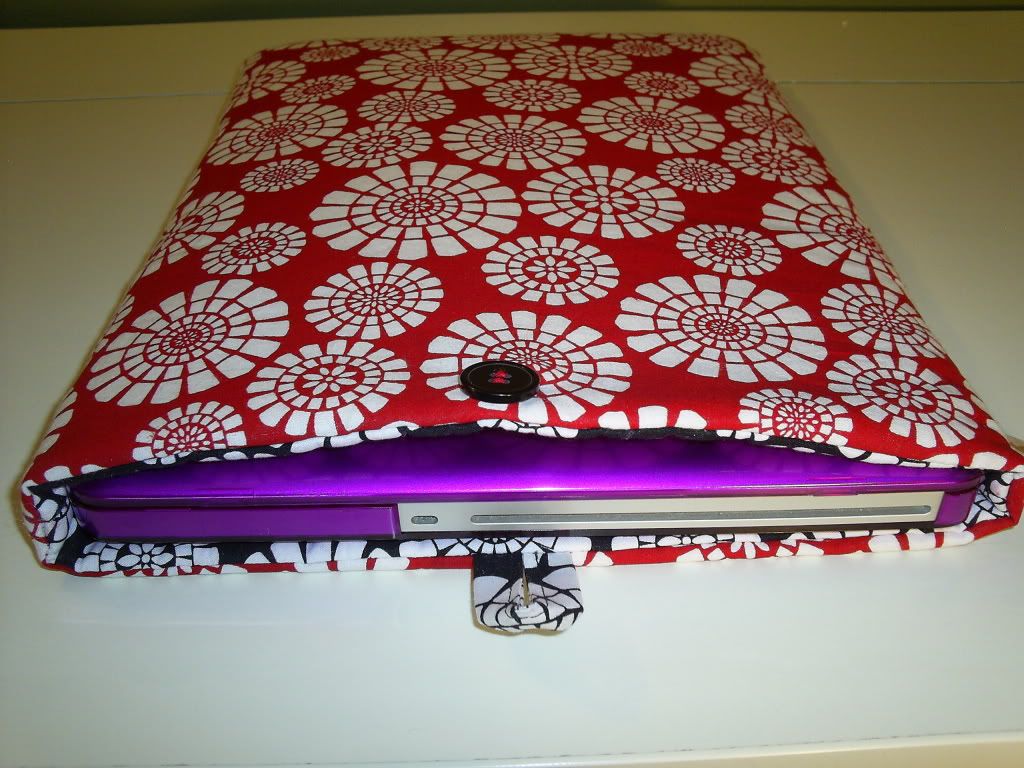
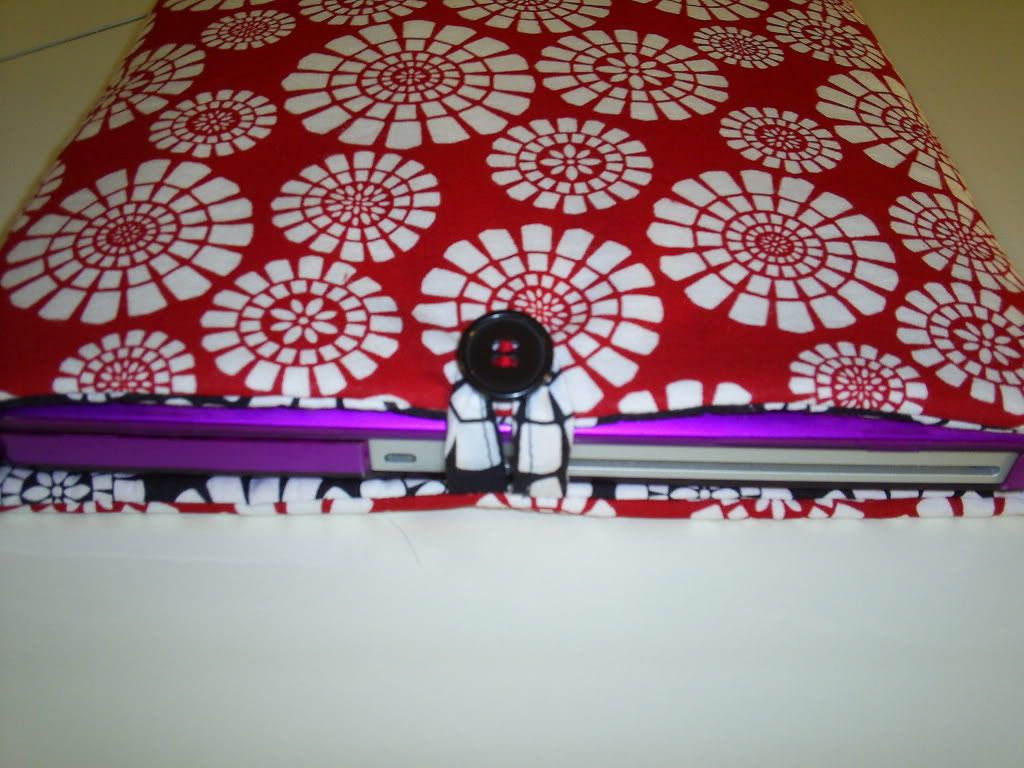
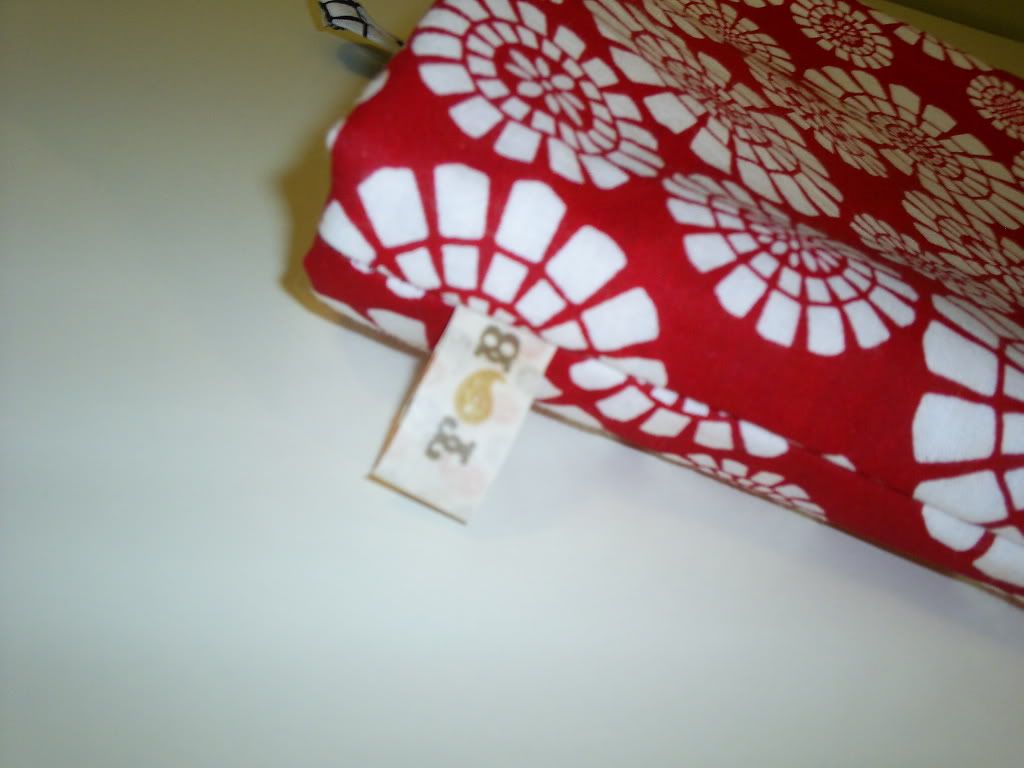
Yes, you heard right.  My lean, mean, sewing machine: Silvia and I got technical alright.  Together, we created this fabulous little laptop sleeve.  Fully constructed with all of the appropriate padding to keep it snug & secure.  She's a dandy!  ...It's a perfect fit, but it doesn't match my lovely purple macbook cover, so I guess I won't be keeping it. Oh-well.

Everytime I make something new, my husband / #1 Fan gets excited and says:
"That's awesome.  What are you going to do with it?  Are you going to sell it?"

...and my response,(when it isn't a gift for someone) is always:
"Well, I'll keep it of-course." 

He says I need to start selling my stuff inorder to support my habit - I mean hobby.  Well, maybe someday.  ...But for now...I look at every project as more, needed practice.  I just hope  the saying: "practice makes perfect" is true!

1/10/2011

Clutch Much?

Check out what Silvia and I whipped up!  A clutch!  This was my first project using a zipper.  I've been fearful of inserting zippers...so I avoided it for awhile.  ...BUT, I worked up the courage and it turned out to be a hit!  The only thing I would do different next time is add in some interfacing to give it a little more structure.  I even added in a few darts.  Click on the pictures to enlarge.  Overall, I am pleased and excited to make some more! 

I found this little "Tut" over at Skip To My Lou. Click HERE for the Tutorial.

1/09/2011

My weekend project

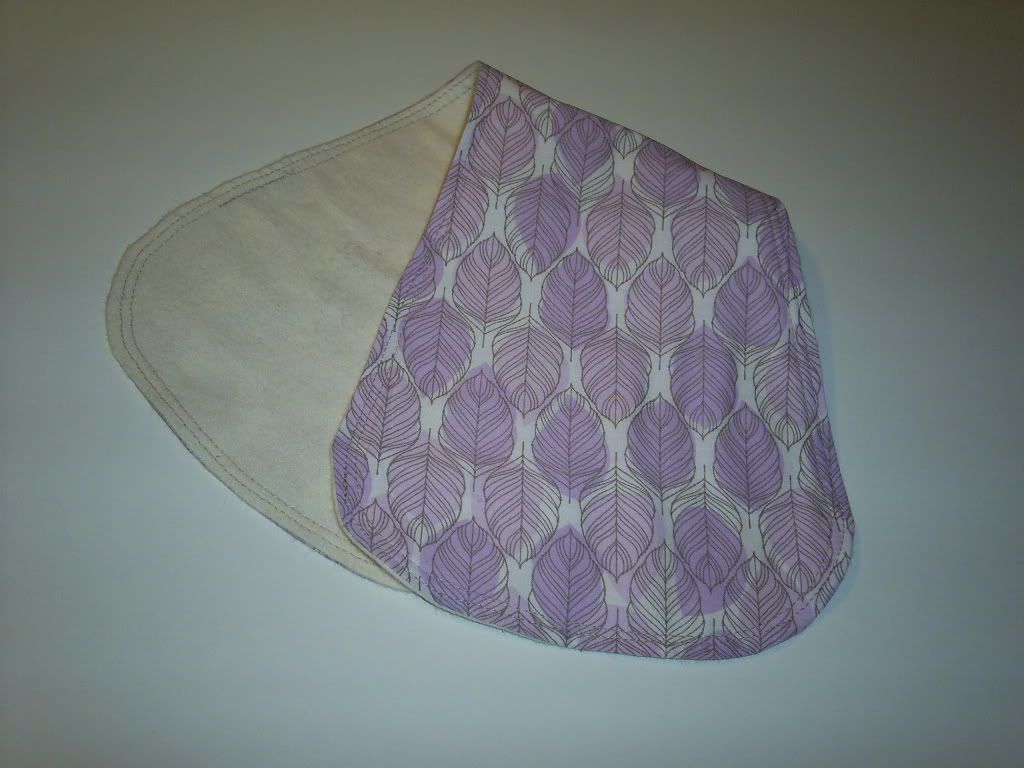
My weekend sewing begin with a project that bombed on me, so the challenge then was to carefully examine what I had and decide if there is any other potential good that could possibly come out of it.  I bought this really cute fabric and thought it would make a great burp cloth.  Not that I do a lot of burp ups nor do I have children that do, but in my journey of learning how to sew, it seemed like a simple enough project to tackle.

So here is the burp cloth "that was, but is no more":

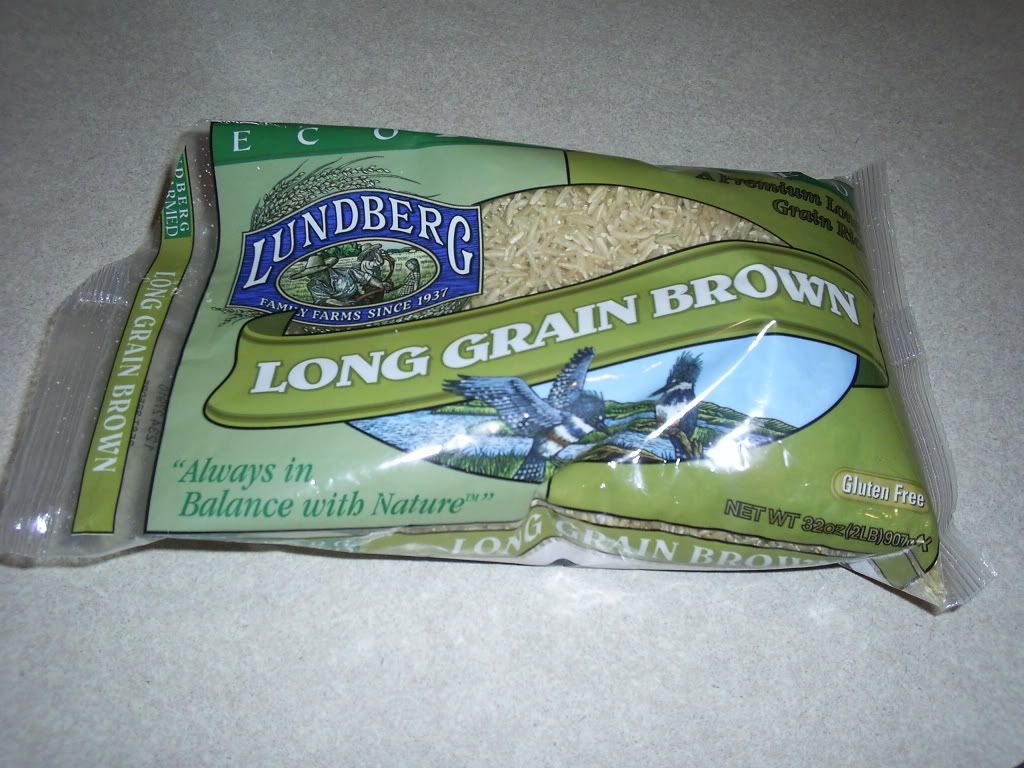
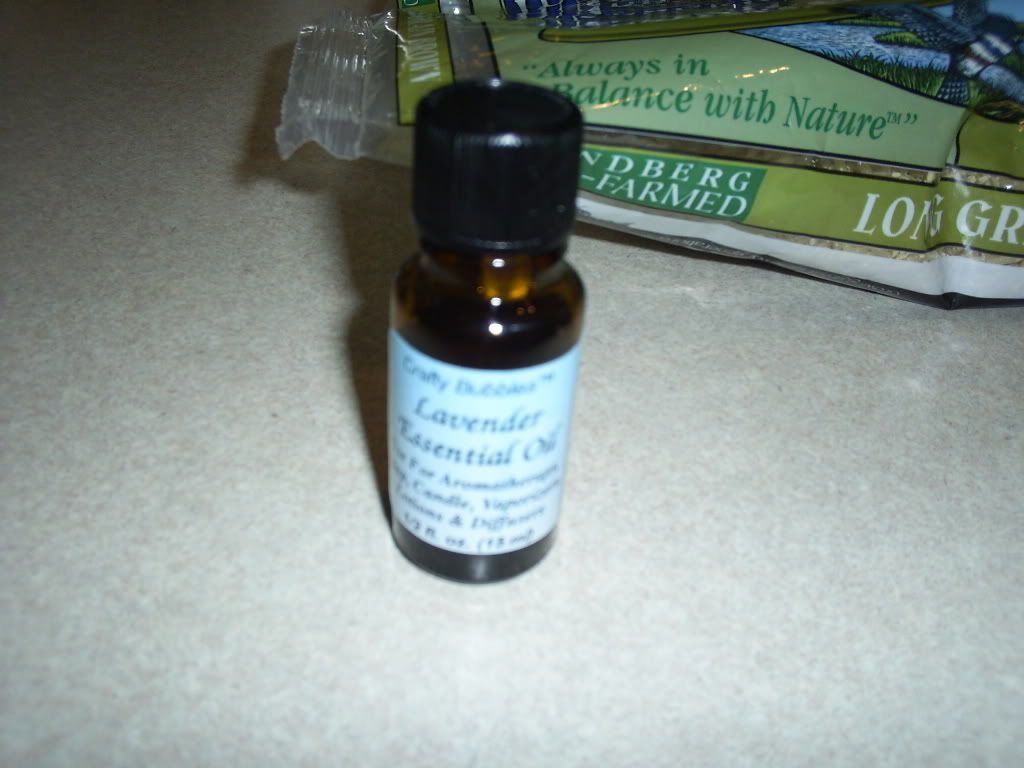
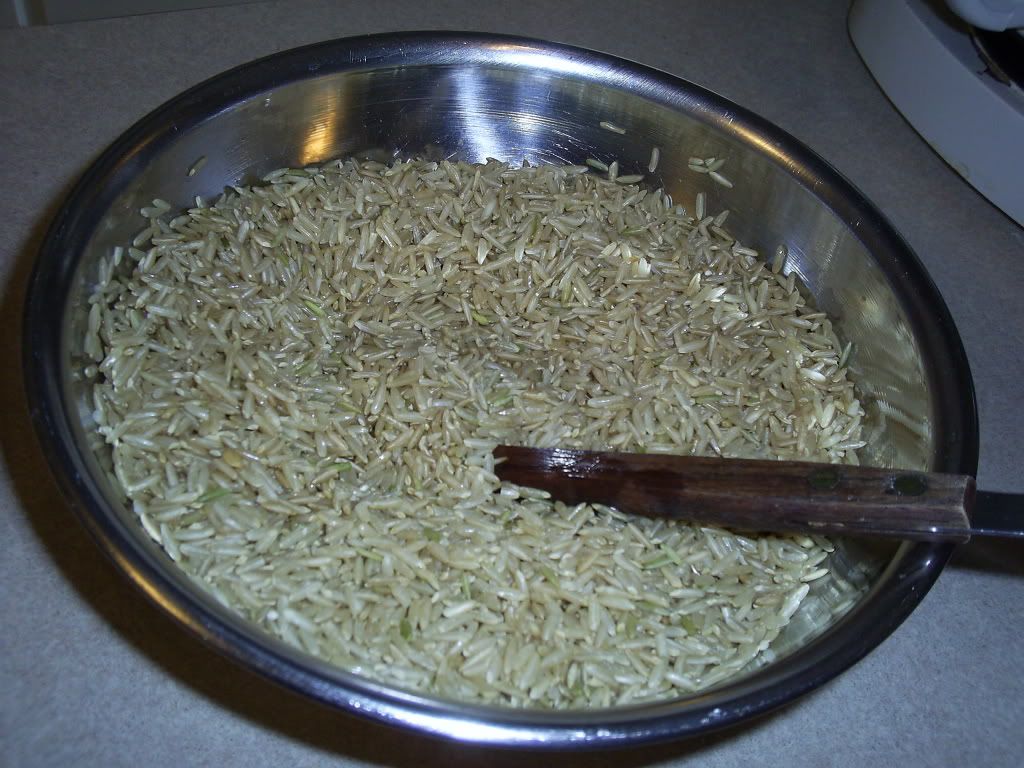
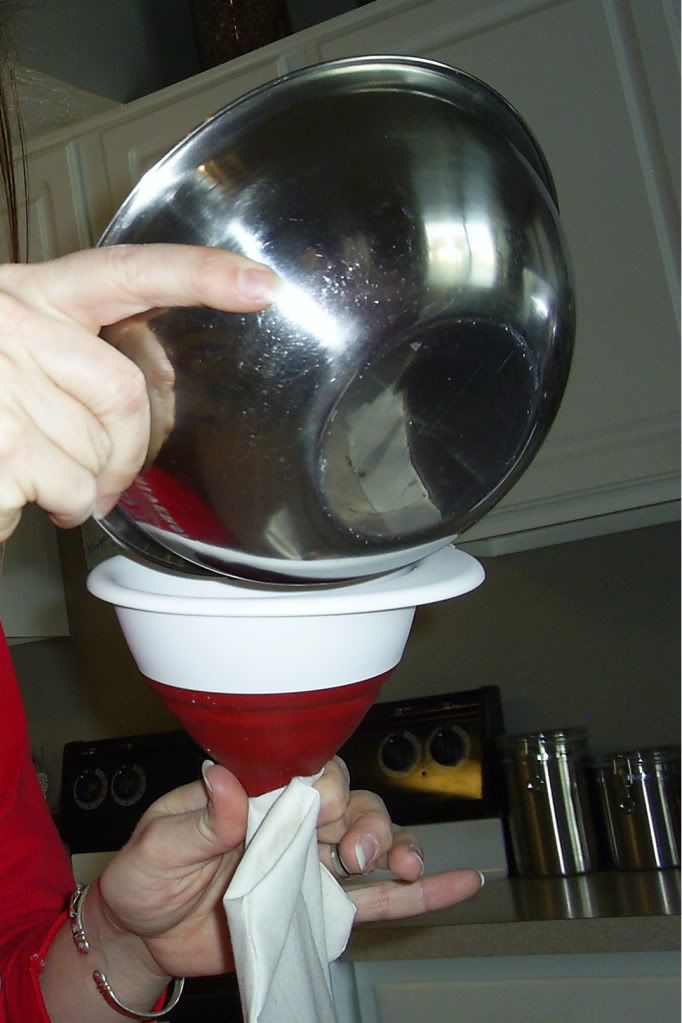
So I scratched my head, rubbed my chin...and then it came to me.  It's amazing what some fabric, rice, and essential oils can do....


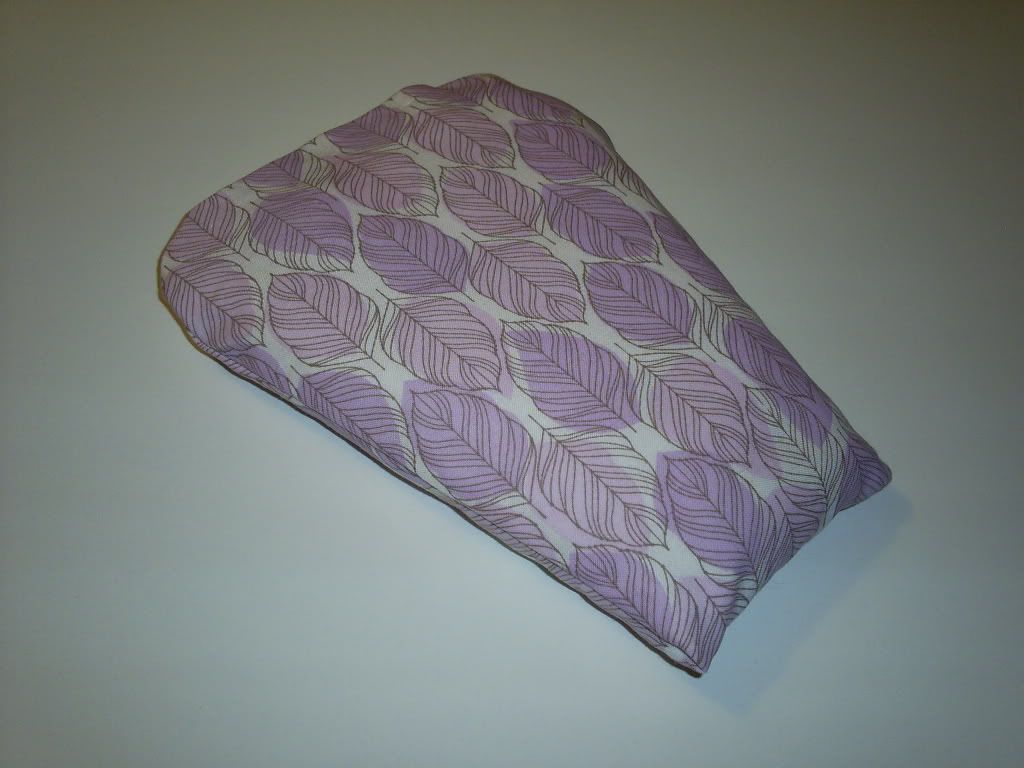
Voila.  After the examination was over, I decided I would turn it into a therapeutic heat pack.
...A strange bypass from the original burp cloth, but the result turned out fabulous.  Here we now have a lovely lavender scented heat pack to spot treat all of my aches and pains.


Just a quick toss in the microwave and this baby is toasty warm and the aroma of lavender is bellowing out.  I'm so glad I didn't give up and toss it in the trash.

...ahhh.  Time to R - E - L - A - X!

12/29/2010

Oh Silvia!

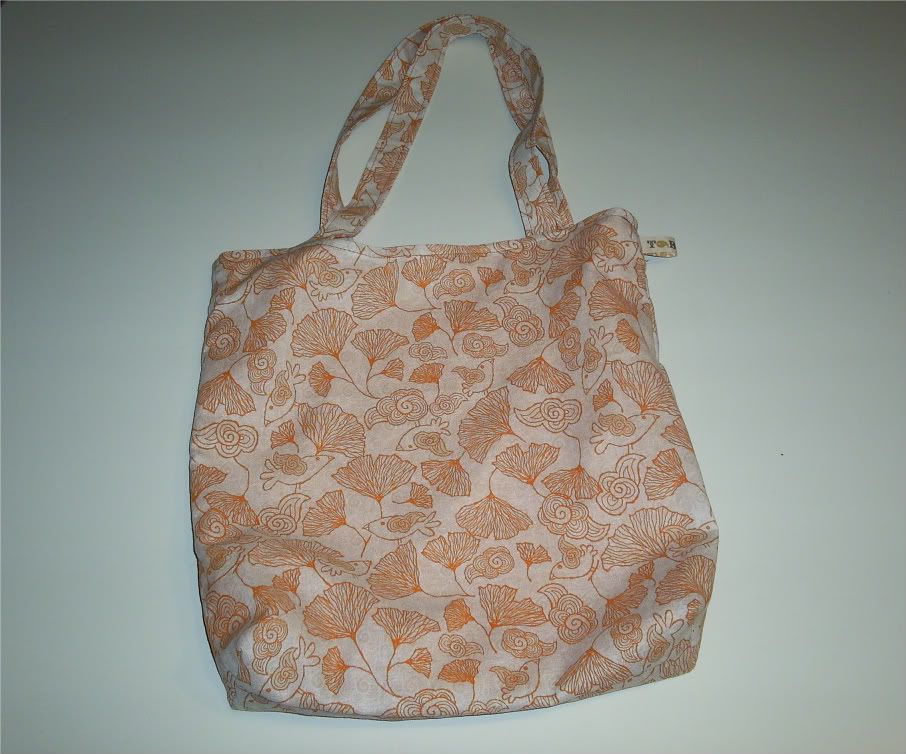
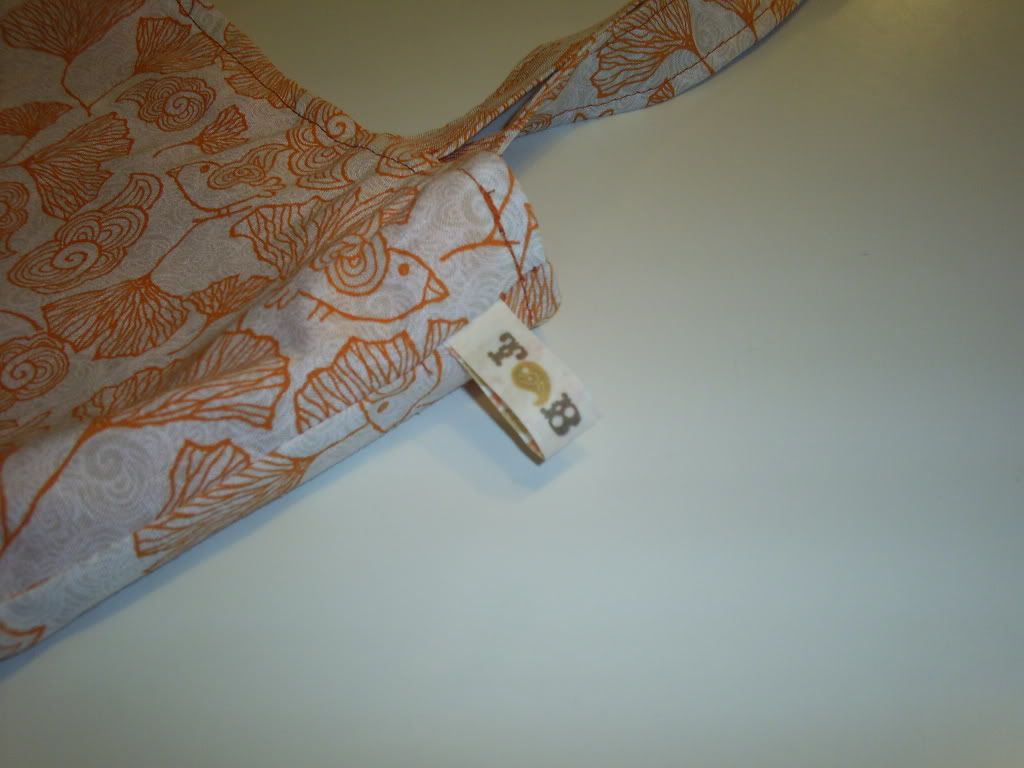
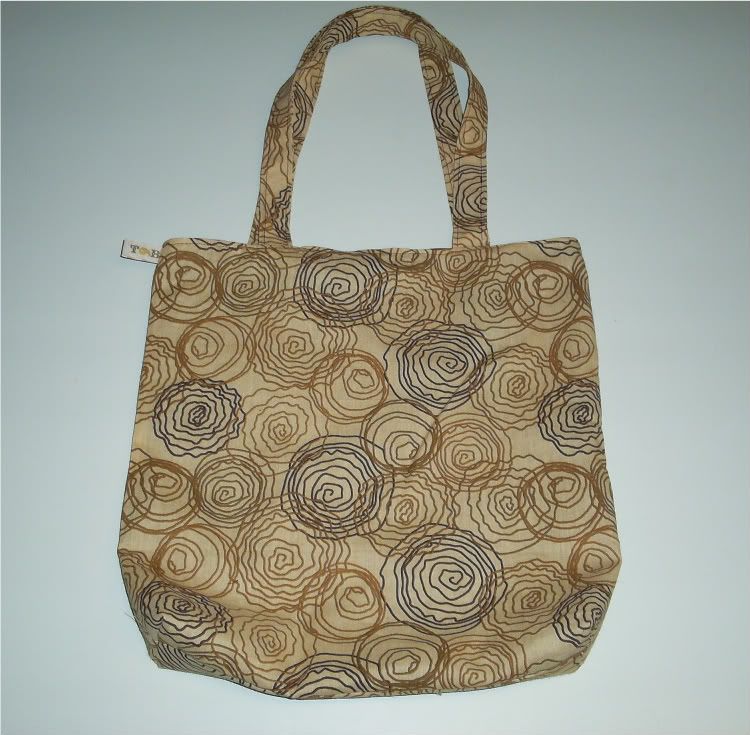
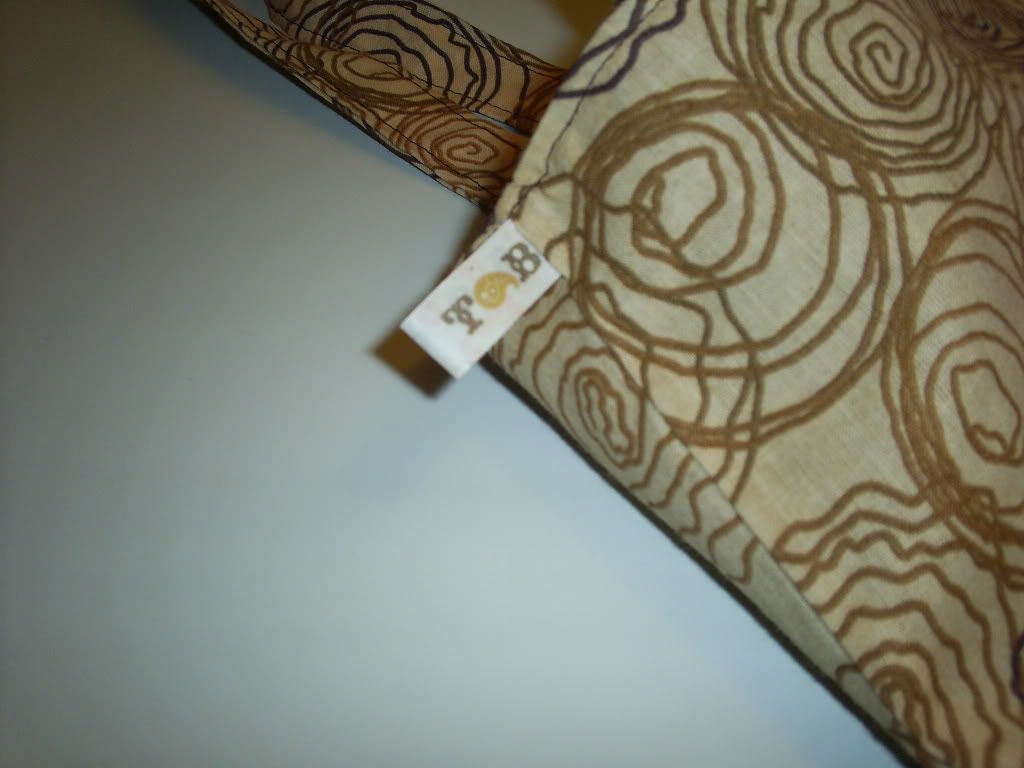
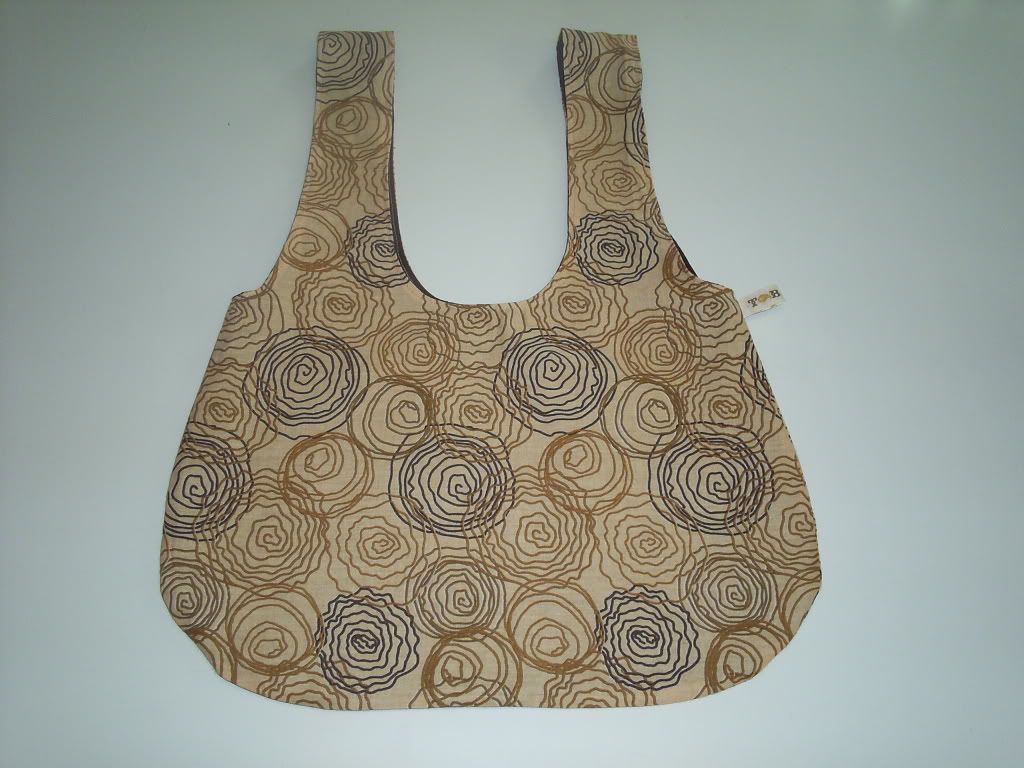
The adventures in sewing continues with Silvia.  This week, I ventured out of my comfort zone and tried a new pattern.  "Big deal" you're thinking, right?......but let me remind you that I'm still learning - so it is a big deal!  ...And when I try new patterns there is a HUGE risk of something going horribly wrong.  I lucked out however, and didn't run into anything too challenging - and there was very little seam ripping involved. (That is always a plus.)  I choose to view this as a positive sign.  Perhaps a sign that I'm graduating from my own self taught School of Beginning Sewing for Dummies.  ...Or perhaps, I just chose a pattern that was well illustrated with very well written - step by step instructions.  Something new for me, that I hadn't ever done before was the boxed corners at the bottom of the bag.  I love learning new things!

Monday, I had a girls night out with some neighbor friends to celebrate two birthdays, so these little bags were my gifts for my friends.  The second bag is actually the same fabric for another bag I made recently, but it was a different style.

 
Related Posts Plugin for WordPress, Blogger...